
We all know there are things which we should do to improve our buying decisions, roasting operations or quality control checkpoints. The truth is that it’s hard to do what we know we ought. This entry and accompanying YouTube video is designed to help encourage you as a green coffee buyer or as a coffee roaster or as a quality control manager to work in one new habit or rhythm to your workflow.
As an added bonus we are using a fine sample assortment of both natural dry processed and washed coffees from Yemen. We don’t break down the roasting and cupping in detail, but notes are provided.
“The truth is that it’s hard to do what we know we ought”
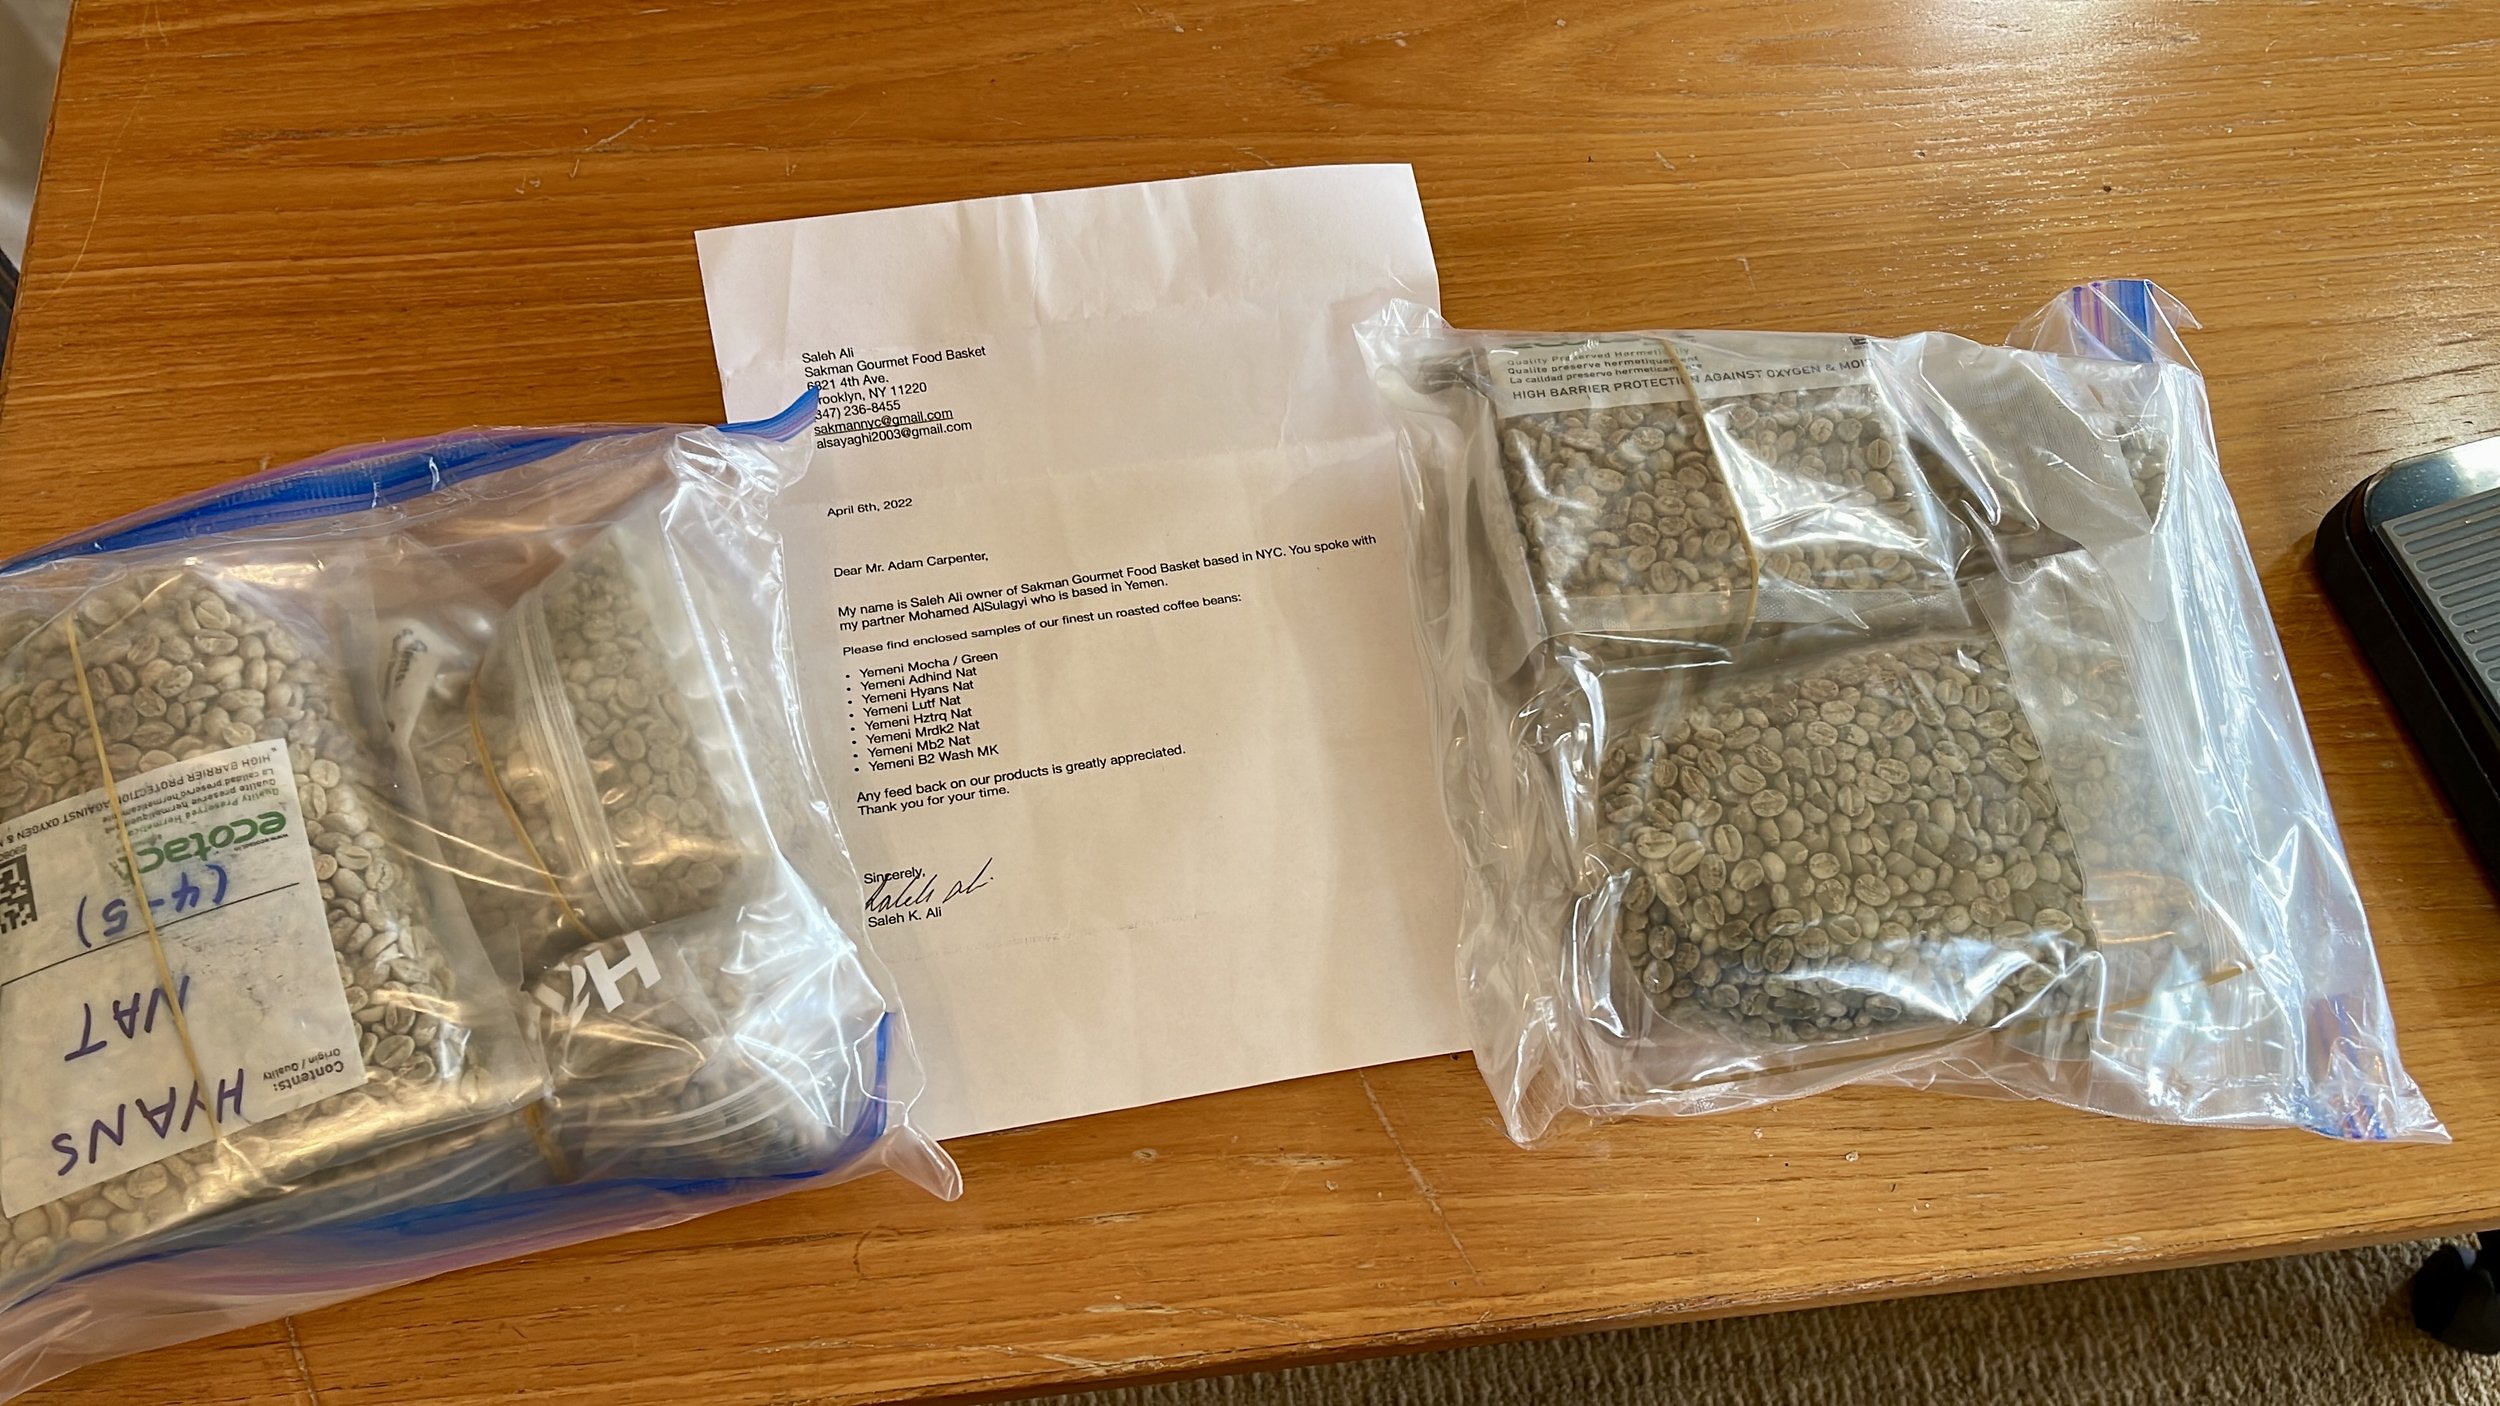
Yemen coffee samples upon arrival in Ecotact packaging with clear labels. Well done 👌
Measure a 350 gram sample of each coffee.
Whenever we request (or are sent) green coffee samples, we should start with 350 grams.

To get started with our seven Yemeni coffee samples on the table we should have enough to inspect for defects and to judge size with some degree of accuracy.
First, the SCA green coffee defect guide instructs us to examine 350g when taking our assessment to classify and count primary and secondary green coffee defects. It goes without saying then that we want a random and representative sample of the bag, pallet or container of coffee which is offered for sale.
Having a 350g green coffee sample is important for several reasons.
Second, many coffee buyers and small micro-roasters need more than 100grams of coffee to roast. Or perhaps if they do have a small sample roaster, they would benefit from roasting the sample more than once.
Third, a 350g green coffee sample is a very useful amount to fill both the coffee sample tray and to sift nicely through our green coffee sizing screens.
I personally enjoy profiling with my sample roaster light, medium and dark to see what the green coffee is really capable of. In this way I can see how the bean holds up to heat and how dynamic the flavor profile really is.
I recommend all green coffee merchants to send 350g samples and propose that this should be an industry standard for soliciting roaster business.
Now, let’s measure green coffee moisture and density.
To do this, I’ll be using the RoastRite RM-800 which can average as many readings as we wish for coffee cherries, coffee in parchment, green coffee and roasted coffee.
For these 7 Yemeni coffees we’ll compare green moisture content and density. I have used other density and moisture meters, but find that RoastRite products offer the best price value ratio, getting all the information I need without spending too much or compromising that data.
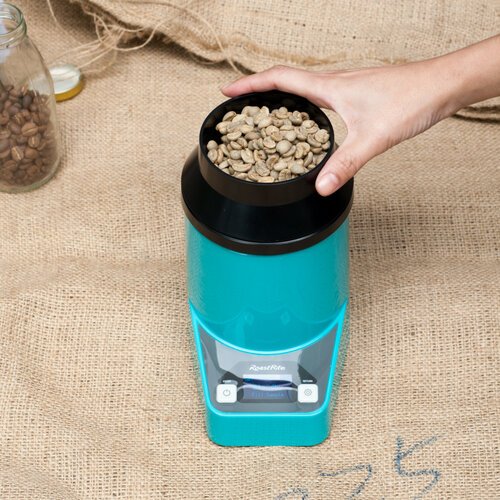
I like the carrying cases and ability to charge the units for portable ease of use. The machines come calibrated, but offer you the chance to calibrate if needed. Simple turn it on and go.
The funnel is useful for both filling the measuring cup and filling the chamber. It’s important to use a consistent measure each time you take readings. Density is calculated as grams per Liter. That’s a measure for the mass of something occupying a fixed amount of space. The more dense the object (in this case green coffee) the heavier a fixed quantity will weigh.
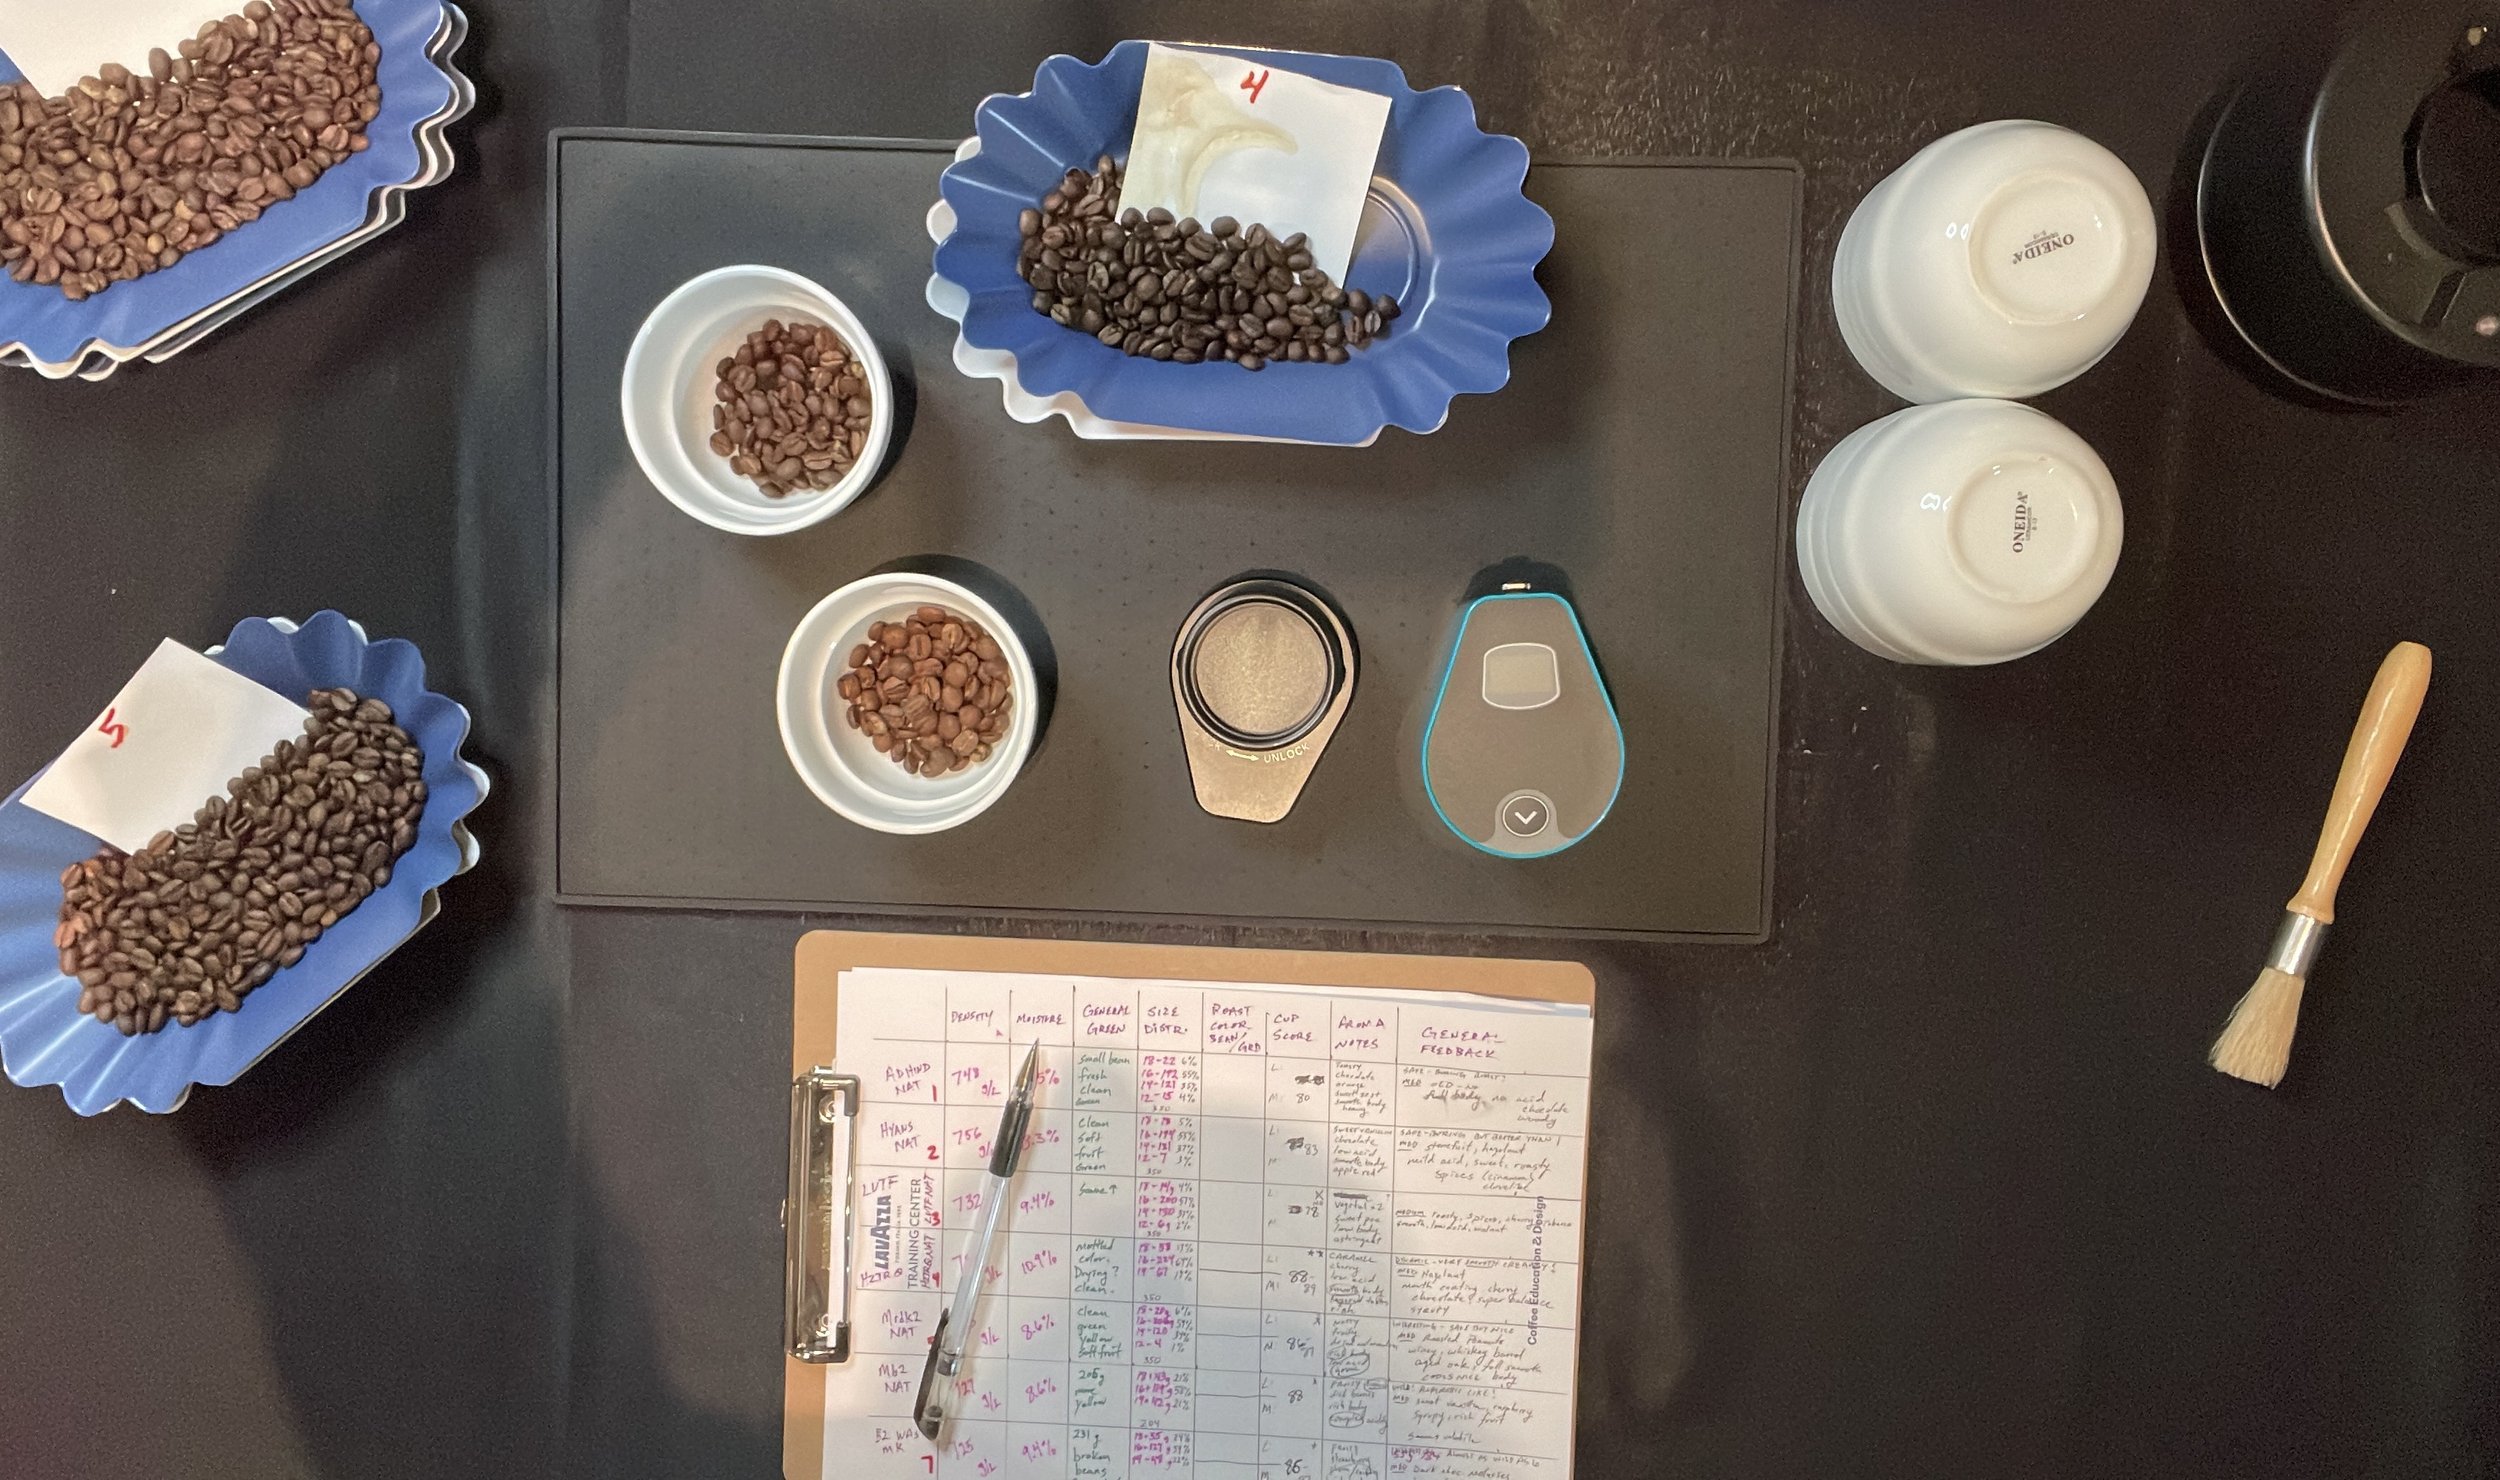
Each of my 3 measures here at the end are averaged, calculated with a cycle completion. Density and moisture averages are shown for each measurement and at the end of the cycle. You can take one measure or multiple measures. I personally find that 3 is sufficient and are perfectly suited to a 350g sample.
Record your results and clean your equipment.
Next, let’s determine coffee screen size.
If you’ve worked with me before, then you know that I am a huge proponent of coffee screens and more accurate sizing for green coffee. AFTER you read this 😊 you may want to view the blog entry “Improve Your Coffee Roasting Using Green Size Screens (Sieves)”

Over the years I have found greater consistency and clarity in cupping results from sorting green coffee into ranges.
Because coffee is the seed of a fruit, it’s an agricultural product, there will always be a natural variance in size from one seed to the next. However, when we purchase coffee from some origins and certain producers/exporters we will find that some coffees are very homogenous while others display a huge variance in size.
To accommodate some of this variance, and to be more forgiving, I often sort my green coffee into size ranges. In this particular case with my coffees from Yemen I am using a 3 tiered approach where coffees 18+ will be grouped and those 14- will be grouped.
The average range then is 15-16-17 screen size.
I realize this may perhaps feel like a luxury for some roasters or for some producers. However, with all of the advances in coffee technology, I find that this very low-tech process provides me with greater roast consistently and cup clarity.
Try it yourself and report back with your informed opinion.
I find that this very low-tech process (sorting coffee by size) provides me with greater roast consistently and cup clarity.
Test ROAST color with RA-720 Bigfoot Edition by RoastRite.
Today we will be testing 4 coffees each at 2 roast levels, so 8 color checks. I am using a full measuring cup (just about 15g) of ground coffee. You want to grind your coffee fine like espresso to help eliminate impact from silverskins in your coffee color readings.
After grinding your coffee, fill the base measuring cup and smooth the surface to be flat for an even and accurate color reflective reading. The color analyzer uses near infrared sensors to report how much light is reflected back.
These readings are perfectly correlated with the SCA Agtron Gourmet color standard, which is another reason to enjoy this machine. There is no need to scale your readings.
I often test the color twice, though the readings are very consistent and seldom do I get different results.
How does this work into your workflow for coffee roasting? Great question!
First, you may want to ensure that your coffee roasters have a similar standard for their sample roasting. Sample roasts are very light and should be used to find coffee defects. Check to ensure that your roasting staff roast coffees to the same color.
Second, you may find that you like a coffee very much for production or sale at a specific color. Many customers and consumers judge our coffee by its color. I have personally been surprised how color-sensitive buyers are (much more than tasting and aroma notes).
Third, as you roast day to day, week to week and month to month the weather and conditions will change. Internal color development offers an unbiased reference point to test consistency between roasts.
Great roasting = great consistency!
Find a convenient time and built into your workflow a consistent color check to improve quality through consistency. It’s important to note that coffees should be tested within the same time period. For example if you have a double roasting operation where your roasting staff change positions each 4 hours, you may have them test the colors each 4 hours so that color is consistently checked within 1-4 hours after roast. Or you may test more frequently as your team desires. Ultimately you want to have the chance to reroast a batch which is outside of specifications before delivering it to a buyer.
Once the coffee leaves the door it’s more difficult to repair brand trust than to double check consistency before packing, shipping and correcting mistakes.
Questions? Comments? Please Reach Out!