🌟🌟 Happy New Year 🎉🎉 Shop Now 🌟🌟

Roasting

What is the CVA by the SCA - Coffee Value Assessment

It’s time to dive into the CVA by the SCA.

This multi-part series has long been waiting, in the making. We need to unpack the great research and thought that the Specialty Coffee Association has put into the Coffee Value Assessment tool. With white papers and research examining coffee cupper value assessments, cupping scores, green coffee scores and more - we will seek to understand how the SCA CVA was created and how coffee professionals can use it in their coffee purchasing and roasting decisions.

Please let us know what questions you have and if this information is helpful. Thank you!

How to Get the Best from Your Beans - From Sample to Profile to Production Roast

Presented at Coffee Fest, Seattle, WA

Friday 30 Sep, 2022 

By Adam S. Carpenter

Founder & Lead AST

ROCC Coffee Co.


Thank you for attending this session!

How to Get the Best from Your Beans.

I’m excited to work on this topic together with you today. I intentionally use that phrase, “work on this topic” because we are all learning and growing to develop better coffee training programs and methods to maintain them well. Thank you.

This is one of three sessions prepared for Coffee Fest PNW, 2022. 

  1. Developing and Maintaining a Coffee Training Program.

  2. How to Get the Best from Your Beans: from Sample, to Profile to Production Roasting.

  3. Cupping Controversial Coffees.

If you are interested in these other sessions or would like to connect, I would be happy to share and dialogue.

This session has an accompanying PDF available by blog and email. There may also be discount codes available if you wish to join one of our certified Specialty Coffee Association courses always available online.

We also have great training kits available at www.sca.training with tools and equipment at www.rocc.coffee.


Introduction and a Caveat

Every speaker has the desire to be well received and feels a desire to “impress the crowd”... so I really want to lay that aside and approach our time with humility.

This talk is an attempt to put to words my regular work in coffee roasting since 2012 while applying a more concrete approach that I created in 2019.

  1. The regular work was roasting for ROCC in Central China where we had to take low cost and often poorly transported coffees and do our best to roast them in such a way that “every bean would shine”.

  2. The concrete example we will explore together moves us from sample to profile and production with a Monte Cristo Guatemalan coffee aged in a single malt, Oregon rye whiskey barrel. 

I realize that this is by no means a “cookie cutter” approach to coffee roasting, but it shall be our springboard for dialogue and tasting today. 


My name is Adam and I love helping people and businesses grow. Our vision at ROCC is to use training and tools to build a Global Community and Provide a Playground that Makes Life Better.

I grew up on a small farm in Michigan drinking Folgers instant coffee with my dad and grandpa. They worked hard and I wanted to be like them. In university I had the chance to stay at a Costa Rican coffee farm. Picking coffee cherries by day and playing futbol at night changed my life. My wife and I married, went to China as English teachers and then in 2012, I opened Central China’s first artisan coffee roastery - ROCC. We roasted wholesale coffees and had two retail outlets. One coffee window and one full Coffee Discovery Bar. In 2015 I started training as a fully certified AST with the SCAE running courses in both English and Mandarin Chinese all over China. Today I lead certified SCA courses online and offline in the Coffee Skills Program while supplying training tools and coaching for clients - especially roasters & labs.

I would be honored to work with you or your team to grow your business.


How to Get the Best from Your Beans

Today we are working with a Colombia Excelso EP. EP stands for European Preparation which is sorted to ensure the screen size is above 15. Let’s assume that I have already looked at a few different Colombian samples with standard green grading and SCA cupping protocols… this is step 2. How to make this bean shine inside my roastery, blends and coffee offerings.

This Colombian Excelso EP is the kind of coffee that I might have multiple uses for. Perhaps it could be used as both a single origin and as a really solid blender. I may want to omni-roast it for various extraction methods. To understand this coffee better I would roast and prepare 5-6 different cup profiles.

You may wish to use this coffee in more than one brew application.

If you want to go about roasting at various levels for multiple uses, then the roast levels exploit a range of incremental changes. My goals was about 5 degrees Centigrade (that’s 9°F) for a pretty broad survey. I will hold charge temp, roast method, etc. all in control with the only variable of change being target drop temperature. As a result of higher drop temperatures the total roast time and other secondary variables will naturally move.

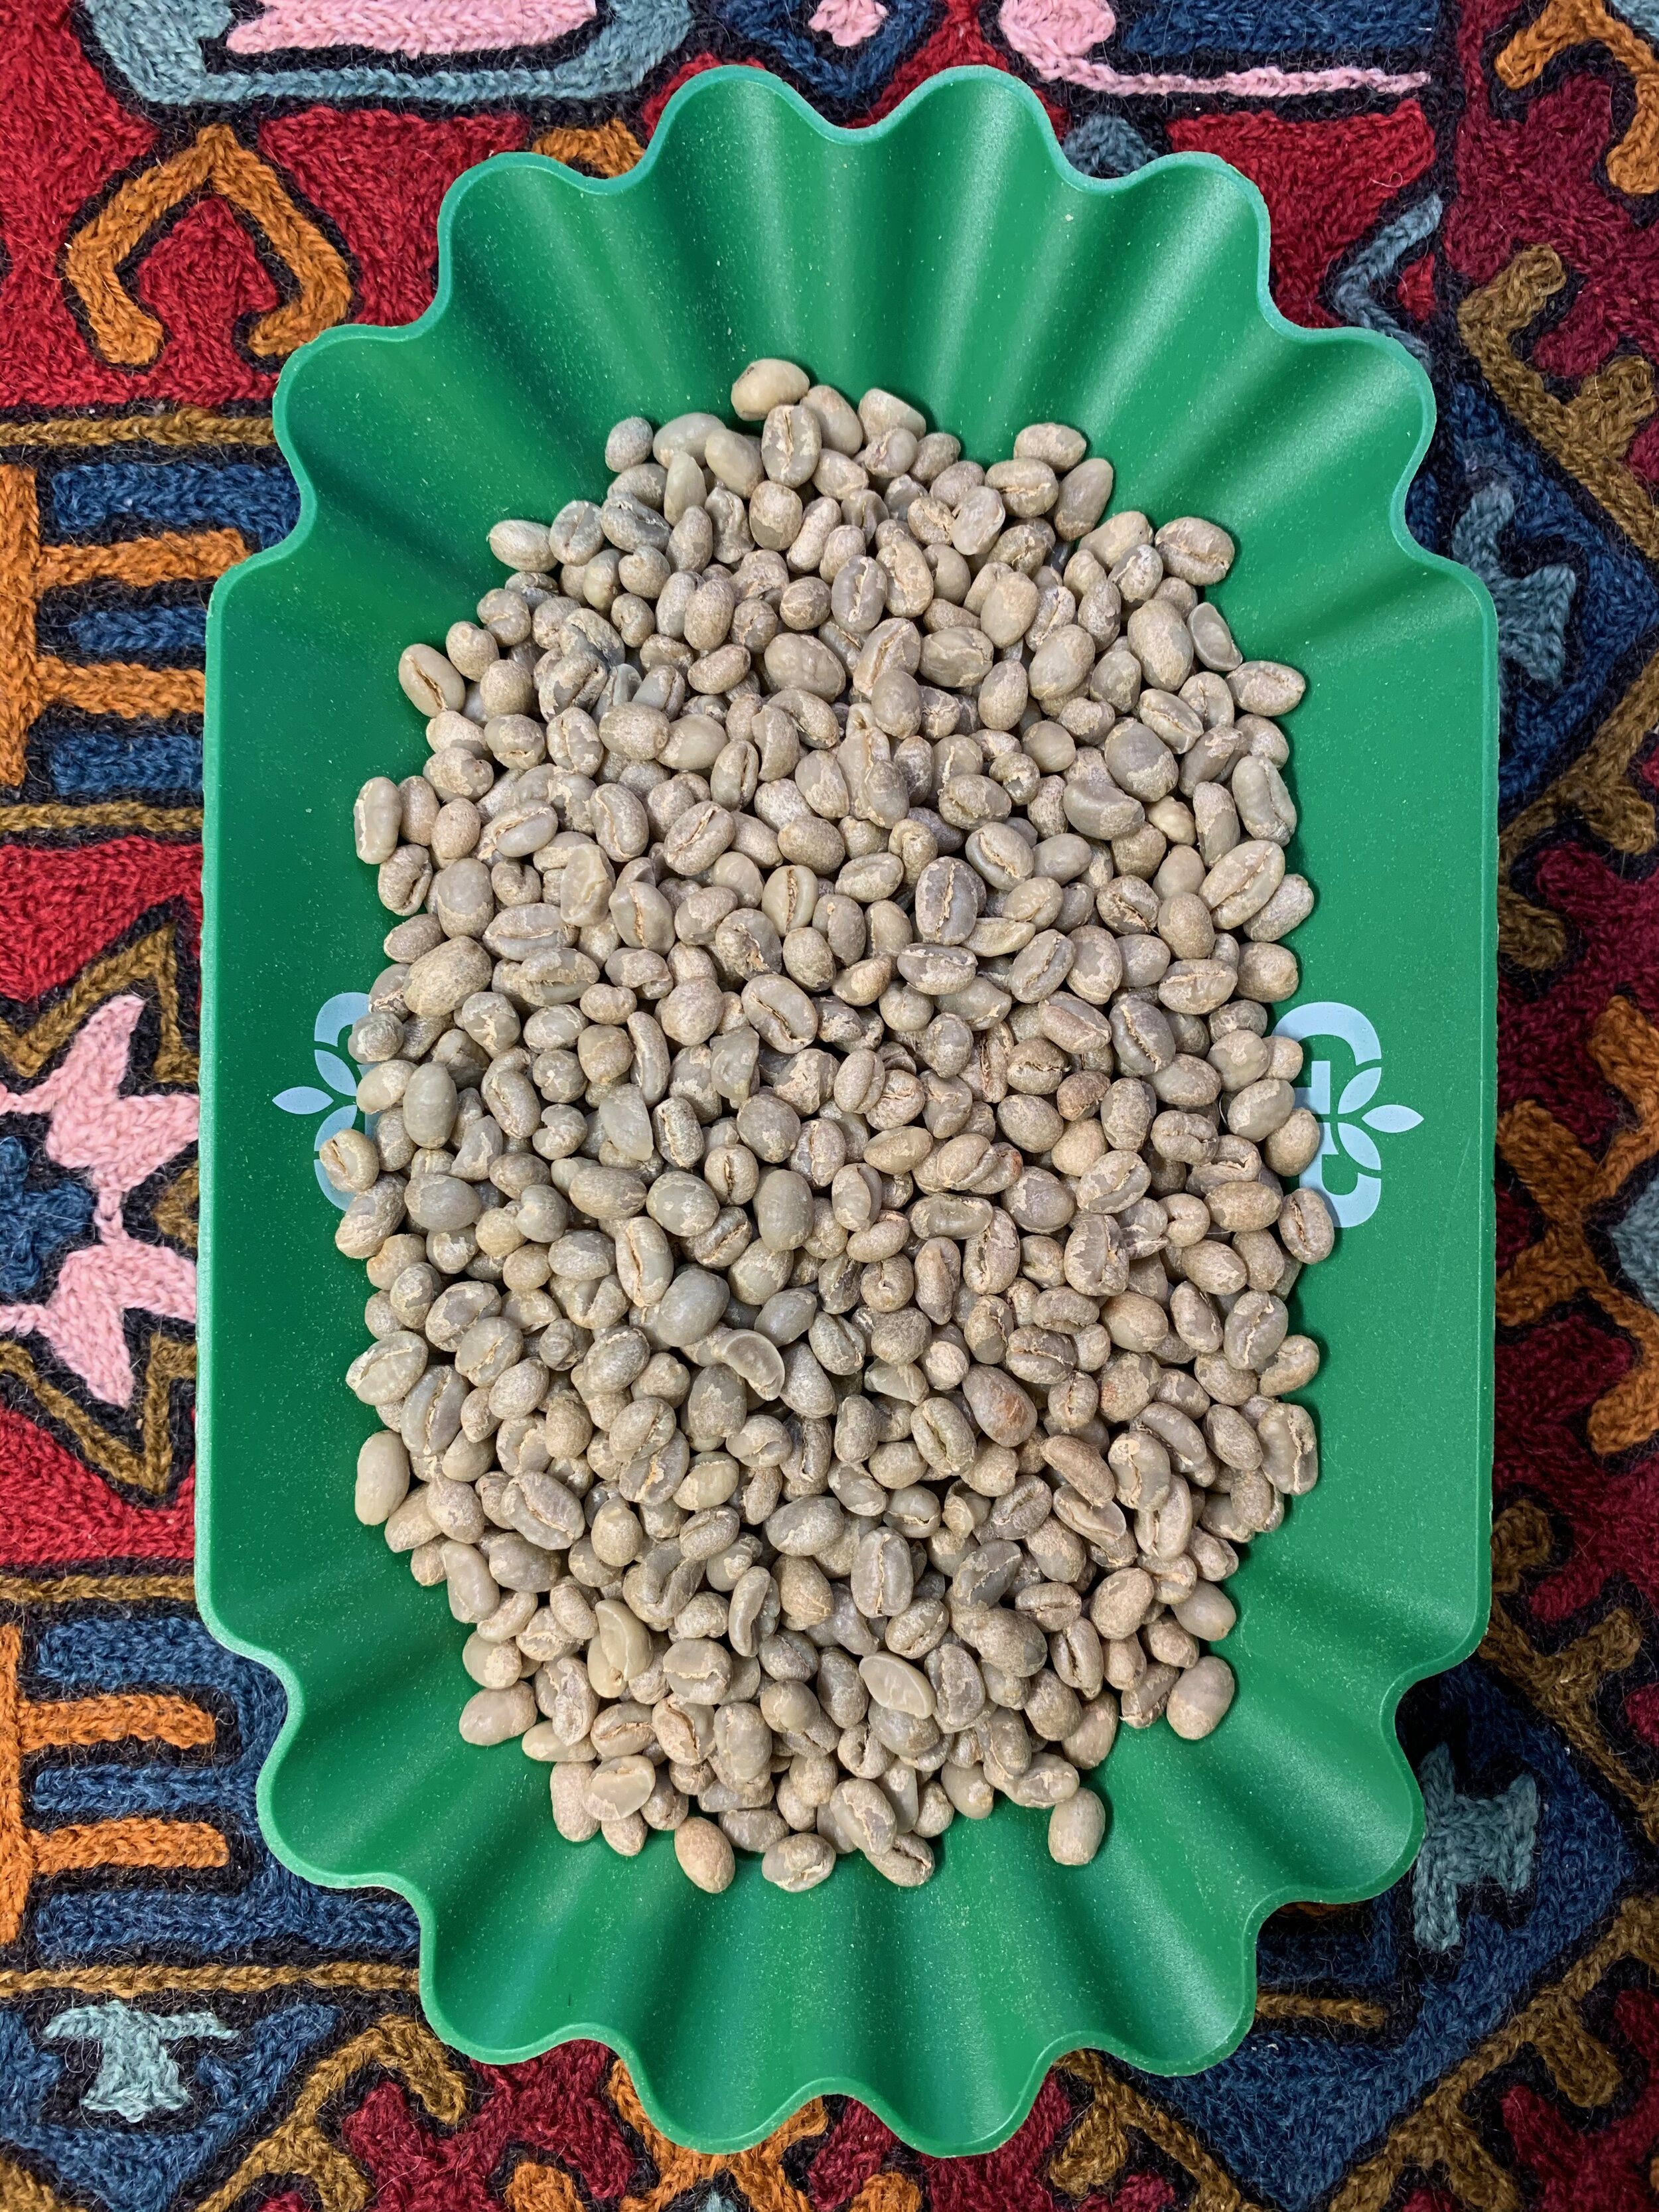
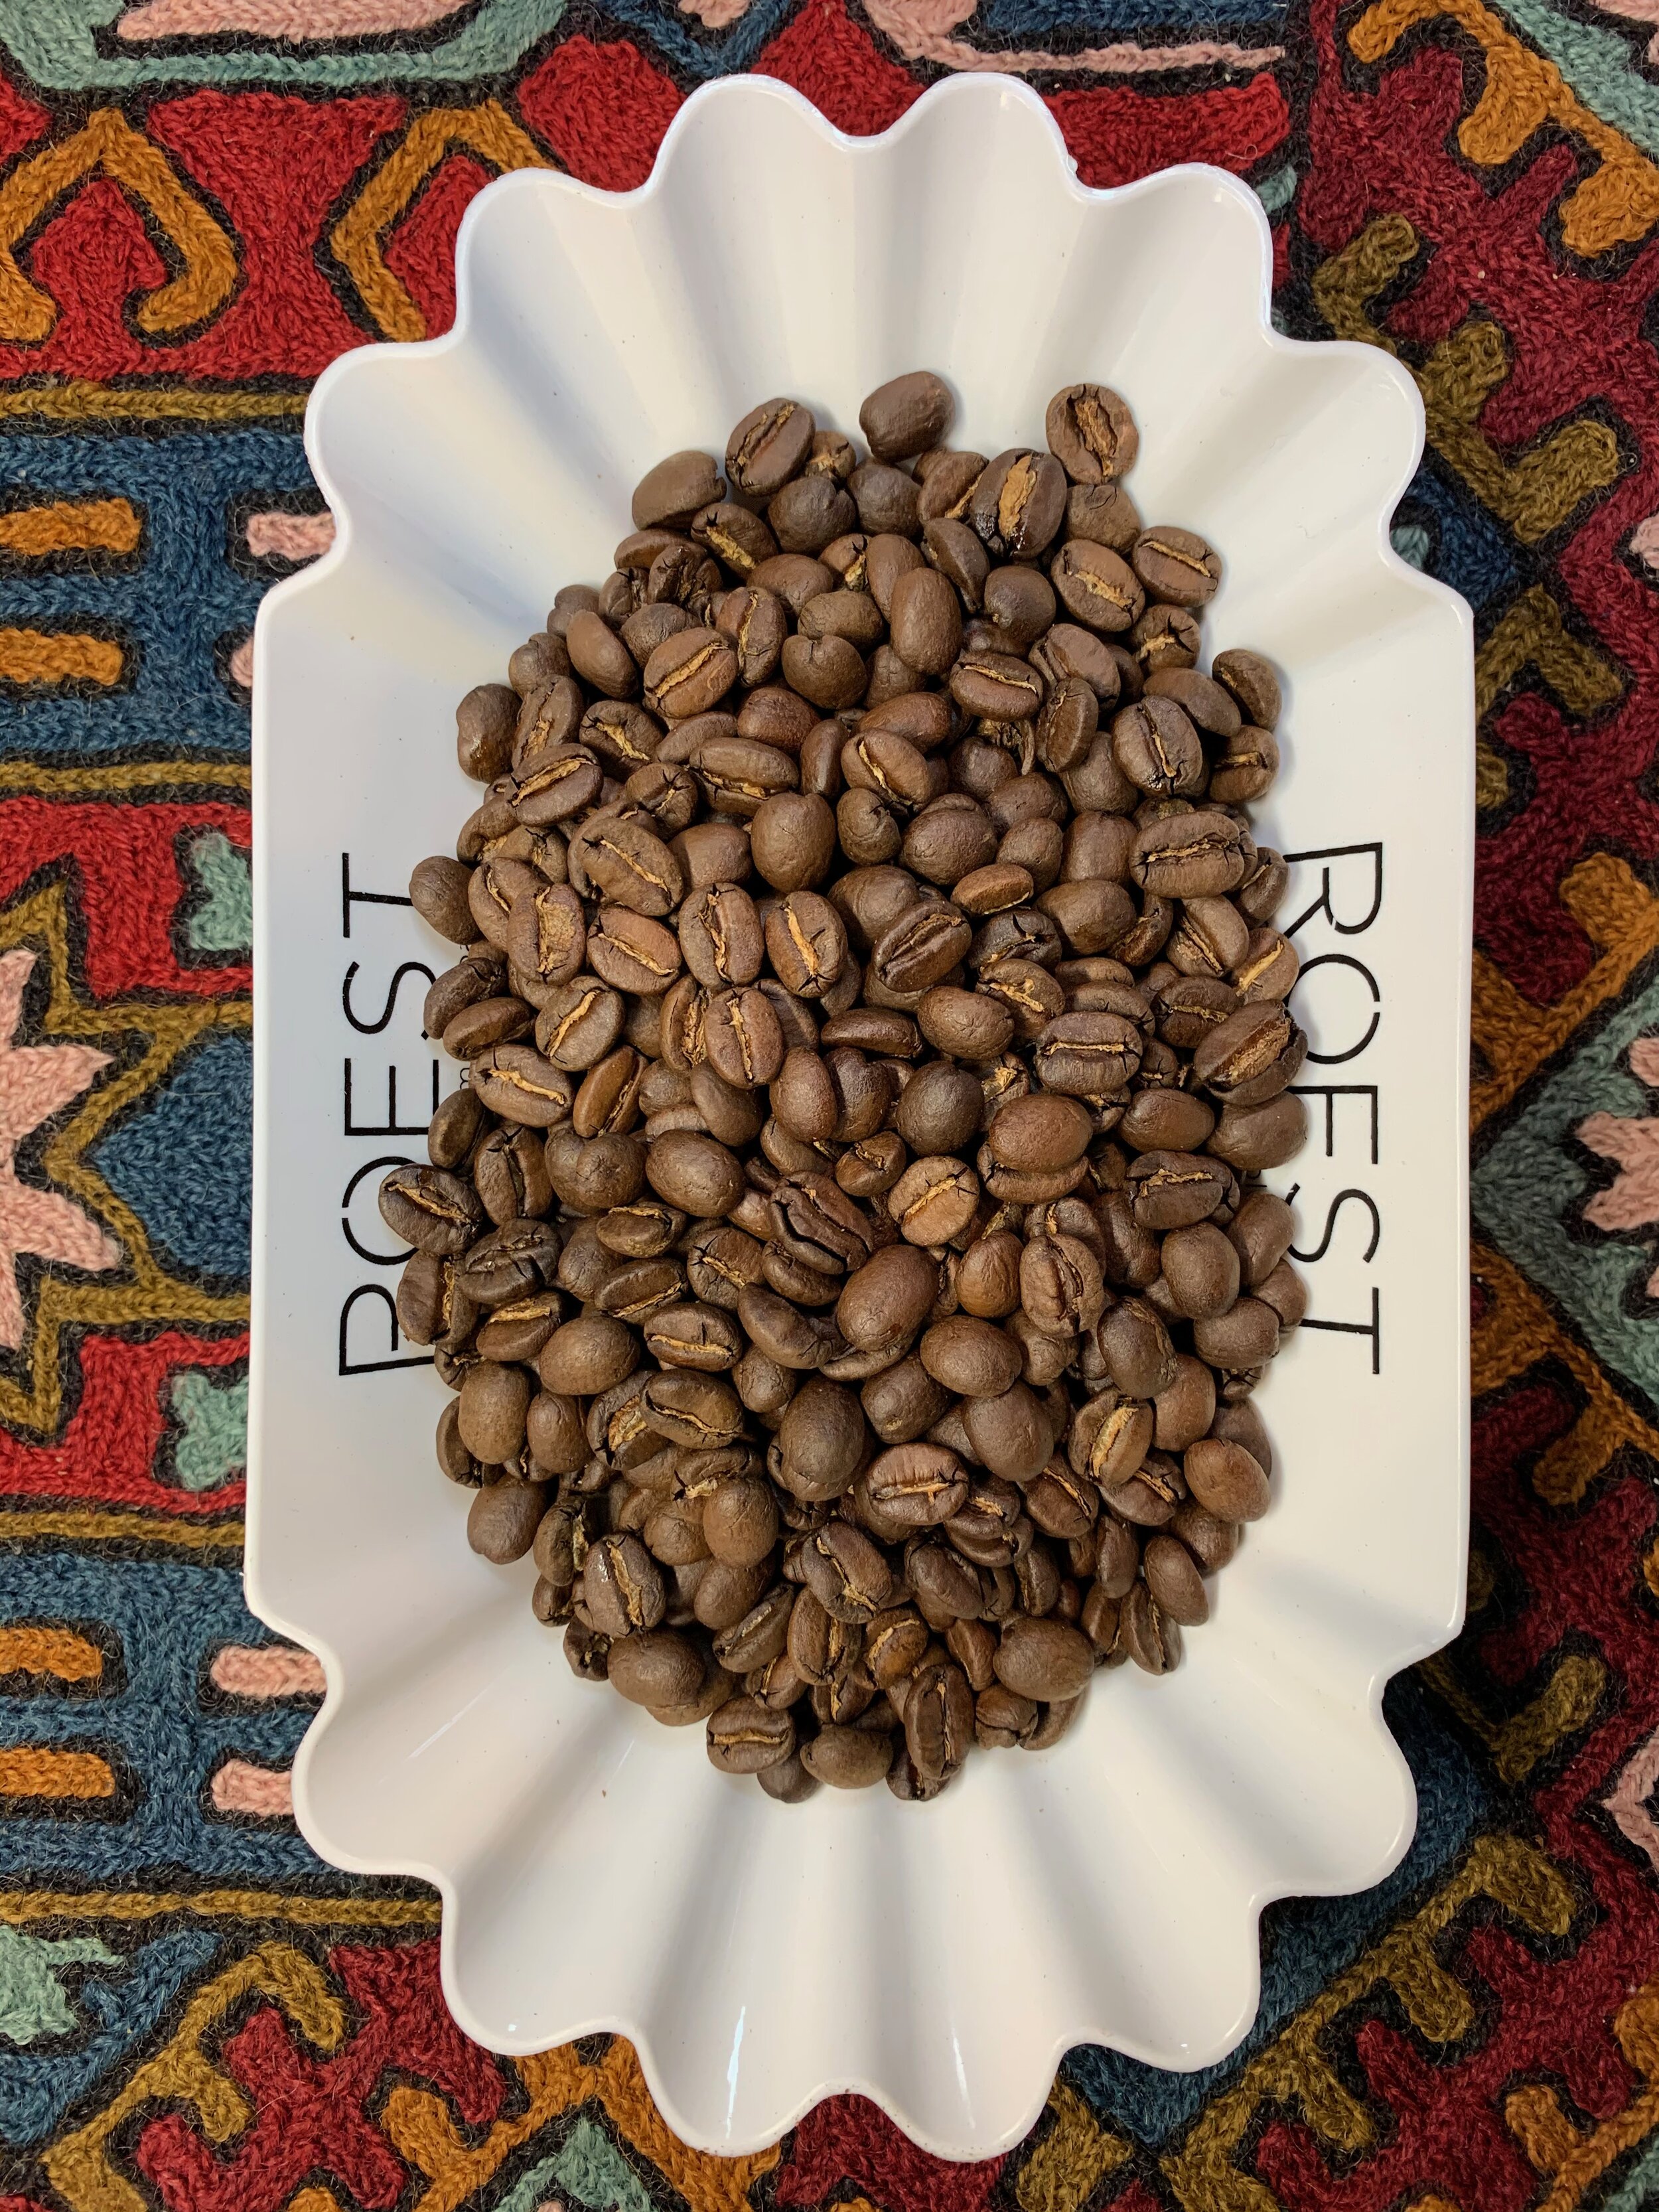
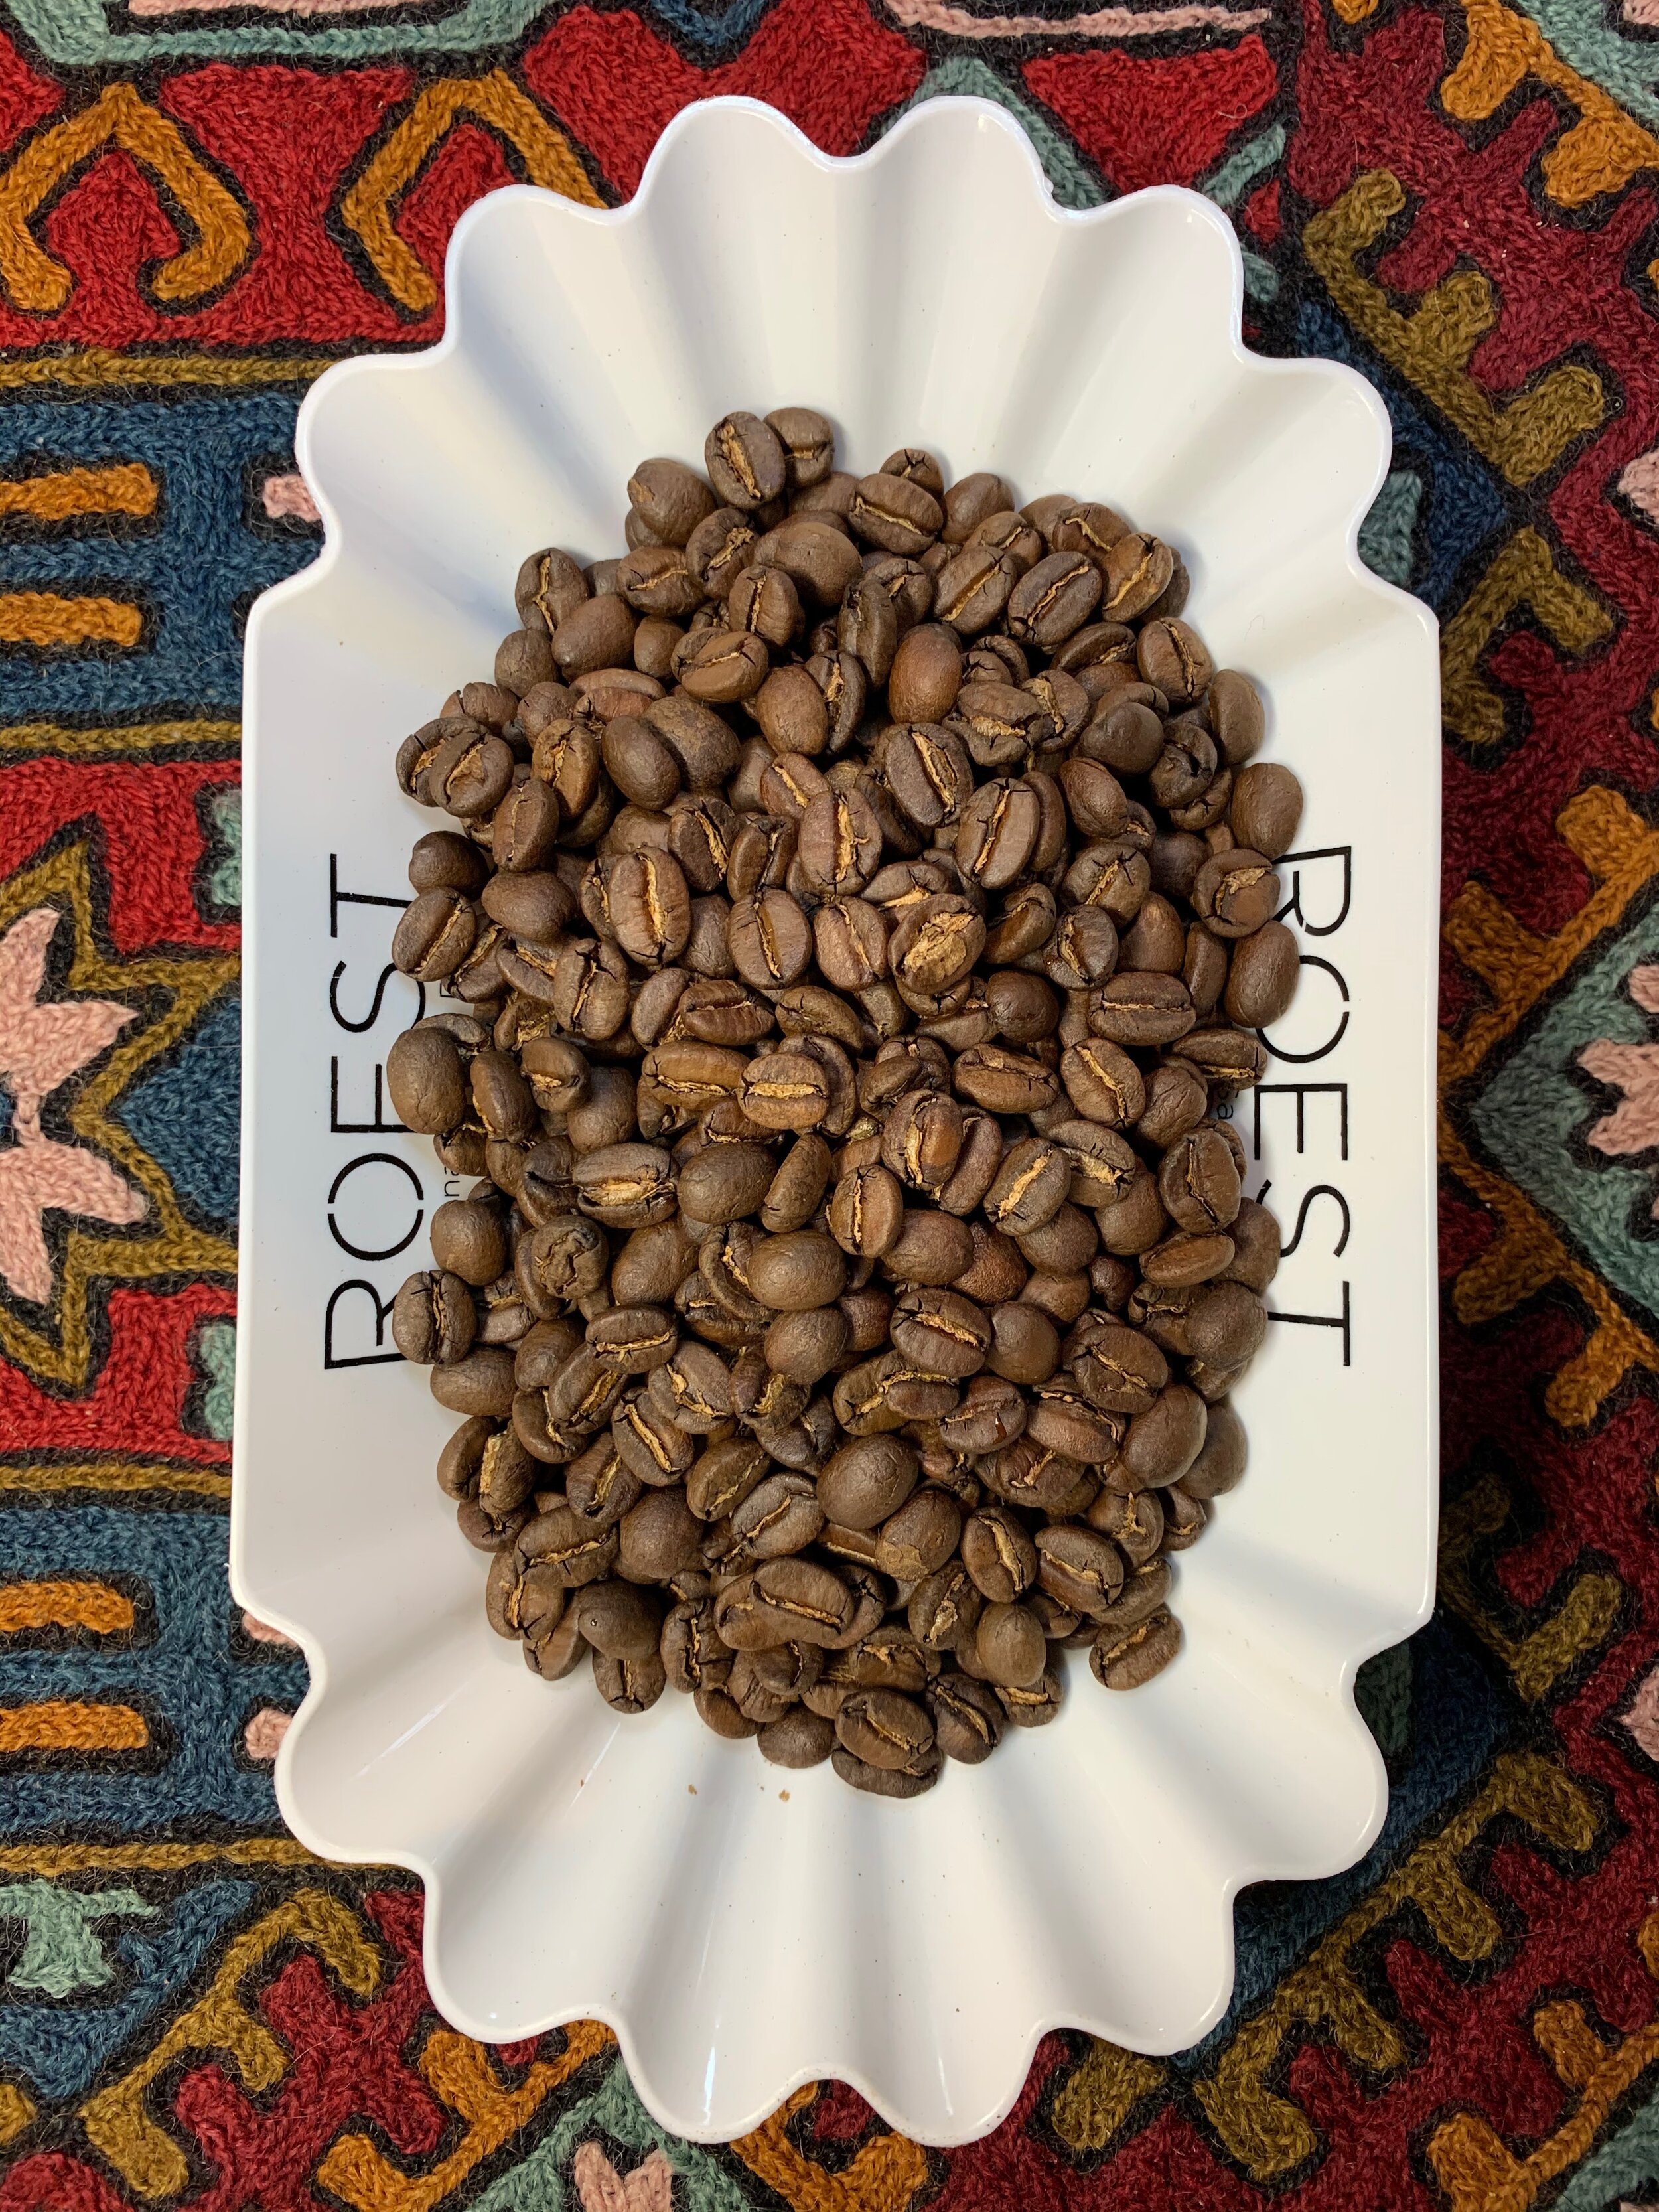
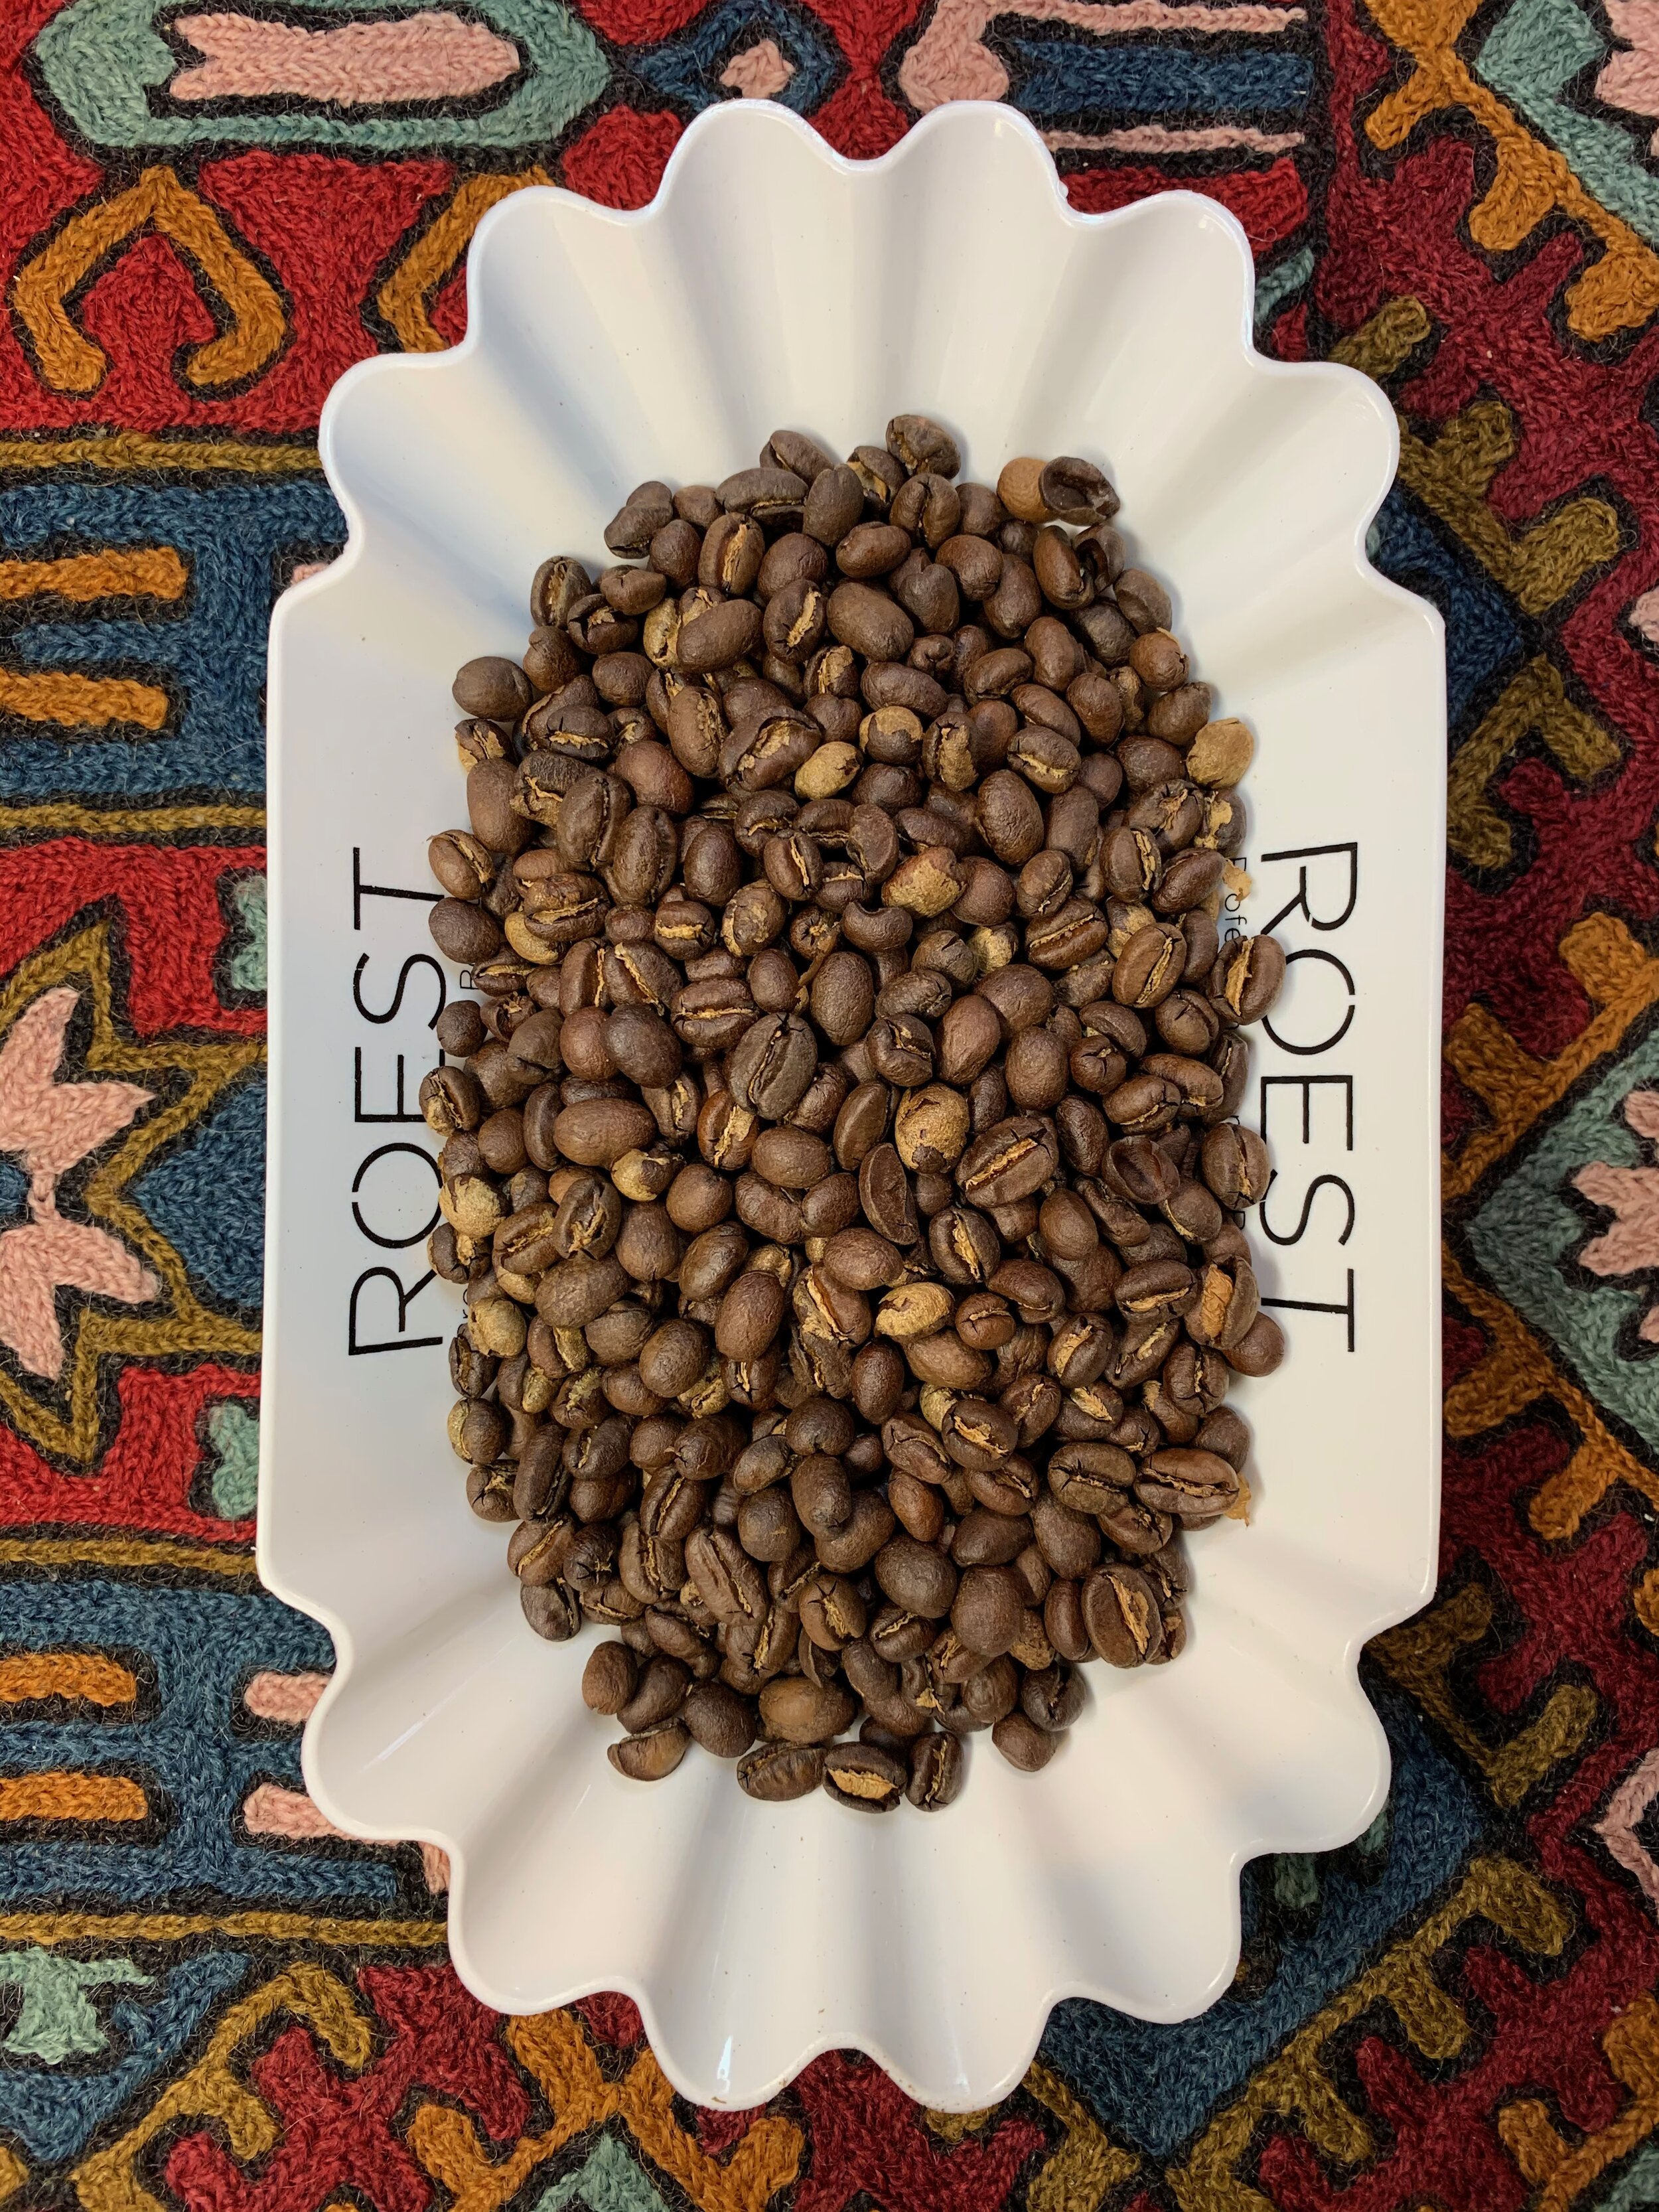
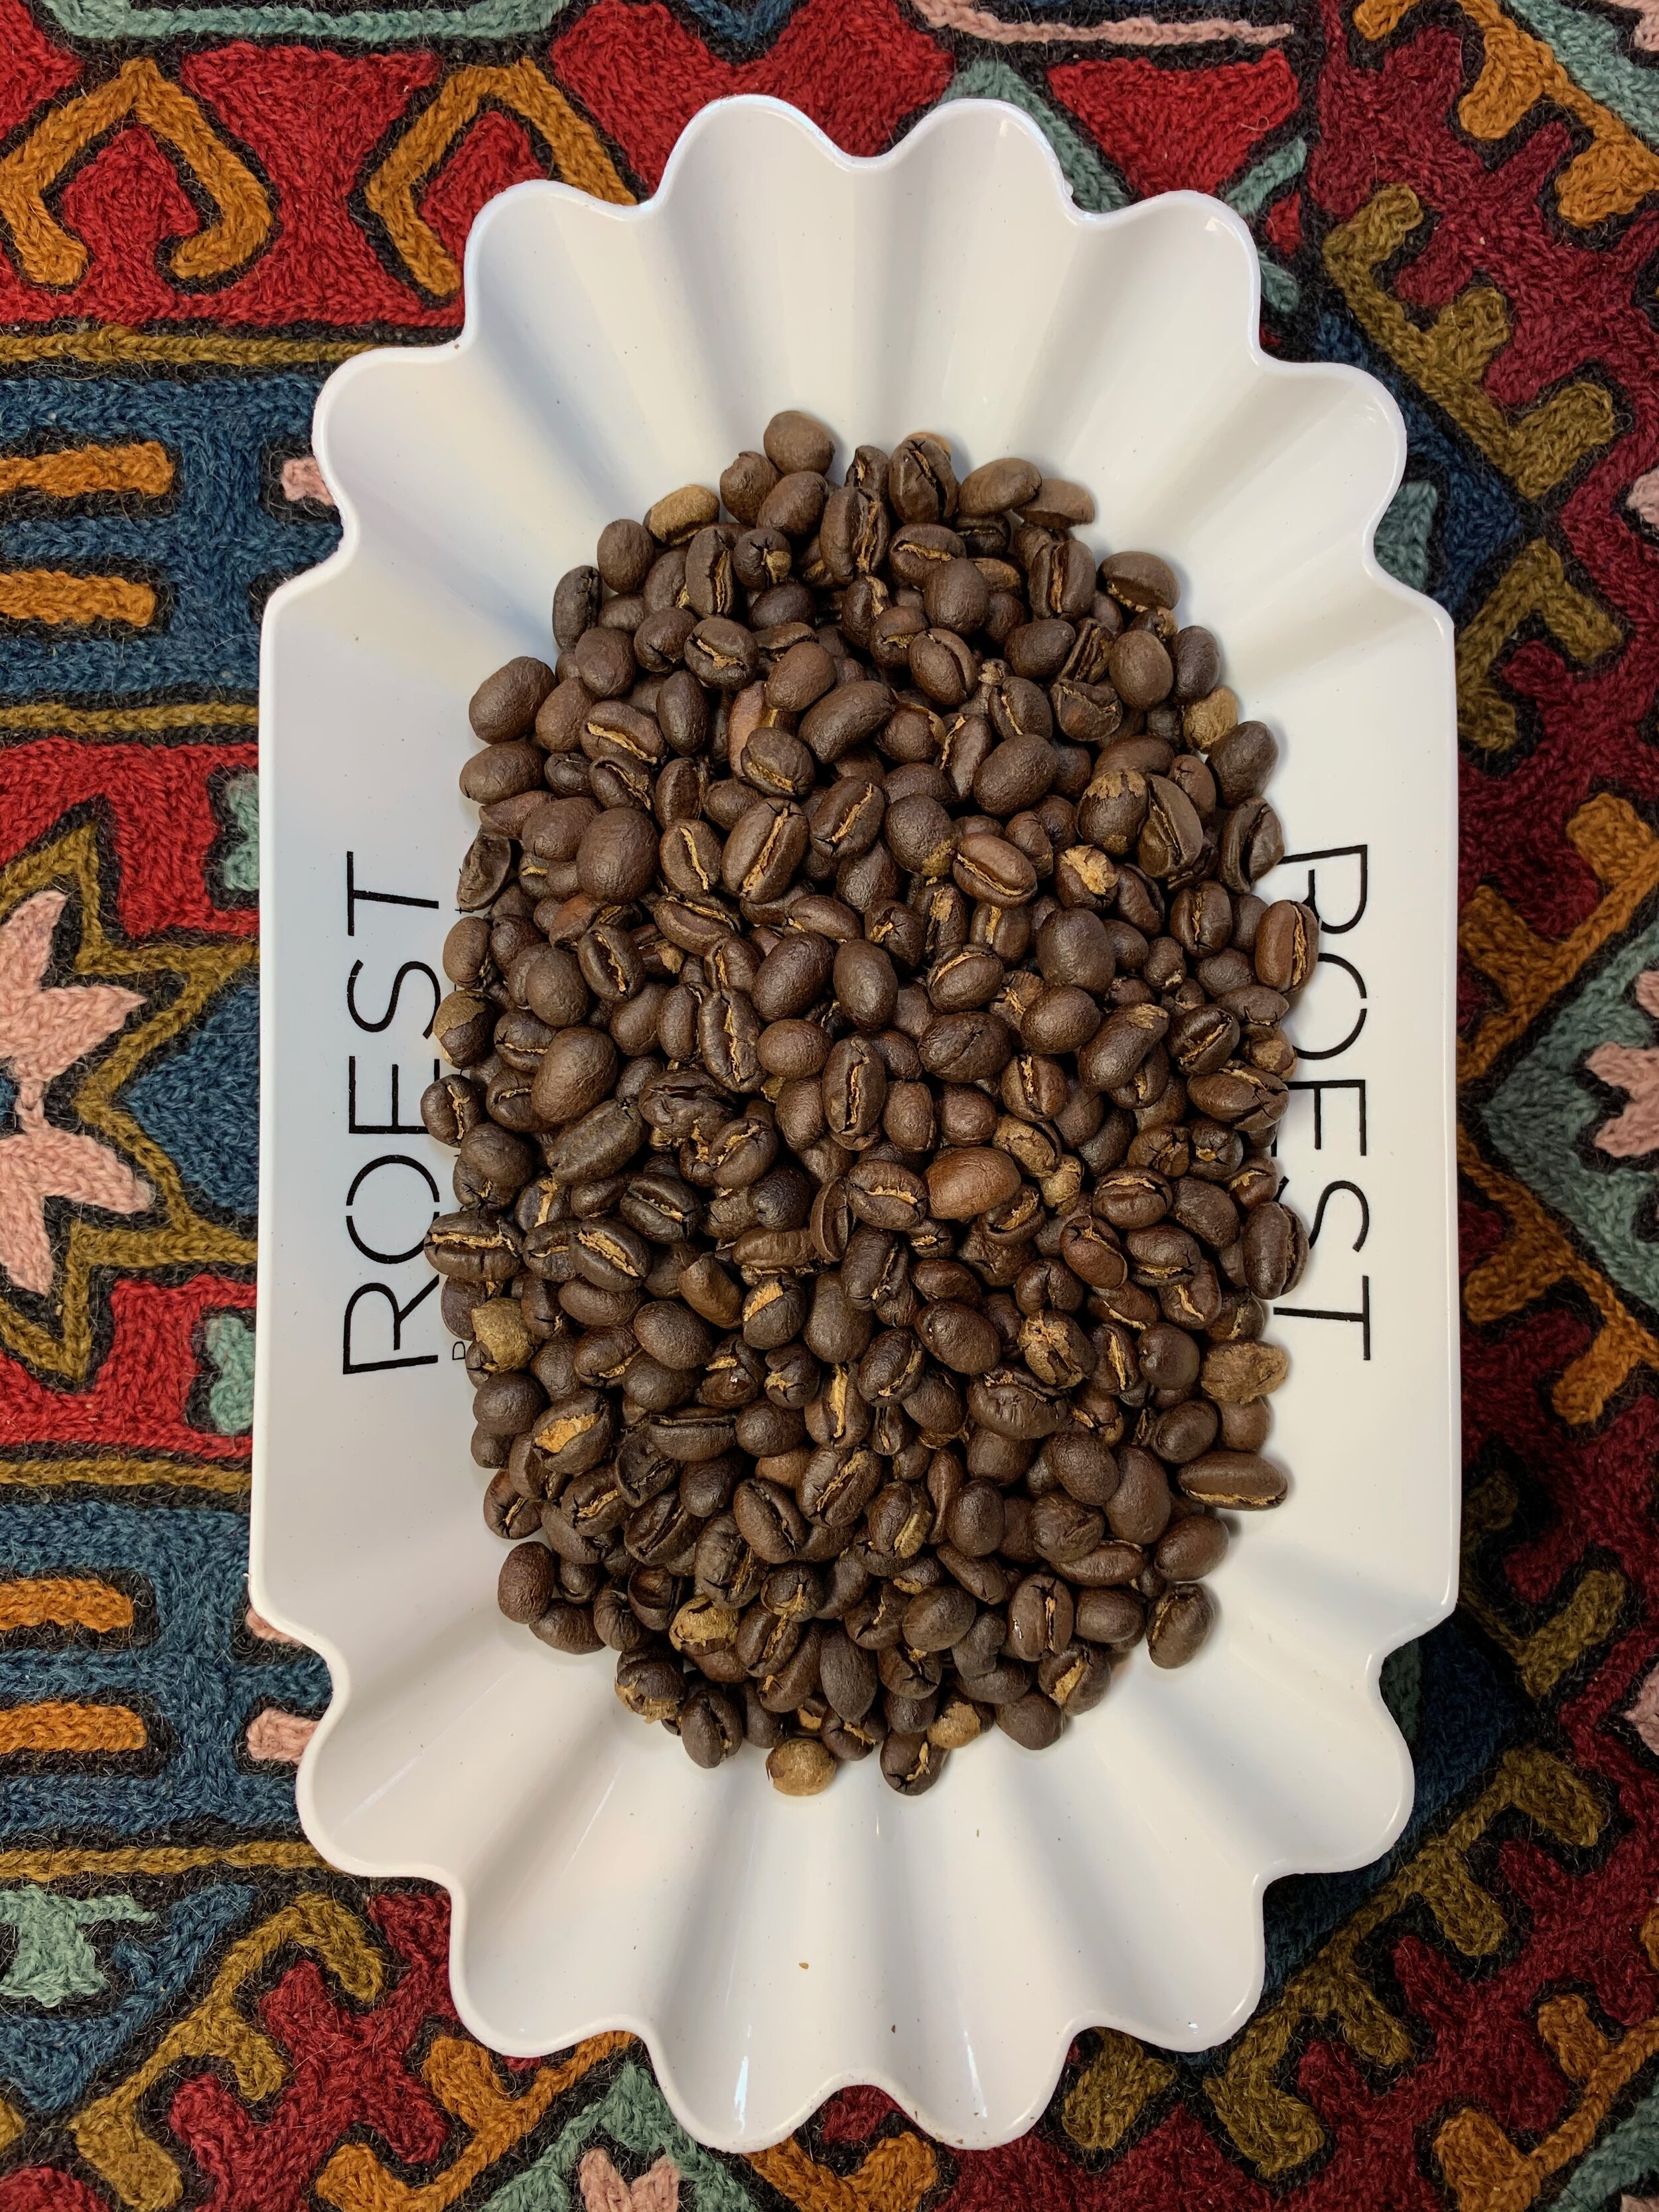
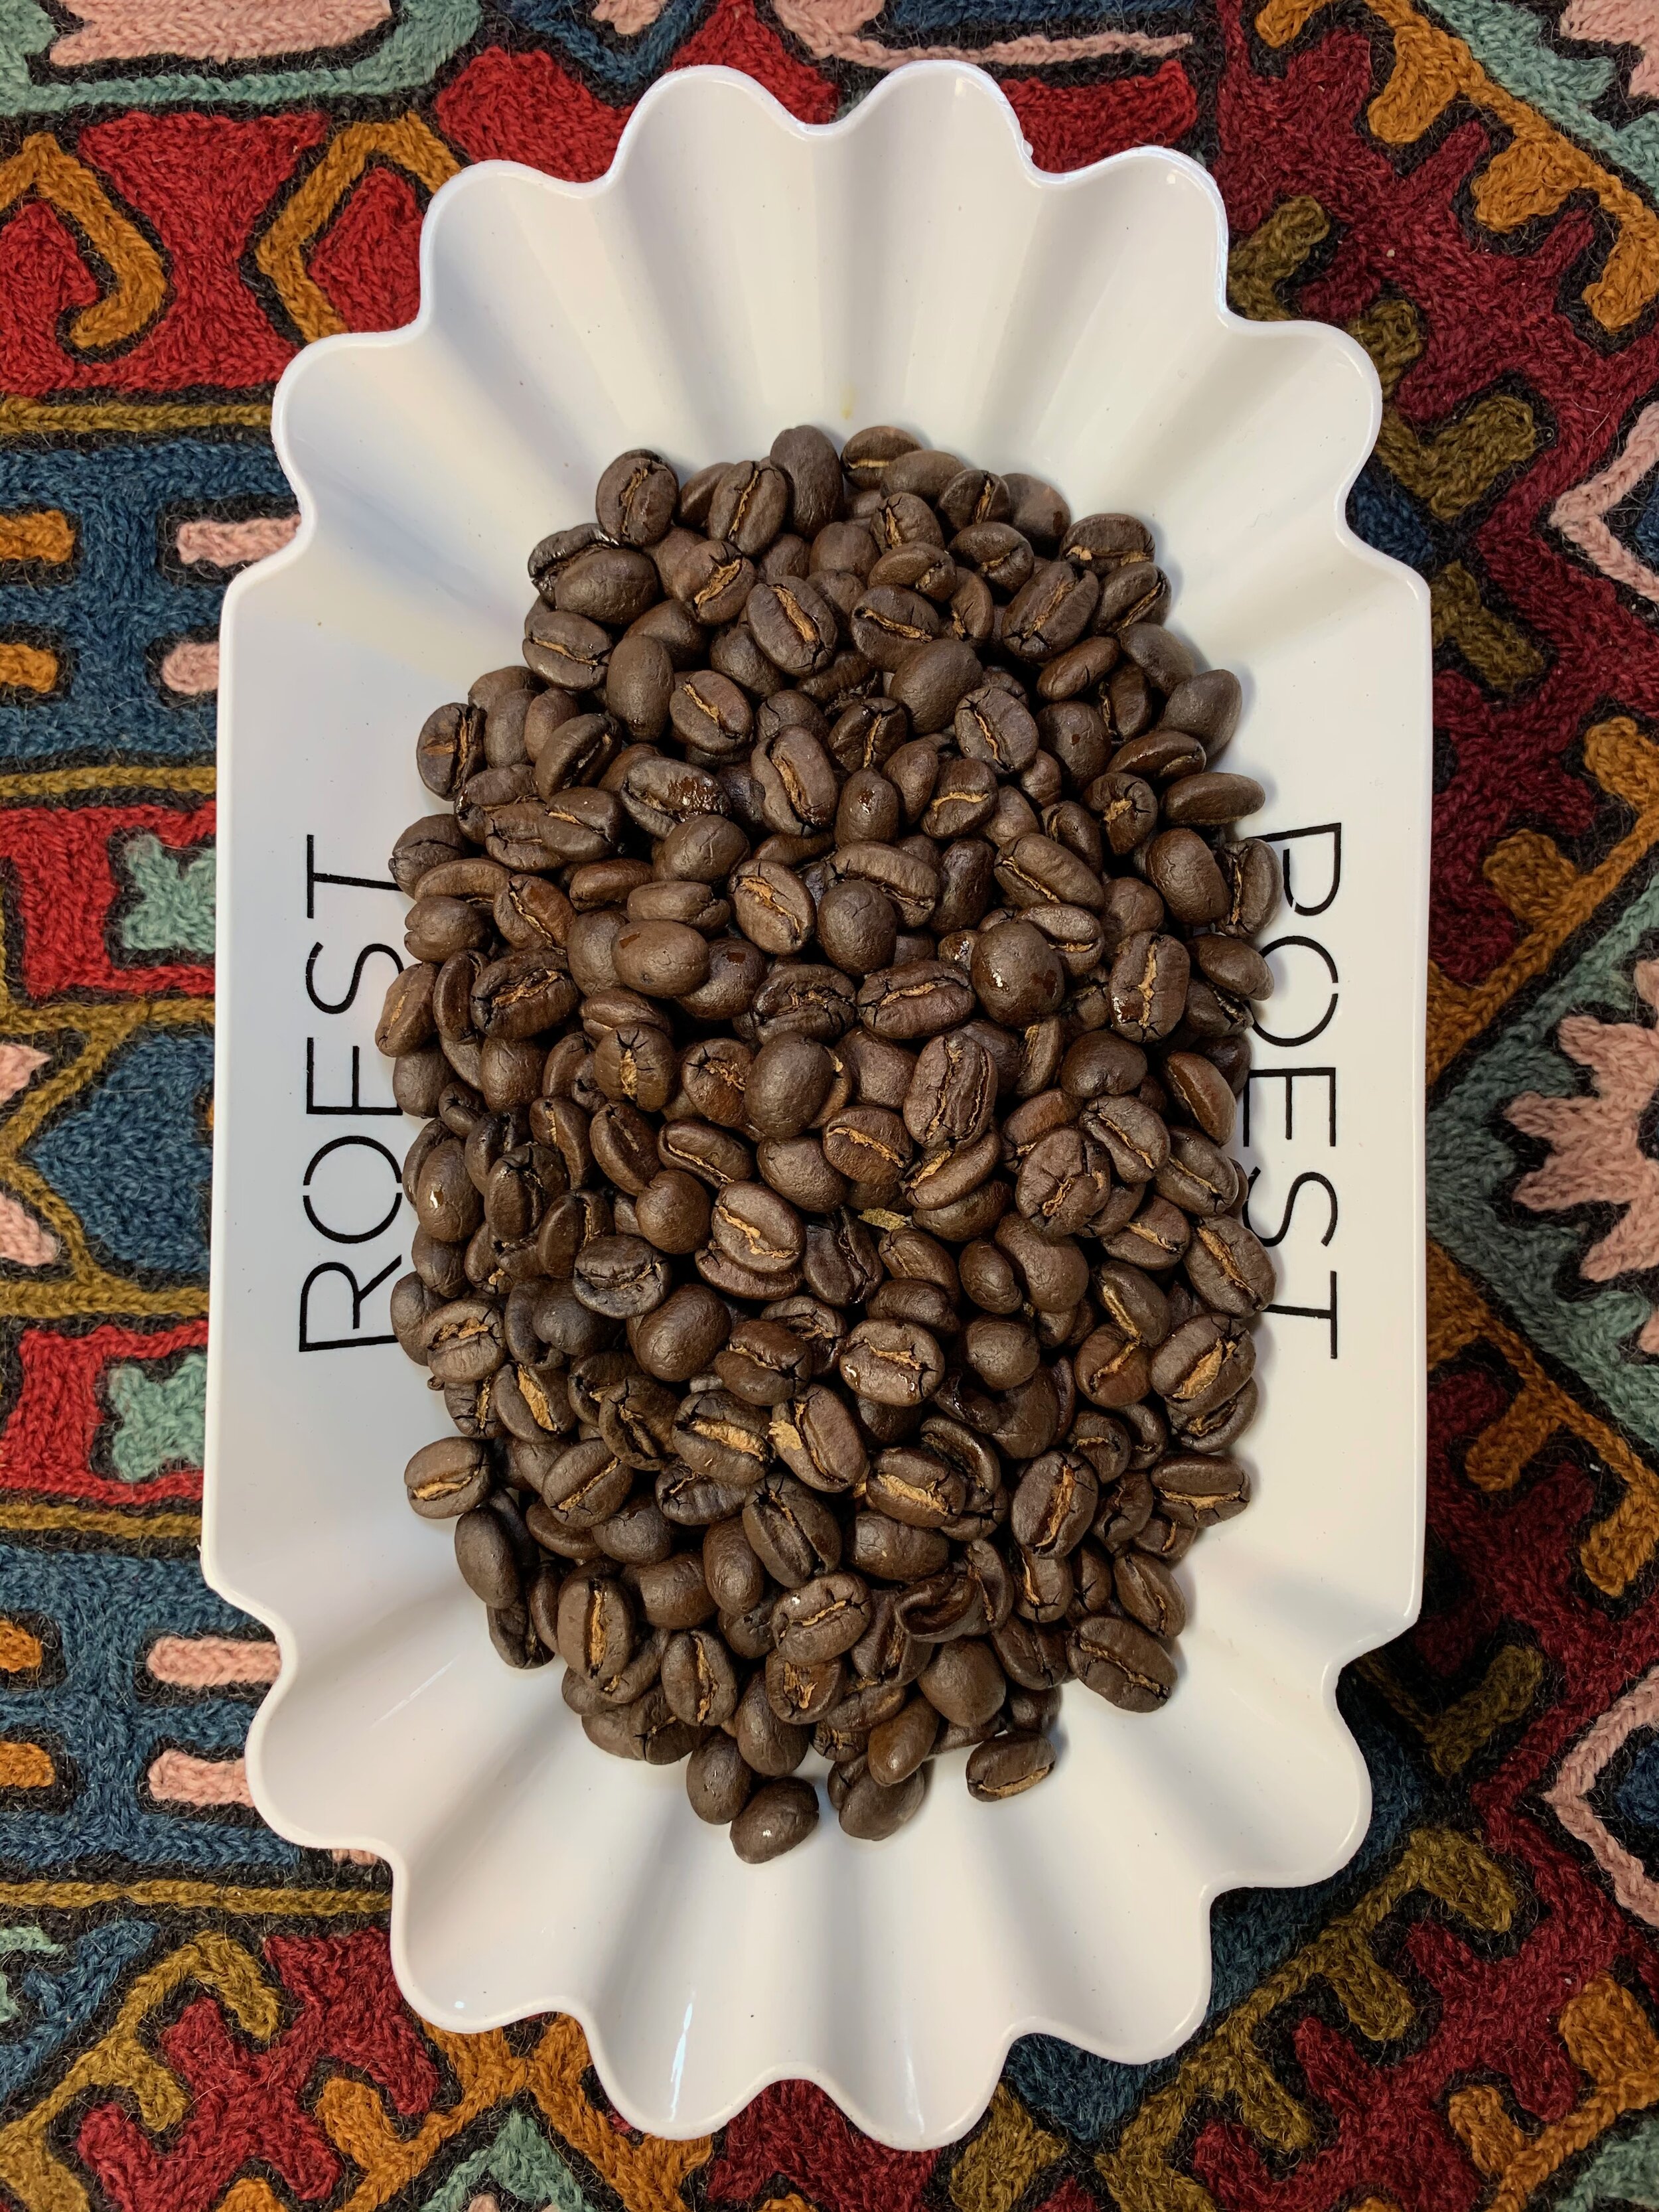
I roasted these coffees, which are on the table today, from a very light middle of first crack dropped at 200°C all the way up to a middle of 2nd crack dropped at 224°C. 

Roasted to drop temperature: 200° - 206° - 209° - 215° - 220° - 224° Centigrade

This provides me a very full range of possibilities inside this bean. It may help me see what is possible for filter brewing and even espresso use. Lets taste and comment on these roasts to see what this bean is capable of. 

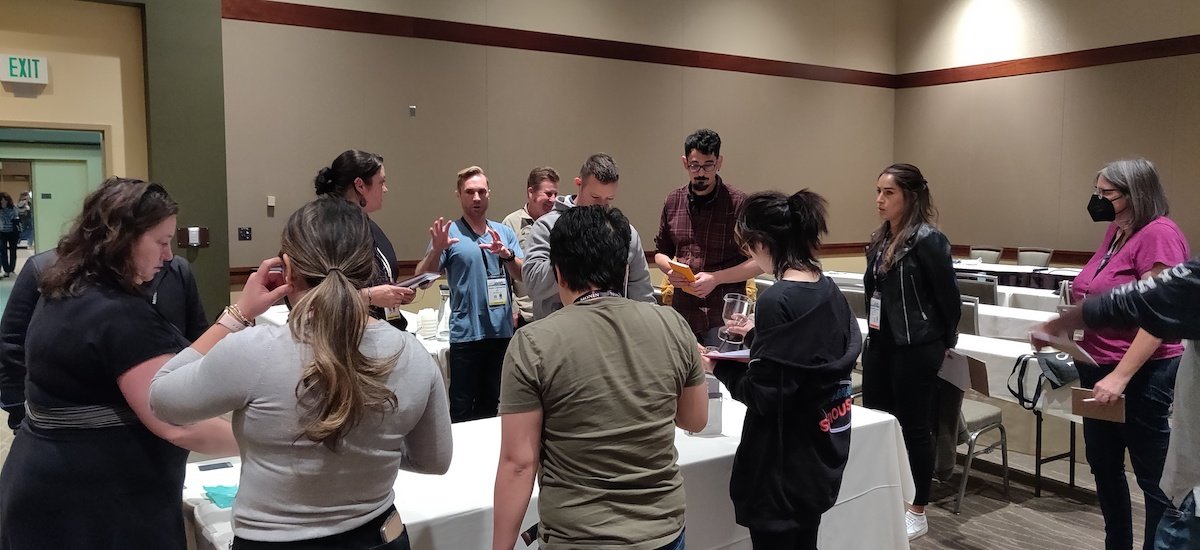
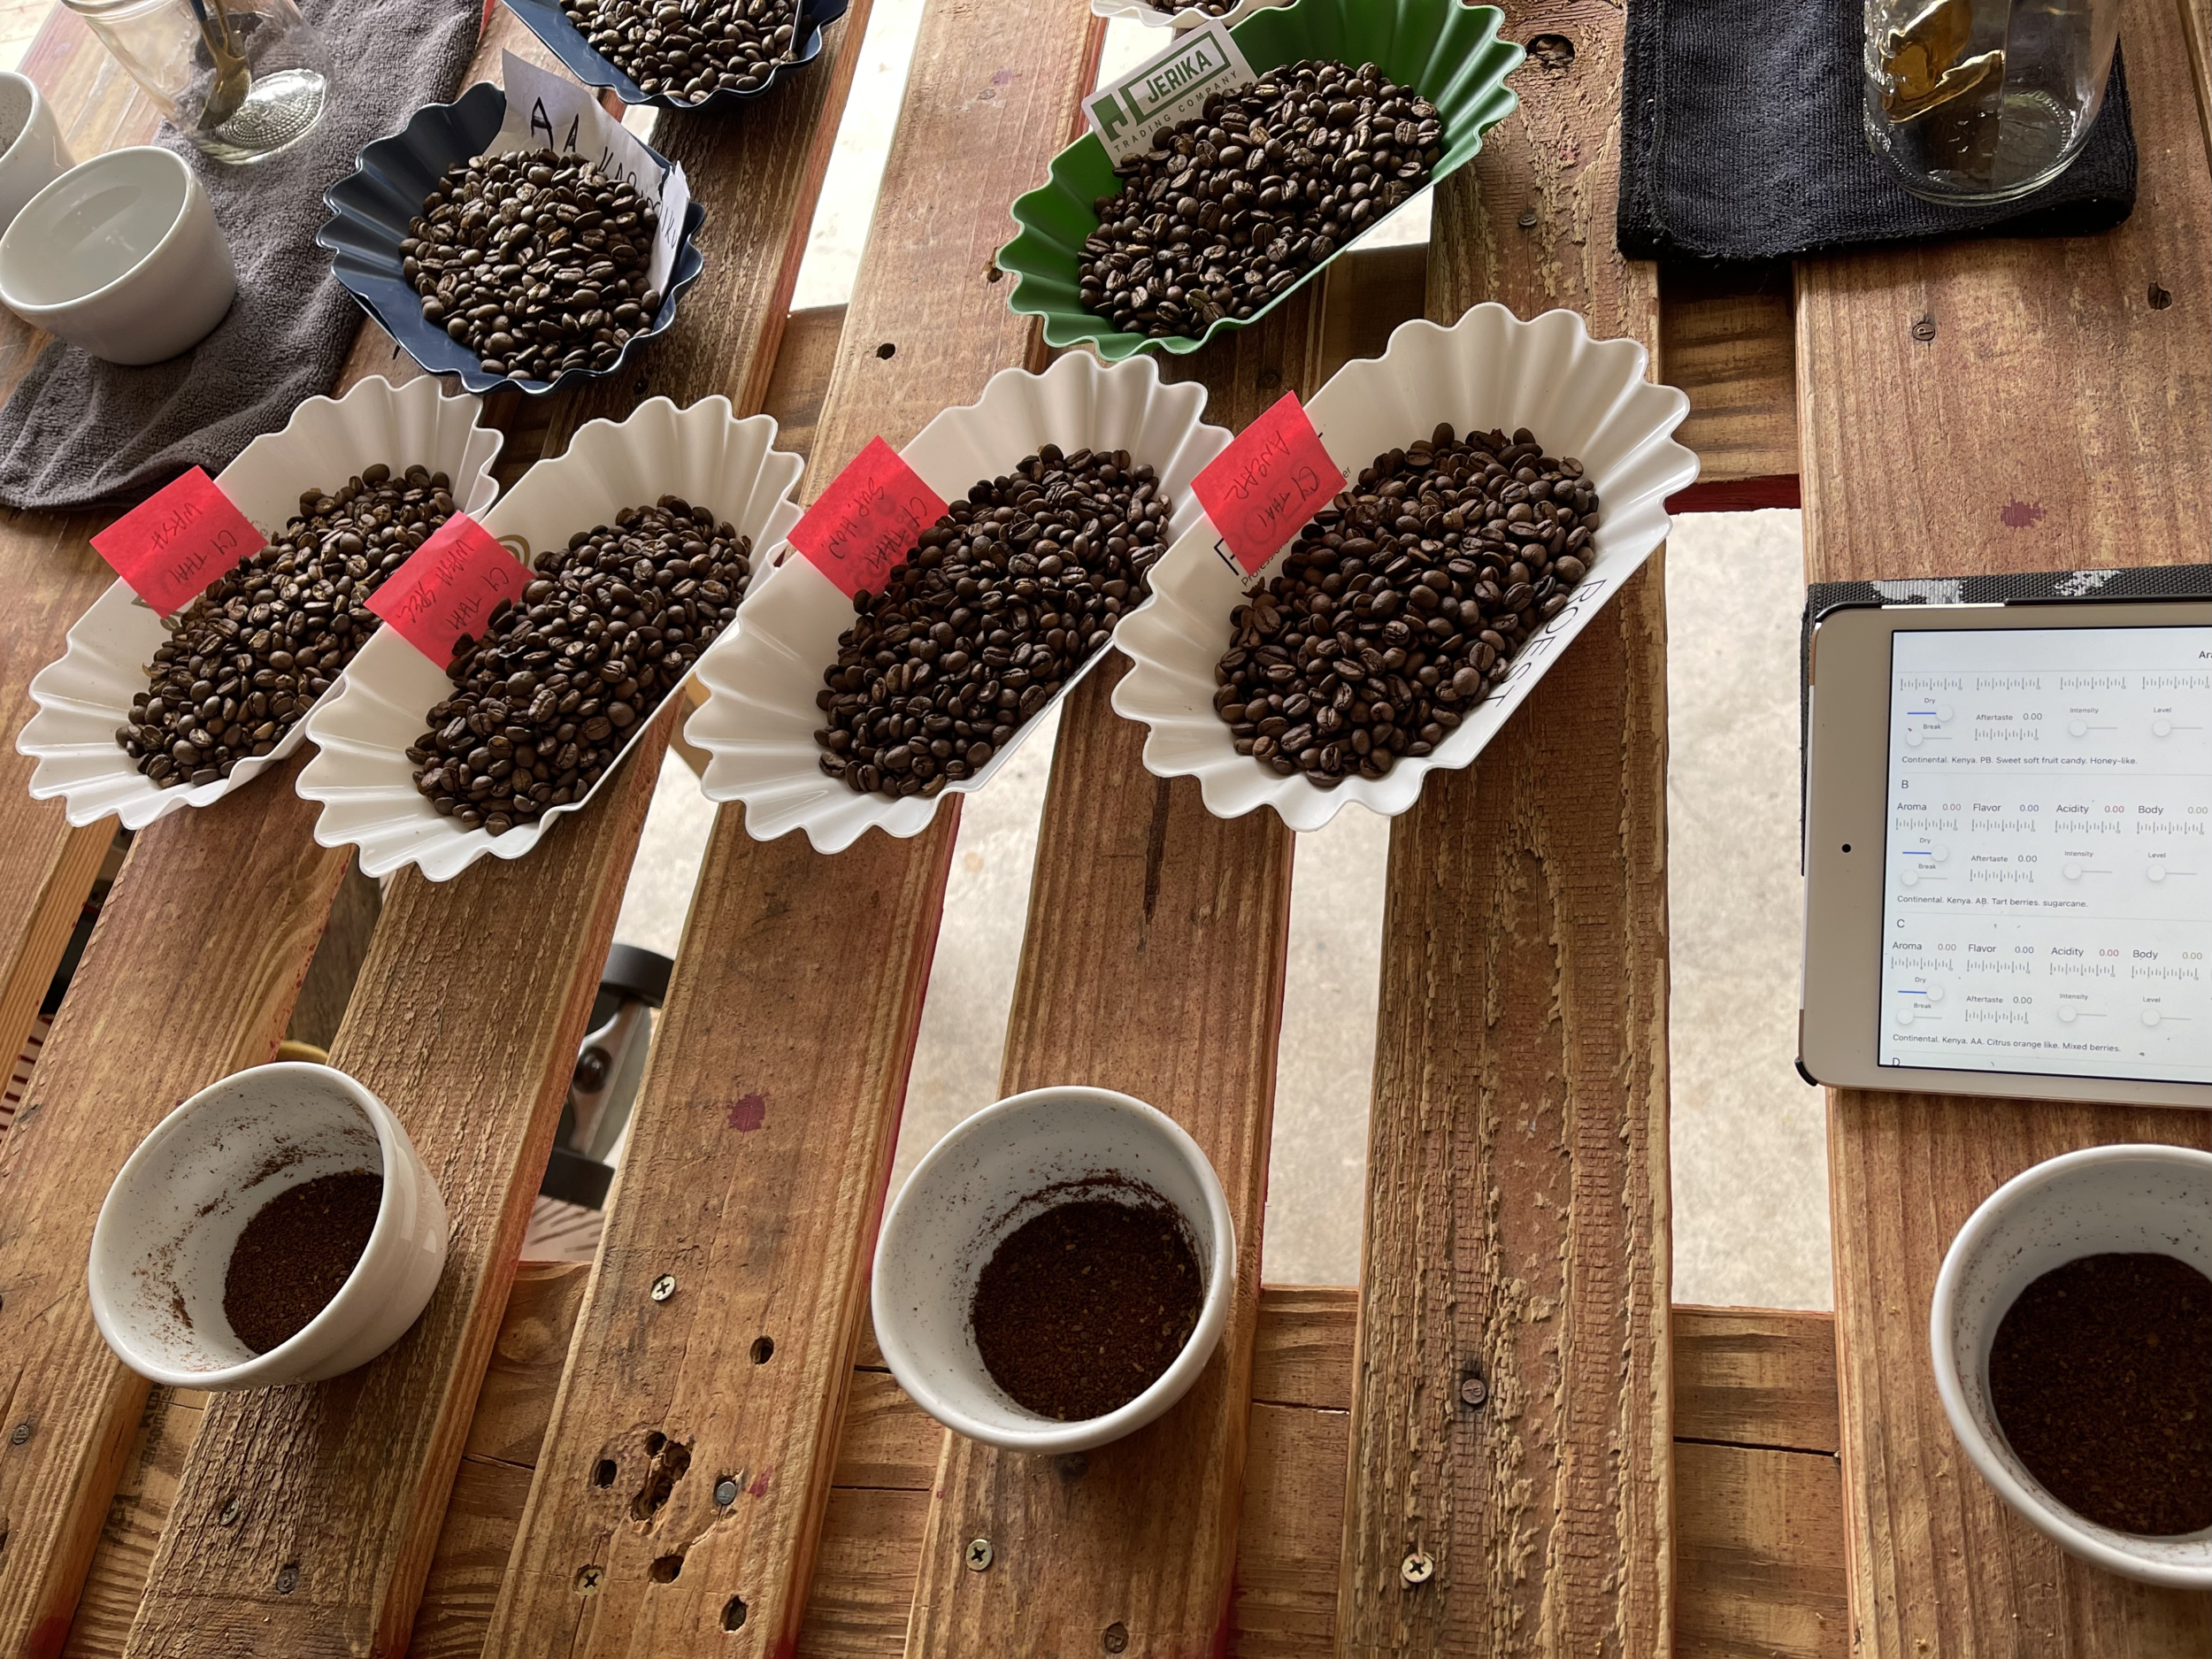
Here we proceeded to cup the 6 coffees as they were laid out in sequential roast order on the tables.


Cupping Feedback

Here we cannot replicate the cupping which occurred at Coffee Fest, but I’ll summarize and describe what happened. General feedback follows from each of our 6 roast levels:

ROAST LEVEL:

  1. Fast Light 200°C Very bright, high acid, juicy, unbalanced like lemon

  2. Sample Level 206°C Clean bright lemon acidity, high sweetness, full body

  3. Med-Light 209°C Caramel, nuts, sugarcane, balanced acid and body

  4. Medium 215°C Cinnamon, spices, dark chocolate, bitterness and body rising

  5. Start of 2nd 220°C Roasty with wood and cacao notes, dry bitter finish

  6. Mid2nd Crack 224°C Roasty with wood and cacao notes, dry bitter finish

Warning! 

You can only use my drop temperatures and profiles as a guide.

Every roaster and bean probe will behave differently. Explore and define yours.

As you can see this coffee has a wide range of qualities and potential use cases. Many clients and roasters seek dark, “bold” and rich flavor profiles like we experienced from 215° - 224° C. drop temperatures. The heavy body and chocolate spices would lend to a very good espresso blend or dark roast blend.

In my personal experience and preference I blend my dark or French roasts to ensure that there is no one defining characteristic. Very few coffees stand alone and age well in the bag as dark roast single origins. I might consider blending this dark Colombian with some other nice dark roasts like Peru, Mexico, Kenya, Sumatra or India. 

Considering the light roasts between 200°-209° C. drop temperatures I was very surprised how high the acidity and sweetness levels were. I was very pleased with the Sample Roast level at 206°. I call this “sample roast” because it had just completed its first crack and would typically fit that SCA cupping protocol of 63 ground Agtron Gourmet color.

The 200° C. was too light with some grassy and astringent notes. The 209° C. was in fact really nice, but just was not what I needed for my clients and portfolio presently. The hopeful note I have in each range displaying quality is that as this coffee ages 3-6-9 months in storage I know that various roast levels or qualities may be displayed. 

Your coffee is alive and will change with age.


Roast Profiling and Scaling for Production

These coffees were roasted on a small drum convection air roaster made by ROEST. The sample sizes were only 100 gram batches and the roasting is both efficient and fast. How then shall we consider scaling up our ideal profiles for a traditional large production roaster. For our example, lets consider a 12kg / 25lb gas powered drum roaster.

Scaling a roast from 100g to 10kg.

Transferring profiles from convective air roaster to a gas drum roaster.

We should ask, what variables can we hold on to and which ones should act as targets or controls? By identifying our targets and controls we can allow the others to move and adapt as they would naturally with scale. The root of our logic is that this is physics, math, thermodynamics at work (scaling) while we seek to preserve and replicate the chemical and sensory properties of the roast.

We use the cupping table and sensory observations as our target outcomes.

We hold drop temperature and general development as our leading indicators.


Time for Math!

Let’s look at a few different roast profiles and examine how we might scale, stretch and adapt them to move from a 100g sample air convection on ROEST to a 10-20kg roast on a traditional gas drum.

This was the daily work and regular mental math we would employ on our old Diedrich IR-12 while roasting in Central China. Our samples were prepared on a Quest M3 (300g) electric drum roasters while the Diedrich IR-12 burned propane LPG from tanks.

We kept paper records and recorded simple T-Charts to watch Rate of Rise (ROR) as it moved. Mentally calculating and predicting ROR is a very important skill for roasters to feel, predict and guide their roasts.

Today roasting software performs this work and multiple calculations for us. We get real time ROR feedback with colors and percentages to guide our drying, development and roast percentages. 

We will reverse engineer those percentages so that we can understand how we want to scale or stretch from our sample roast up to a production roast plan - with the goal of preserving cup qualities and attributes.


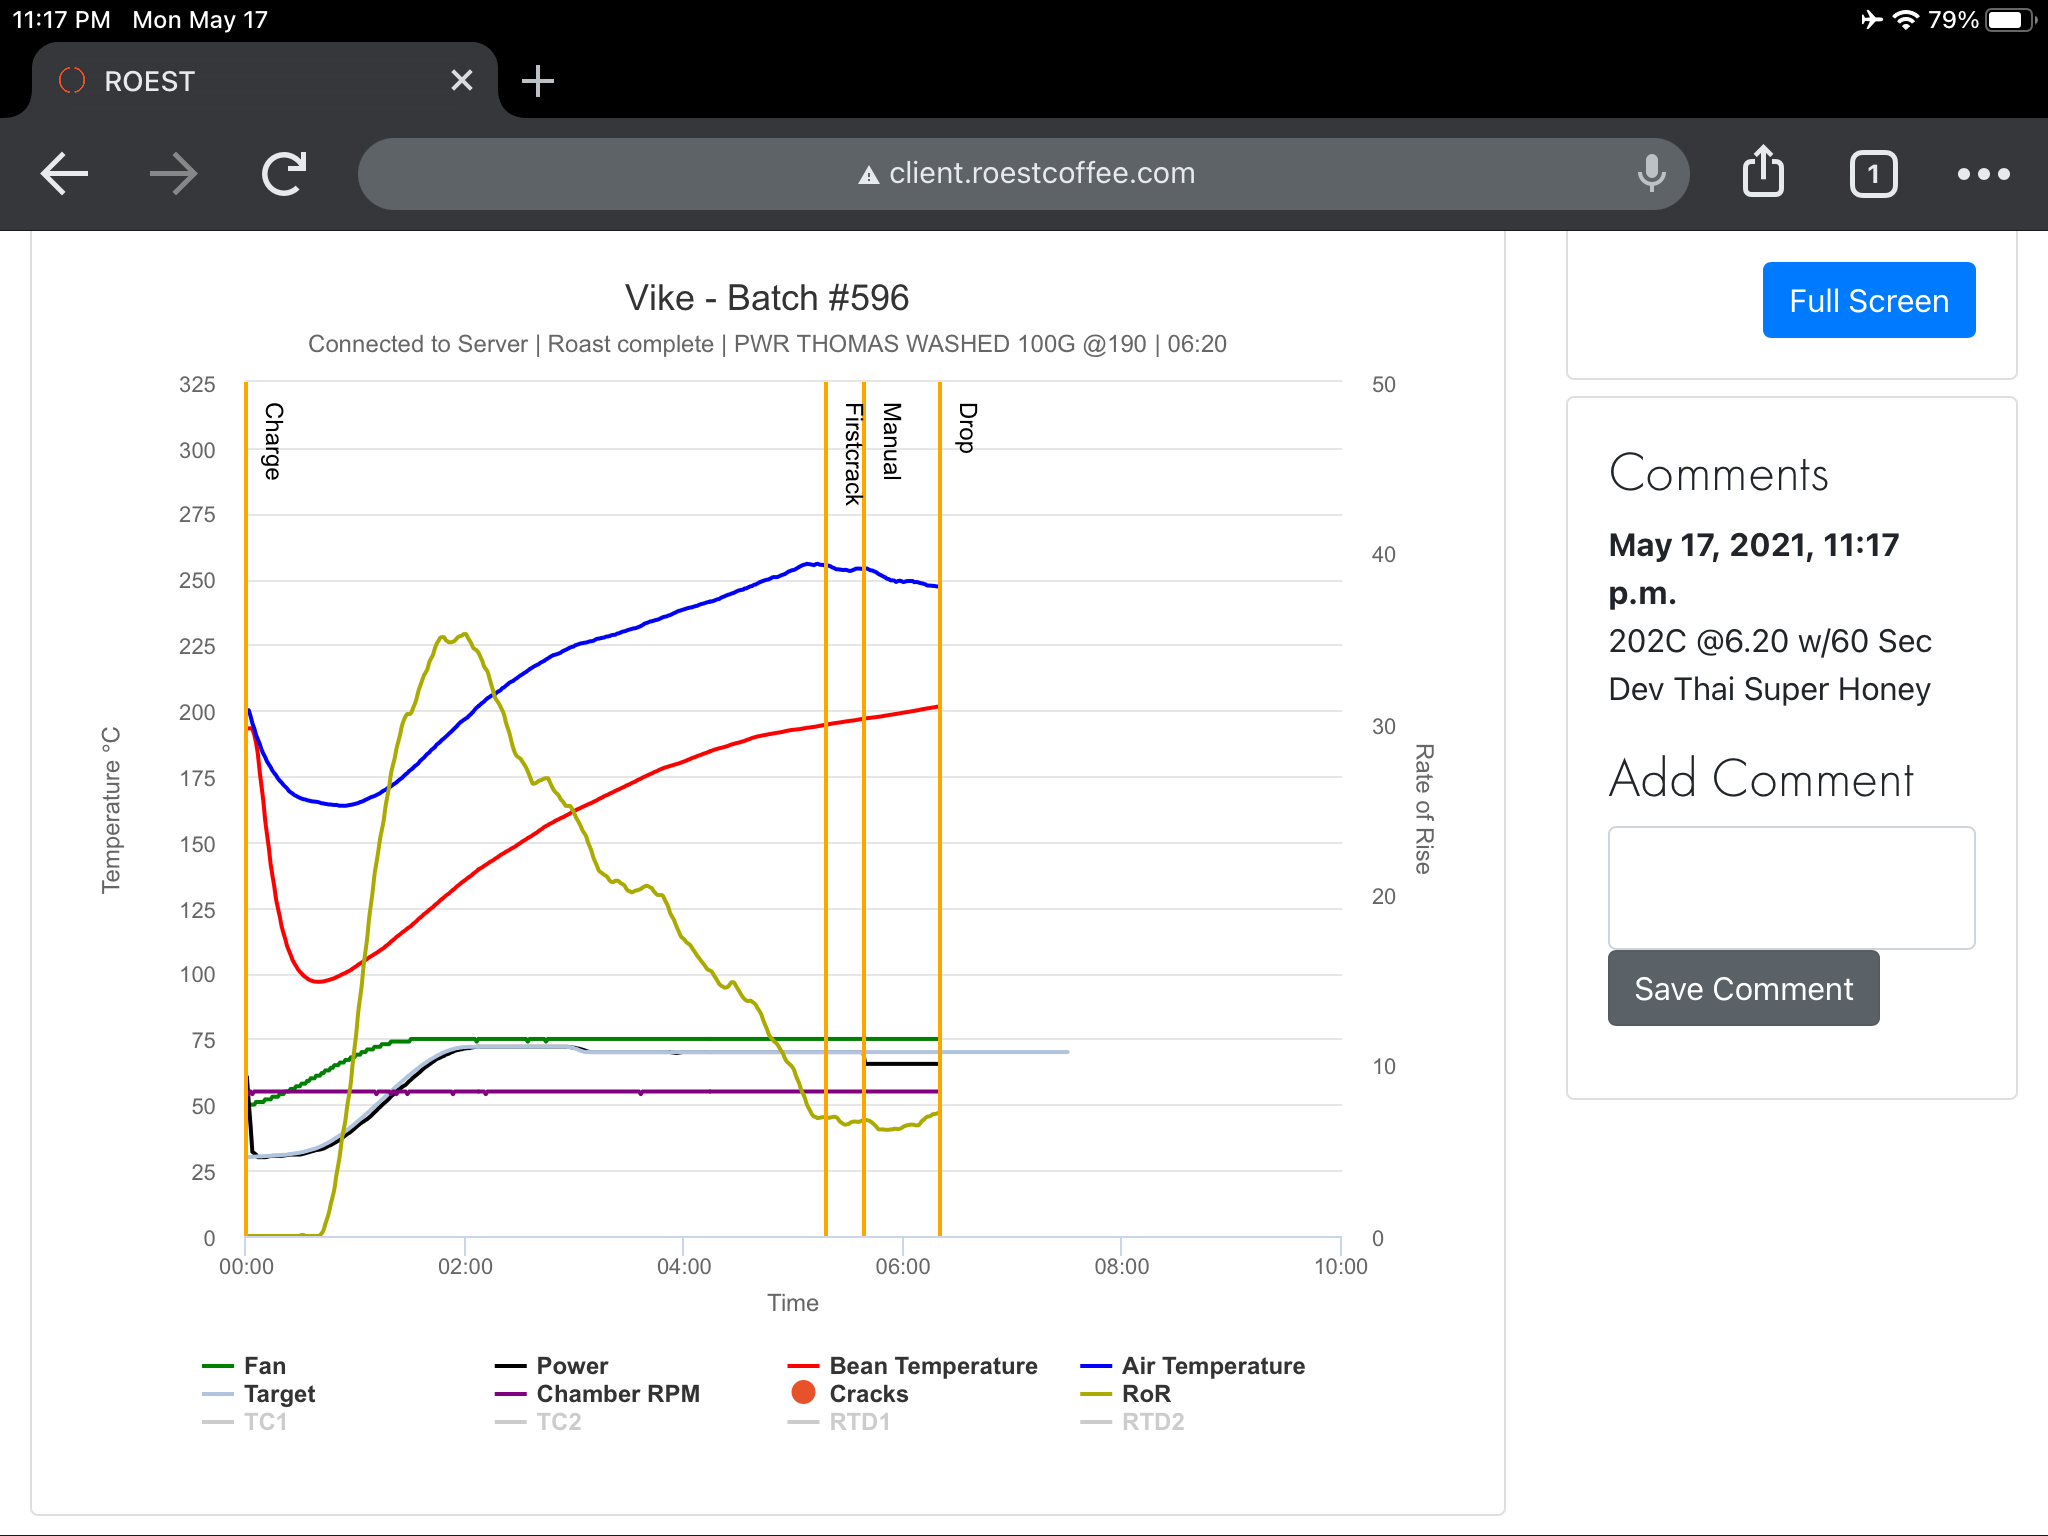
Roast #1 - The Super Light 200° Drop

Let’s use roast #1 as a control and example. If we can reproduce this roast on a production roaster, the others should easily follow. The challenge we face on lighter roasts is that our small convective sample roaster is capable of fast and efficient roasting. When we move from 100g to 10kg we have multiplied the bean mass 100 times!

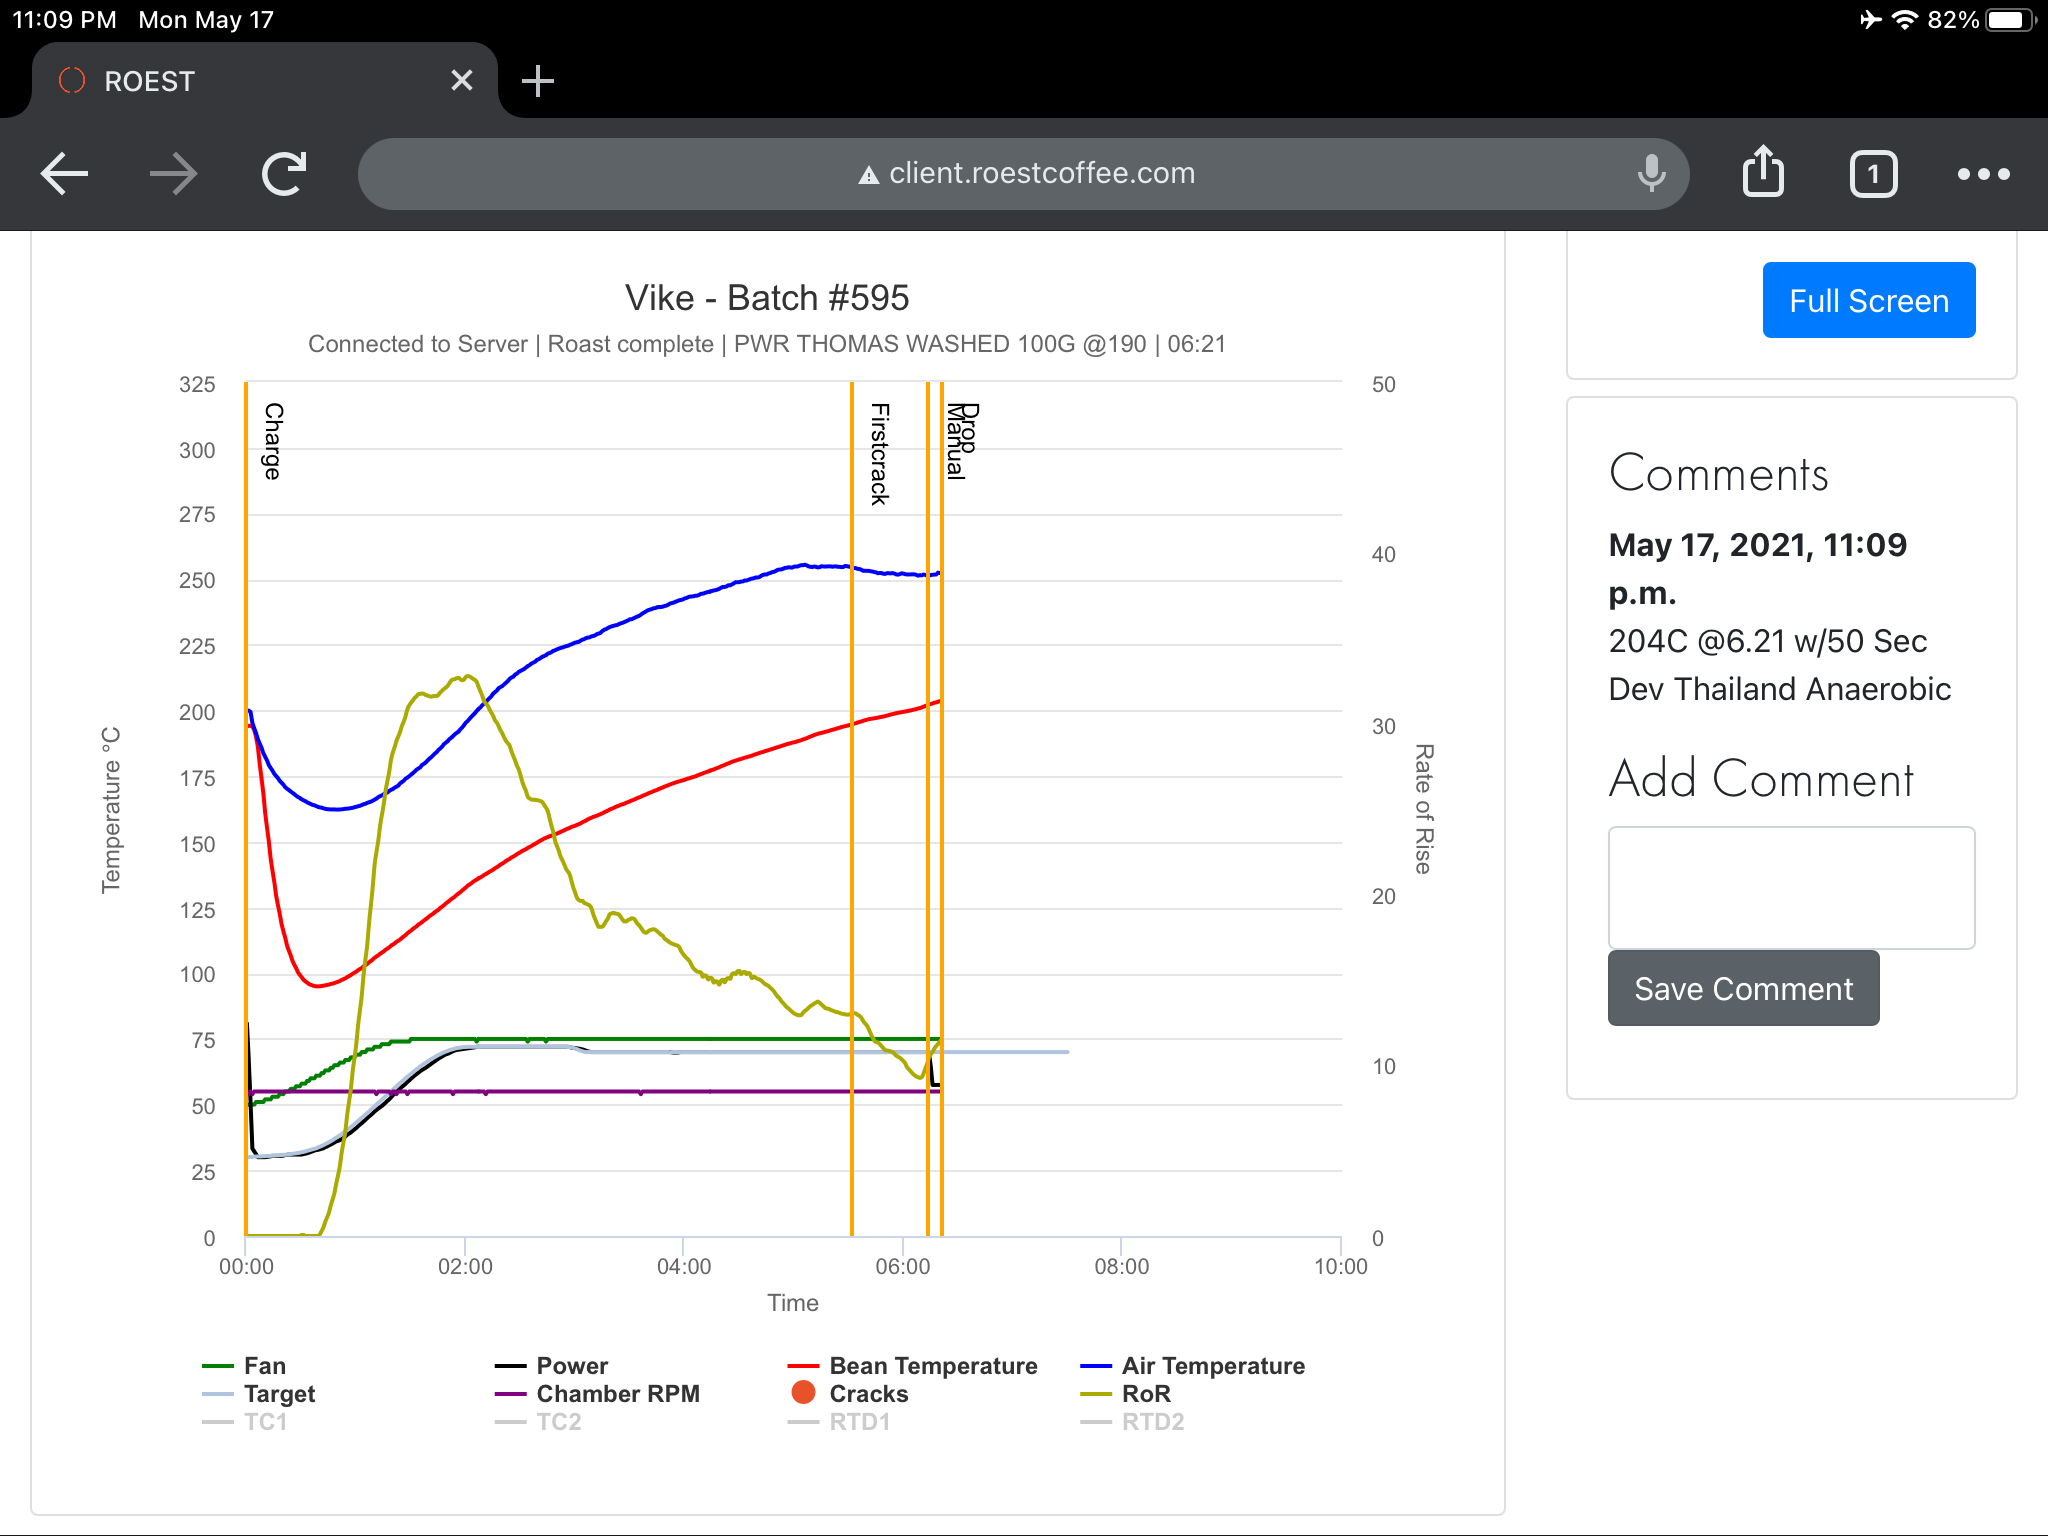
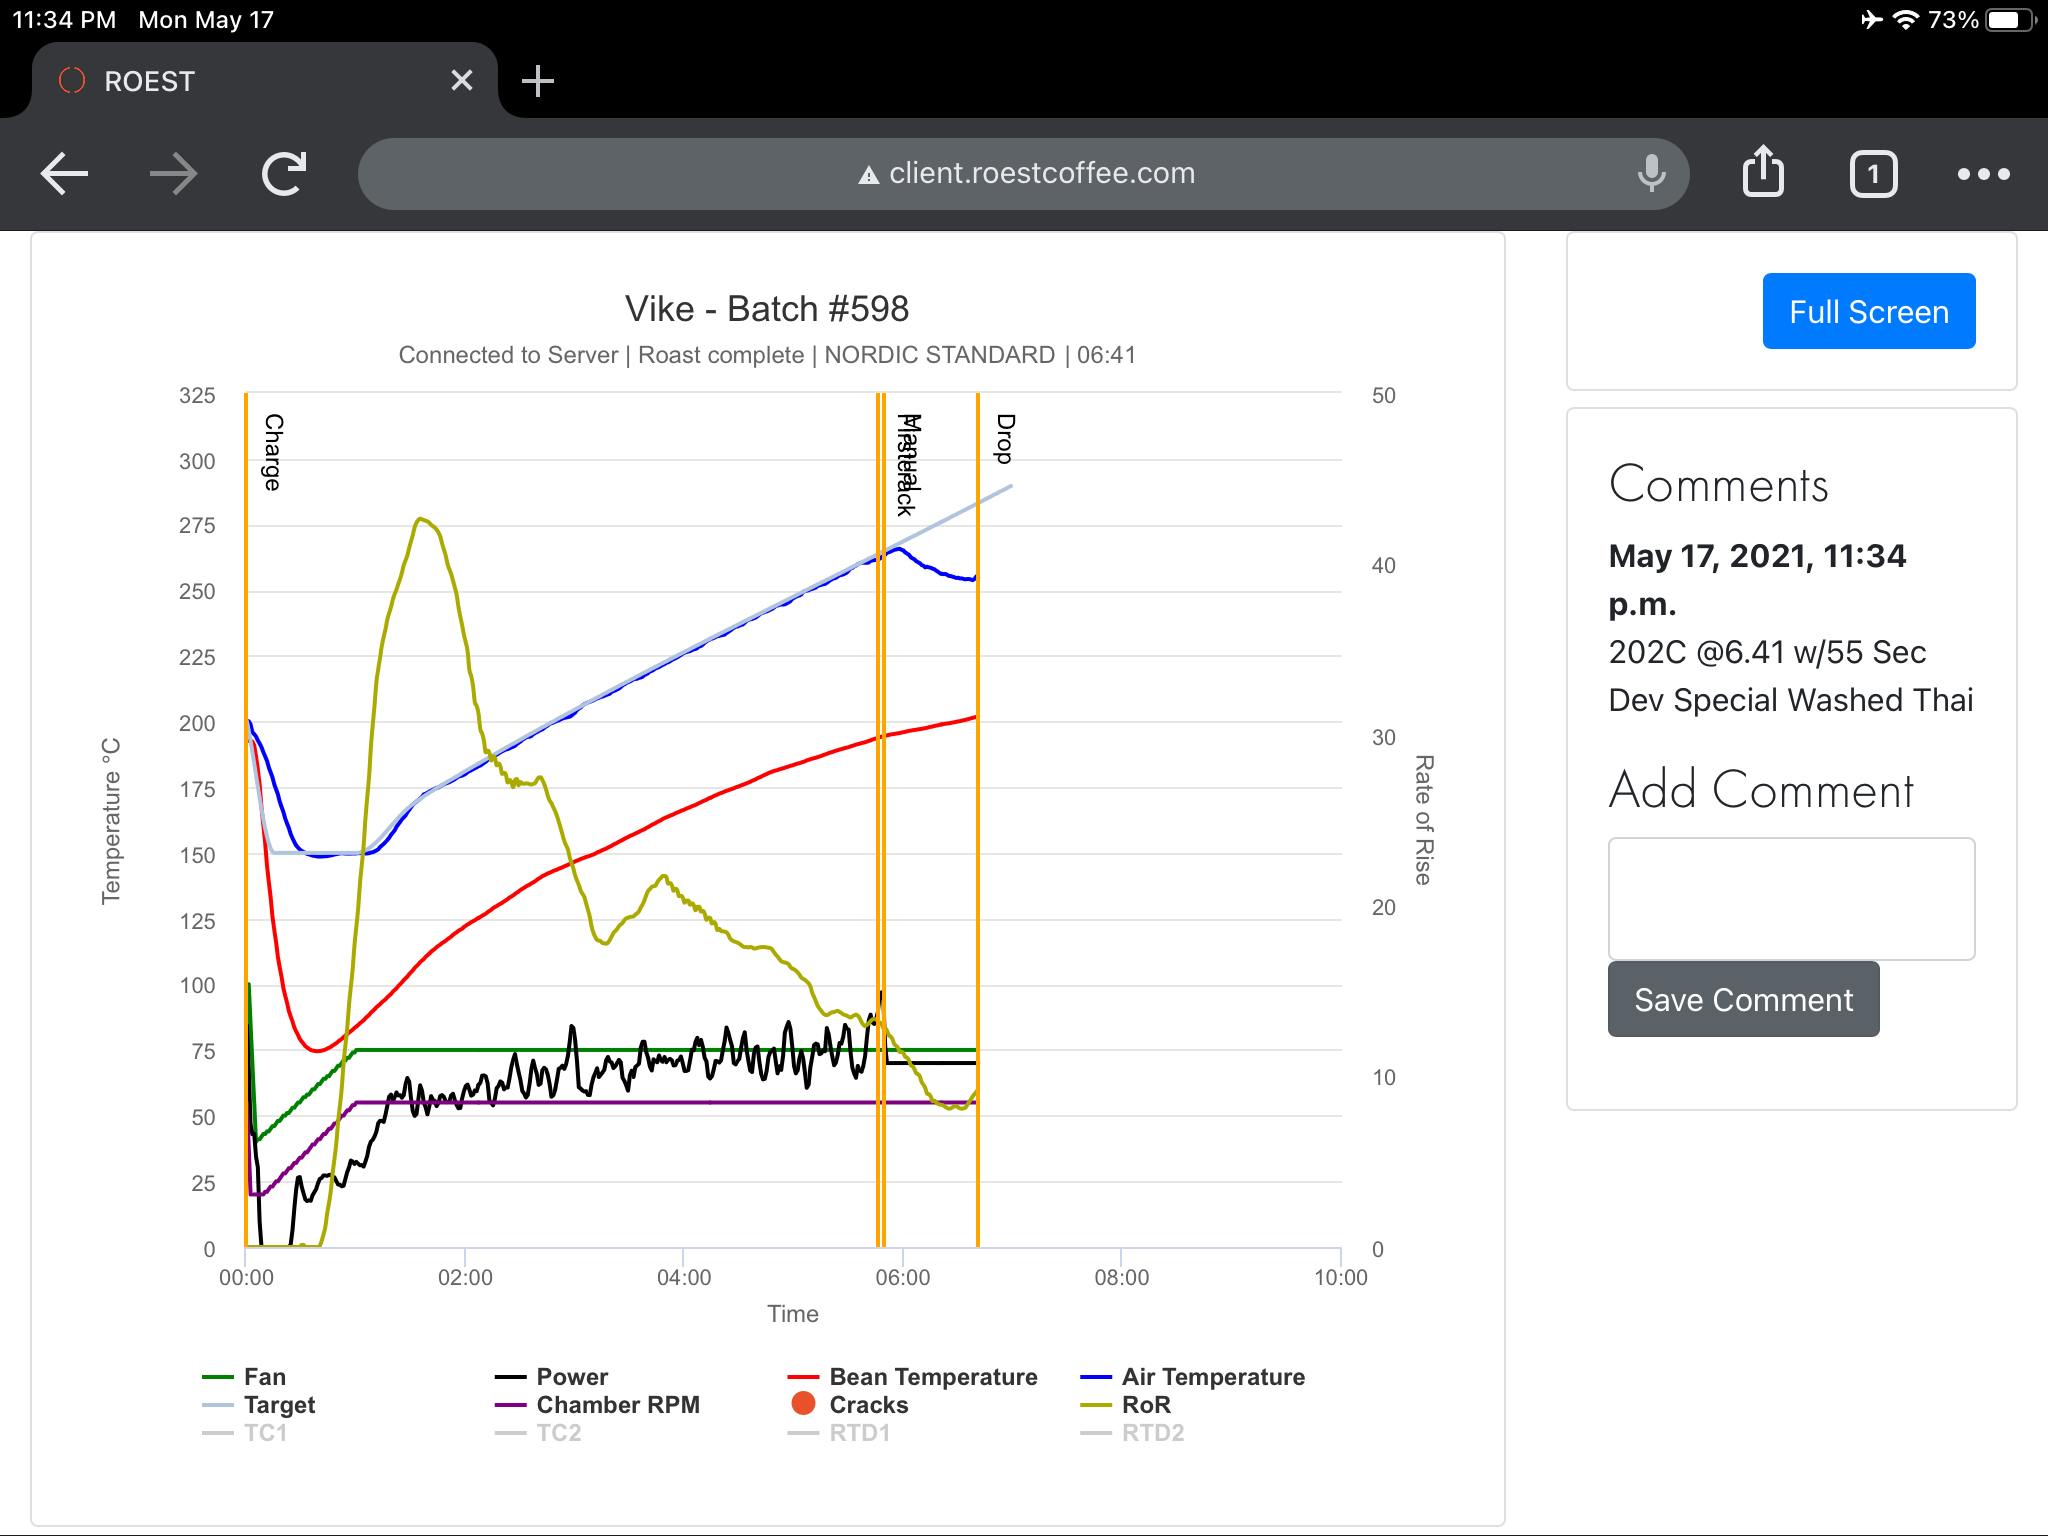
FROM ROEST SCREENSHOT - LINES REPRESENT:

  • Blue Air Environmental Temperature °C (ET)

  • Red Bean Probe Temperature °C (BT)

  • Light GreenRate of Rise °C / Minute (RoR)

  • Dark Green Fan Speed as %

  • Purple Drum Chamber Speed as %

  • Black Power (Heat) Setting as %

I held charge temperature consistent at 165°C (ET) on all roasts for the x6 profiles. Fan speed followed the same path for each while drum speed never changed at 55%. Power was changed slightly on each to accommodate for end of roast variances - indicated by “manual” control markers.

Remember that RoR and probes are tools.

Sensory perception and the cupping table are the rules.

Opening the cafe went poorly, “it’s my fault for not ensuring we had the supplies ordered last week.” But you may say, “it’s my manager's fault for not ordering.” Then we come back to ask, “why is it my fault that the manager did not order last week?” Admit, “it’s my fault that I didn’t provide training or checklists or time or accountability or a clear system and process for my manager to ensure that they ordered last week.”

Let’s look more closely at Roast #1

Specifically let’s answer the question how should we plan for this 6:25 roast to move up to a full production roast? How could we plan for a 9 minute roast on the production roaster? What should change? First, what do we know about the 100g roast? And importantly, let’s configure all times into seconds. 

For example take 6minutes 25 seconds and convert: 6 * 60 = 360 + 25 = 385 seconds.

  1. Turning Point was at 30 seconds

  2. Dryend was at 150° at 2:45 which is 2 * 60 = 120 + 45 = 165sec.

  3. First crack at 200° was at 5:40 = 340sec.

  4. End at 200° at 6:25 = 385sec.

    1. Use division to find a percentage of time from dryend 150° to end of roast 200° using time.

      1. 385s - 165s = 220s (or 3min40sec) and 220s / 385s = 57%

      2. 57% of our roast time was spent climbing from 150° to 200° or just over half the roast time.

      3. We could predict that more than half of a 9 minute production roast will be used for 50°

    2. What is 57% of a 9 minute roast?

      1. 9min = 540 seconds * 57% = 308 sec or 5min8sec spent from dryend to end.

      2. We also know that 100% - 57% = 43% the amount of time spent from charge to dryend.

      3. 43% of 9 min = 540 sec * 0.43 = 232 seconds

Using these basic calculations and logic, we can start to establish a plan to approach our production roaster. For example, you may know that large roaster needs a higher charge temperature if we are going to reach 150° C in 3 minutes and 52 seconds. 

An important perspective (if this calculation works for us) is to view the relationship between our 2 roasters at the 57% up-scale. For simplicity we might say as a rule that 1.5x works. But we have not tested everything yet.

Perhaps you will find a general 1.5x scale relationship between your roasters.


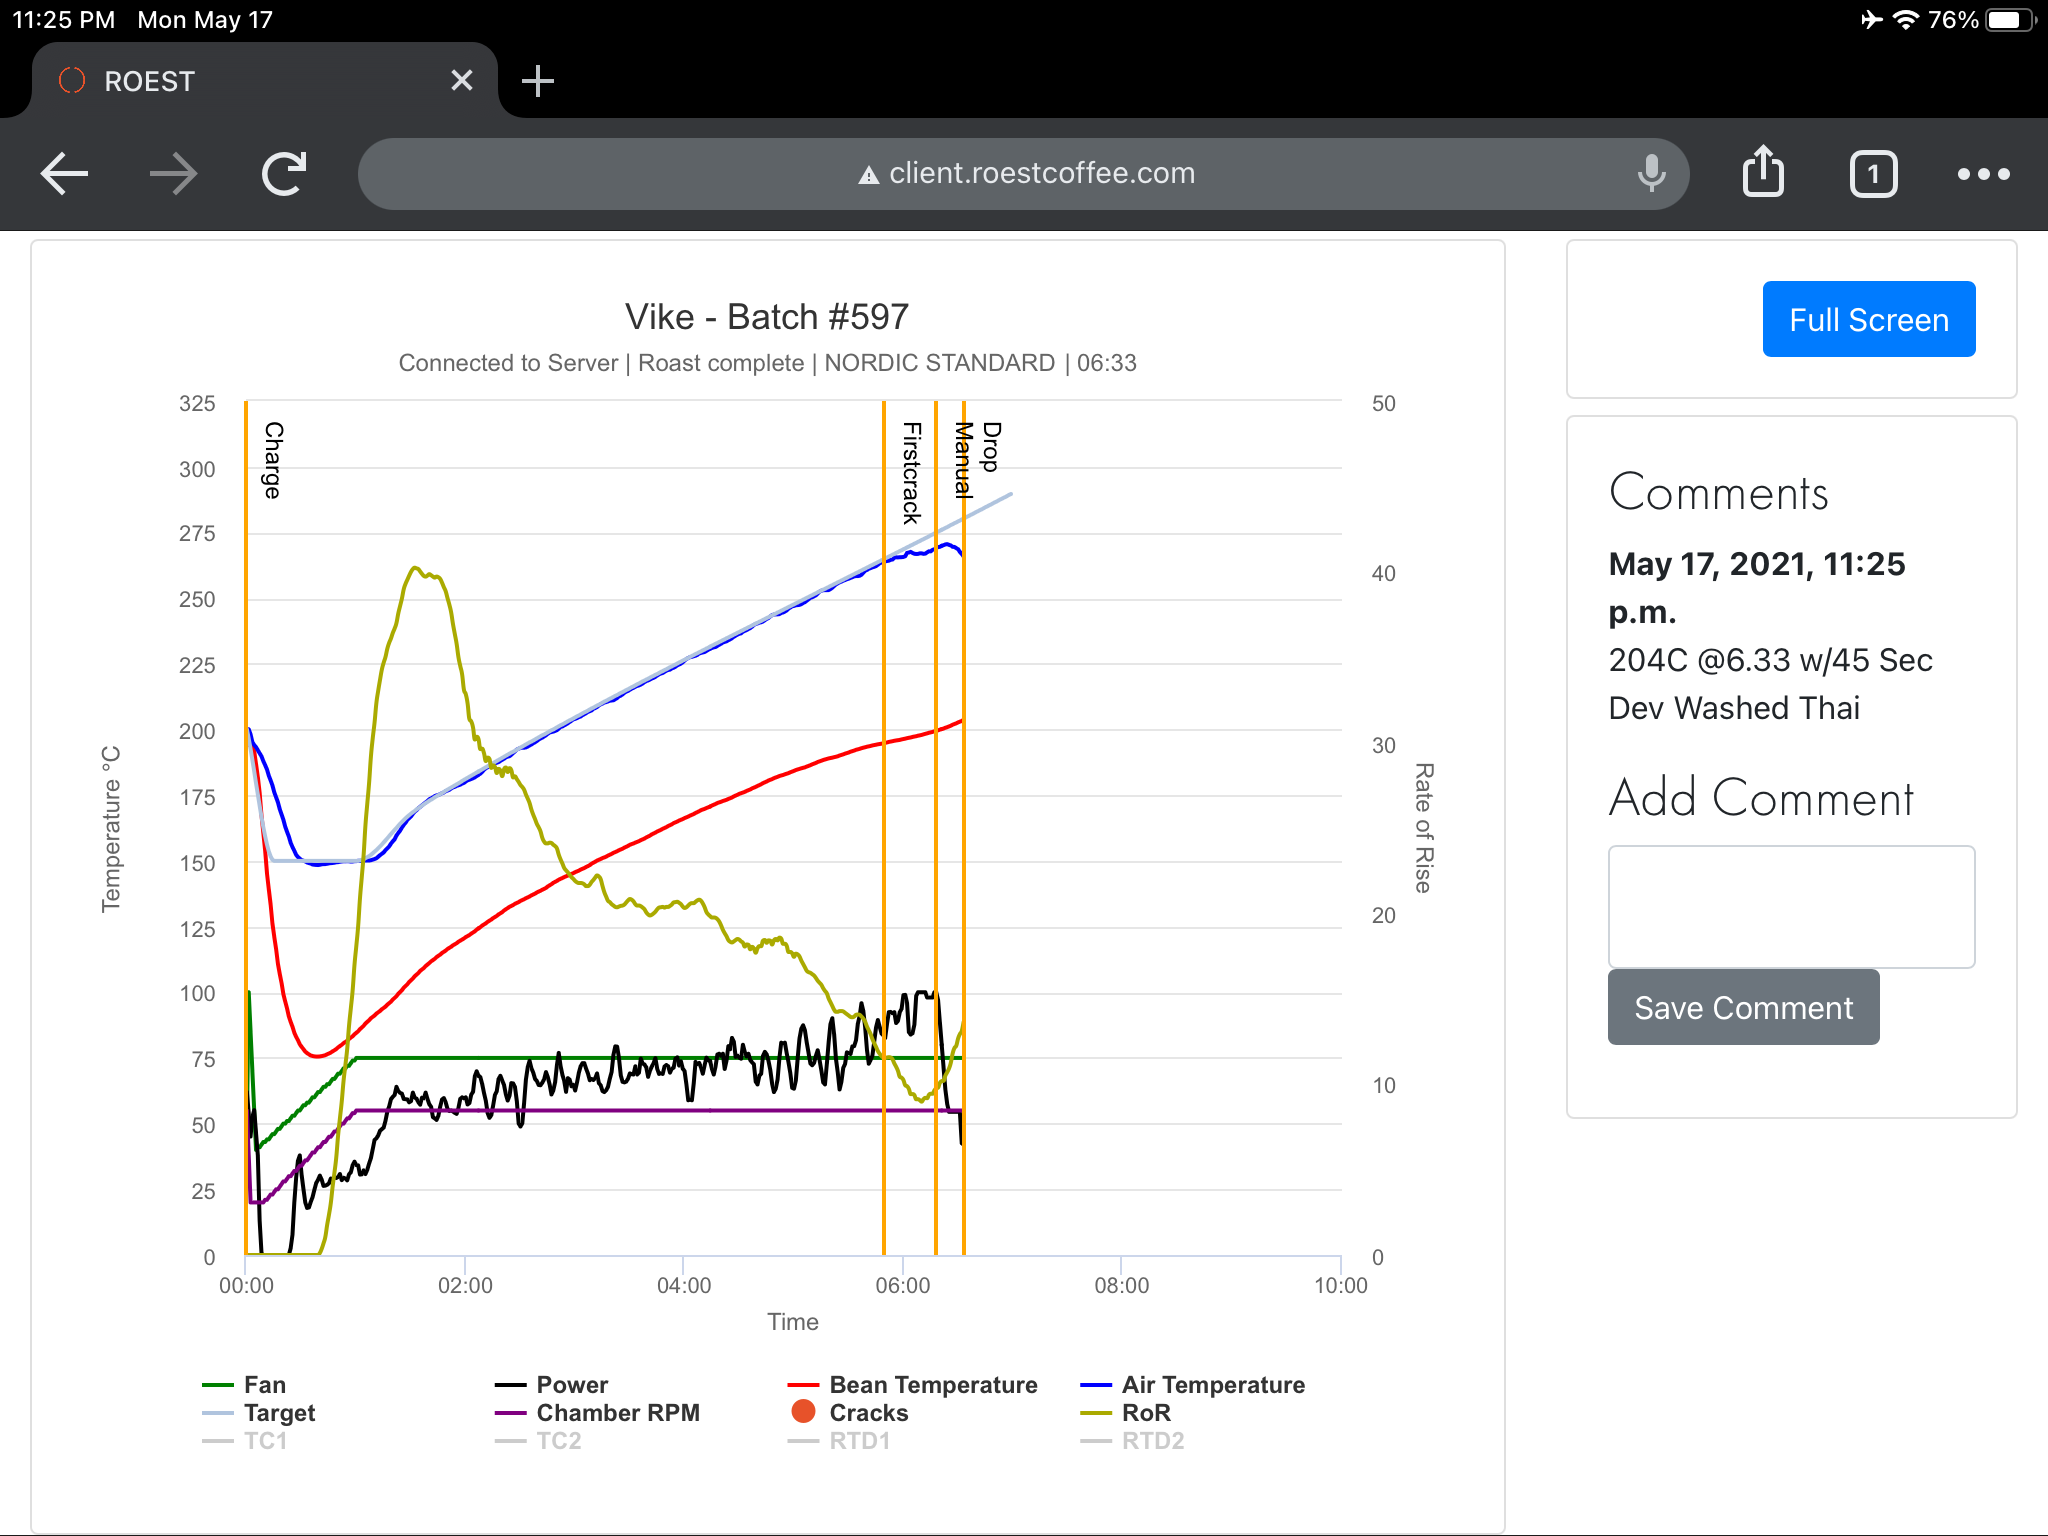
Roast #2 - SCA Sample Level 206° Drop

Here is our second sample which was an SCA Sample roast level. We might also call it our target for a really nice bright single origin roast. We’ll use our same scenario of a 12kg production roaster from our 100g sample roast. To roast a little longer and darker we estimate that 10 minutes on our large roaster will be required.

Question: how much time and what percentage of the roast should be spent from the start of 1st crack to the end of the roast (drop time) at the 206° target? 

QUICK NOTES FROM THIS ROAST:

  1. Total roast time was 6 minutes 34 seconds. That converts to: 6 * 60 = 360 + 34 = 394 seconds.

  2. Turning Point is 30 seconds.

  3. First crack 200° at 5:20 = 320 seconds.

  4. End first crack and roast at 206° in 6:34 = 394 seconds.

    1. Development calculation is 394 - 320 = 74 seconds.

    2. Development percentage is 74 / 394 = 19%

      1. 19% of our roast was spent from first crack to the end.

      2. Our production roast should take 10 minutes * 60 sec = 600 seconds.

      3. 19% of 600 sec = 600 * 0.19 = 114 seconds or in minutes that is 1:54

The theory at work is scaling up and down. For the sake of simplicity I am assuming that we know (or can predict) that the small sample ROEST works 1.5 times faster than the large roaster. So estimating our 10 minute end of roast should be tested and confirmed on the cupping table.


Example #3 - The Whiskey Barrel Project

You may read in great detail about my process and approach at the ROEST Coffee blog at the link included here: https://www.roestcoffee.com/roestblog/barrel-aged-coffee-roasting or by searching “ROEST barrel aged roasting.” 

Our goal was to preserve the sweet banana spiced attributes of our Guatemalan Whiskey Barrel Aged Coffee.

At the time of this project I was working at a roastery with 2 San Franciscan SF25 roasters. I knew if I was going to achieve a fast roast that I could only roast at about 50% capacity. So we scaled my 120g sample roast to a 12lb green mass on the SF25. 

I used the roast development weight loss as a target. On my sample roast I had a 14% weight loss from 120g green to 103g. Besides the cupping and sensory characteristics we were hoping to see the 12lbs green have a target weight of 10.32lbs after roast. If this variable remained constant with our profile scaling we expected that a similar chemical process was happening to the beans.

Roasting on a SF-25 required the 5:55 sample roast profile be stretched about 1.5x times. In order to achieve this with a long deliberate soak in the beginning, we had to race up to first crack before ending our production roast at 9minutes 30seconds with a target of 410°F (210°C) to finish. 

We were able to do so with only 50% drum capacity. With 14% moisture loss and cupping results in - we had found a winner!


Closing Thoughts, Questions & Answers

In this presentation, I have shared many things which could appear to be “rules.” However, I want to be clear that I am showing you the logic and procedures that I have found over the past 10 years to guide me in scaling, profiling and producing roasts on multiple roasters at many sizes. 

I have used these methods on 50-300g sample roasts in convection air roasters, drum electric and drum gas sample roasters. I have scaled to 2kg profiles on electric drums at 120v and 240 voltage. I have profiled and scaled to 10kg Diedrich infrared porcelain burners on propane and equally with 20lbs on a gas SF25 drum. Like a rubber band that stretches to accommodate each situation - the logic and science hold out to the cupping table.

It’s question and answer time. I’d love to hear your thoughts, curiosities and struggles. We can dialogue in the chat here or elsewhere when you find this online.
 

Thank you for your time on this topic!

I have other presentations available at the www.sca.training blog.

Tools and equipment can also be found at the www.rocc.coffee lab.

If you would like to connect on this topic or with Specialty Coffee Training programs please reach out. My  email list provides coupons and course information with link: http://eepurl.com/cZU5R1 

Instagram @HowToCoffeePro 

Make Life Better my friends!

Updated Cohort Calls Model for HowToCoffeePro and SCA Training

Hey Friends!

Adam at ROCC Coffee at SCA.Training and HowToCoffeePro. I have an exciting announcement if you are a new learner on the fence or one of our alumni. So, stay tuned and be sure to pay attention.

First, you want to ensure that you are on our: Email List so that you get every announcement about new course offerings, the cohort calls and the Live social media sessions that we are going to be having.

So here’s the update: all of our courses that had been self-paced and self-directed with one-on-one coaching are now moving to a more dynamic cohort model. 

SCA Training International Cohort!

To provide you with distance learning convenience with a cohort team and class experience. This is something we’ve been working on for a long time to build, and in part we just needed to have a greater number of alumni and students. And now we’re there.


As of August 1, 2022 we want you, we want new learners to watch for the Open-Enrollment window of time. This is the open enrollment when you can join into a course. The first course, for example, is going to be Sensory Skills Foundation, and it’s going to be open for 10 days. Sensory Skills Foundation, all the new learners should join from August 1st - 10th.

Now, these will be changing and updated by email.
Every student who joins this course will be able to start your study, work on your practicals for the course and you may even have time to complete the entire course. Wait for the announcement for our first Google Meeting and class call. All of our new students, that first cohort are going to be invited.

You need to attend the call, just like you attend your class in order to keep progressing. We also are going to invite in our alumni.

We’ve got dozens… hundreds of students who have taken specific courses over the past years, we want them to come in and to join your course. Not only will you be able to ask me questions and to interact with your classmates in that meeting.

We want the alumni to share with you what it’s like to go through that course and take steps in their career and in their coffee business.

Open Enrollment will close and you’ll have to wait to the next class to get into the next cohort. Yet, once you’re an alumni, if you took this course last year, you’re always a part of that group. So every time a new cohort joins you’ll alway be able to join. 

We’ll be cupping, we’ll be roasting, we’ll be looking at equipment. Once you start this program (as long as you want to stick around) we’re going to keep developing and creating meetings with classes for you to visit.

We’ll be sending those out by social media and sharing those by email so be sure to:

Those are going to be the three hot places to be, though more may be coming, and we’ll be sure to share the news. 

If you’ve been thinking about joining an online SCA course and if you’ve been asking, “what’s the online experience going to be like?” This is the time, it’s going to be rich and it’s going to be flexible and it’s going to be dynamic with an international cohort from around the world. 

Once you join, you’re a part of our Community of HowToCoffeePro alumni, so come on back alumni, please join us for these calls, watch for the announcements, join in on the Instagram lives. We would love for you to speak into these topics. Tell us about your company, tell us about your career and the challenges you have faced and overcome.

We need to give hope to the next generation of coffee professionals. That’s what HowToCoffeePro is all about: giving you the how to skills to become a coffee professional and Make Life Better.

I can’t wait to see you in class! 

Come on, let’s go.

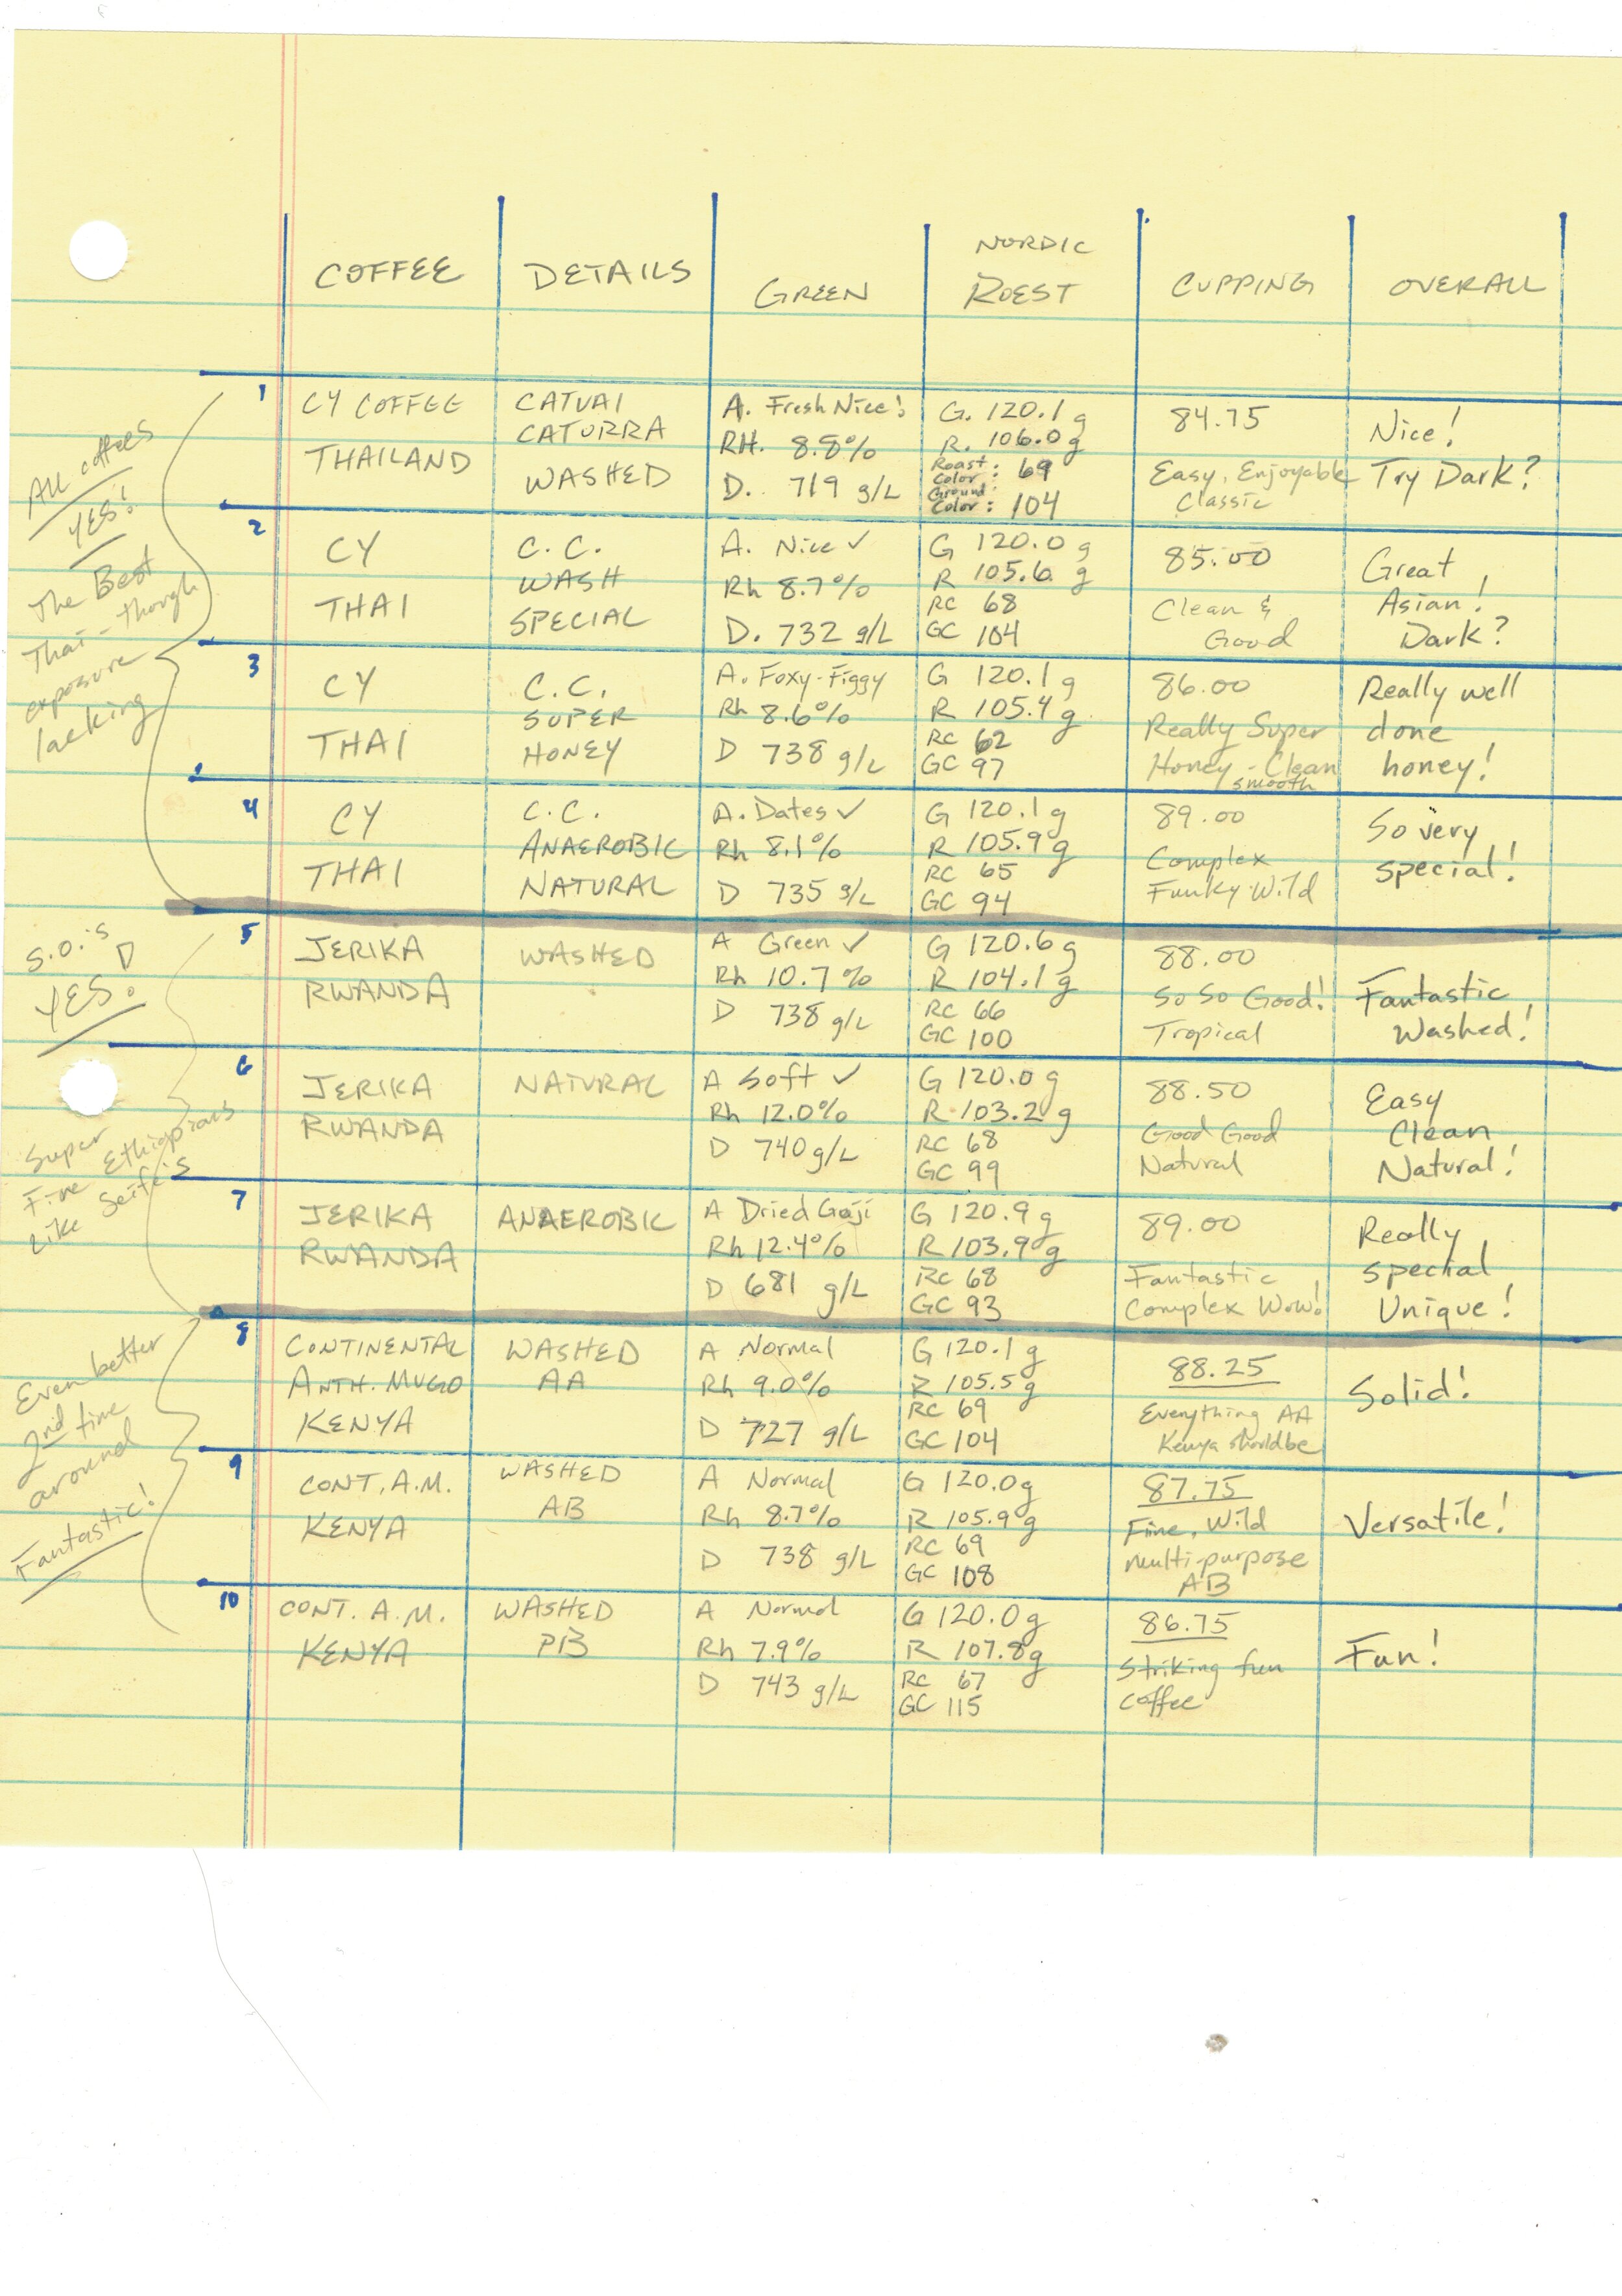
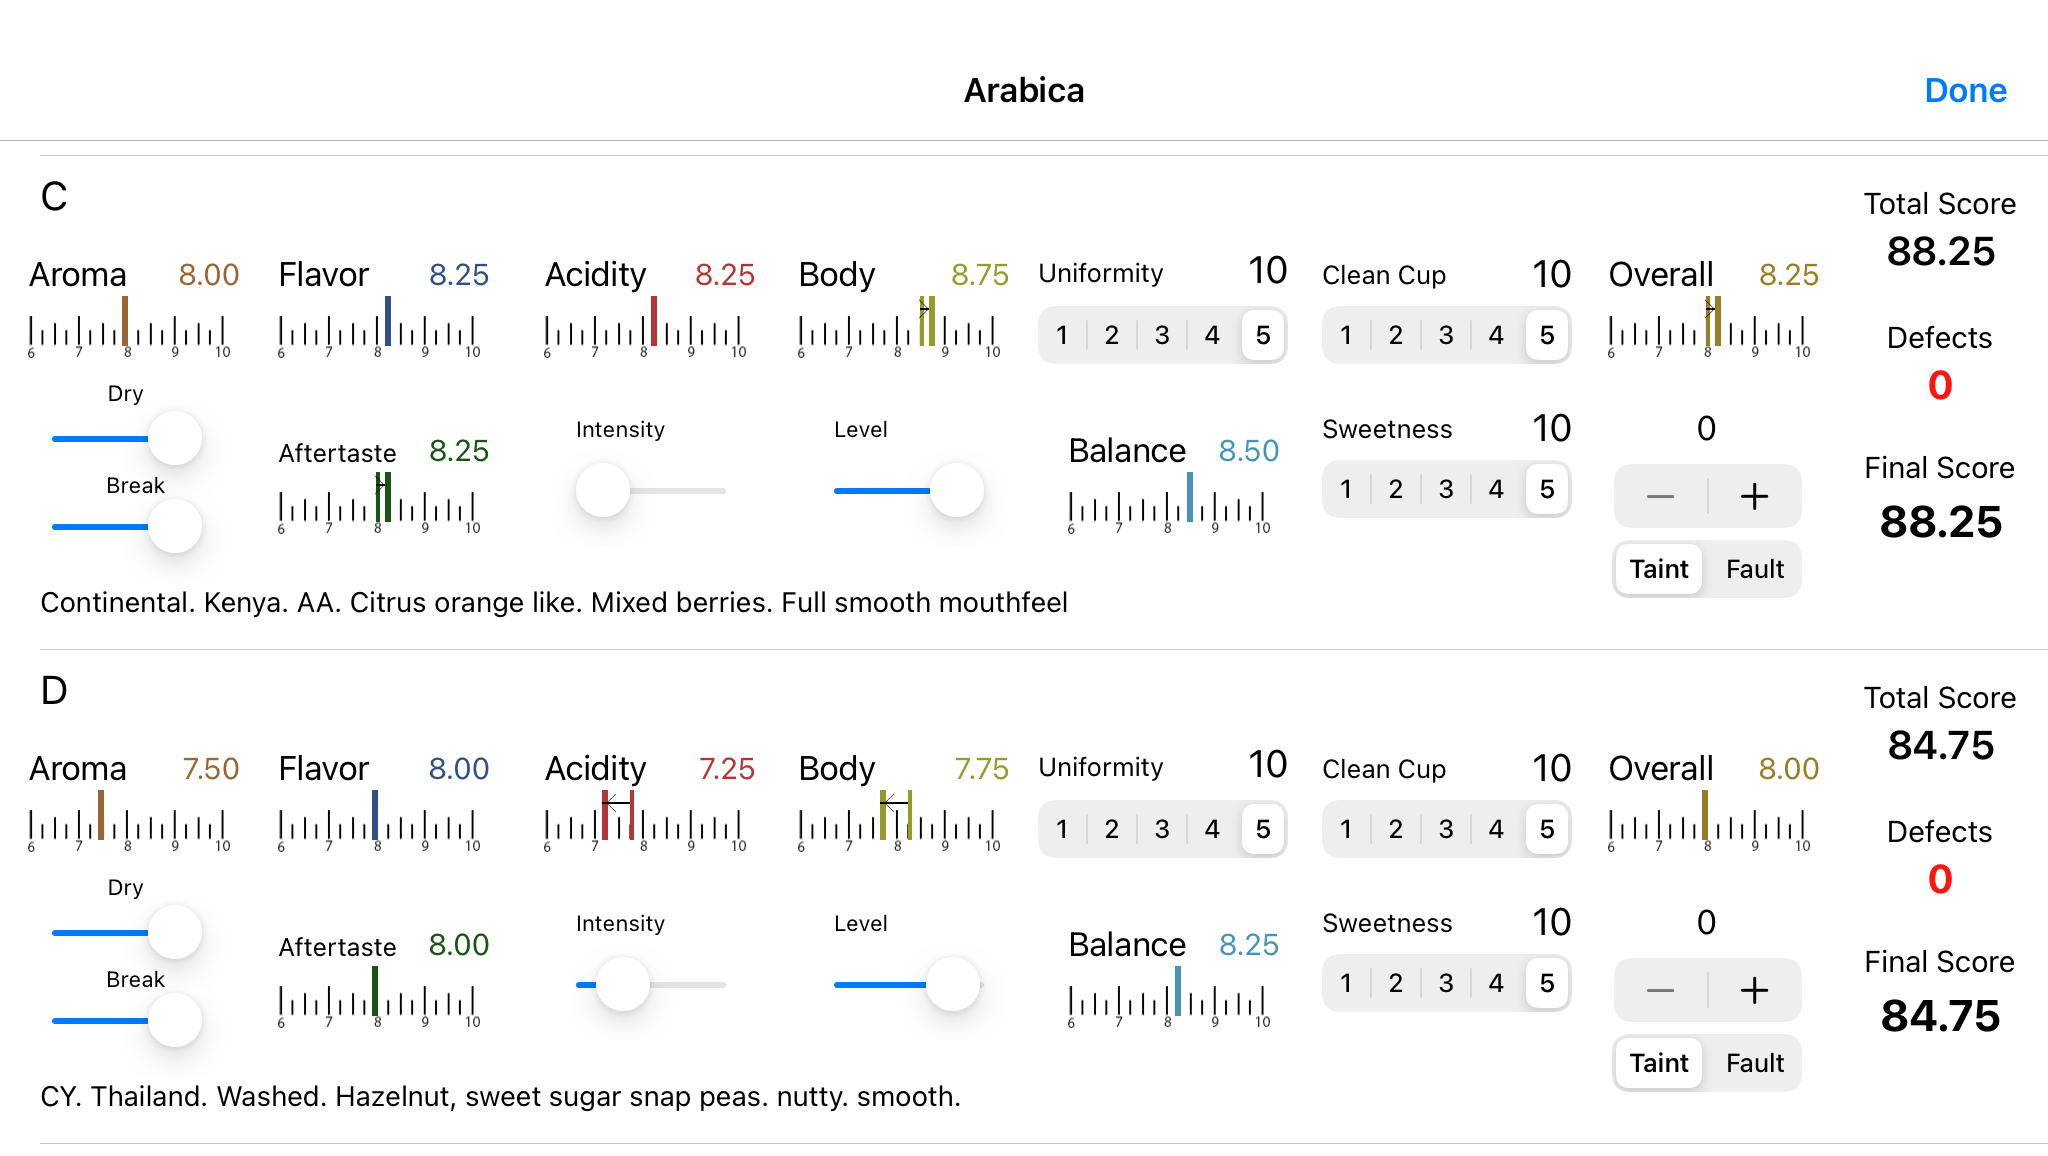
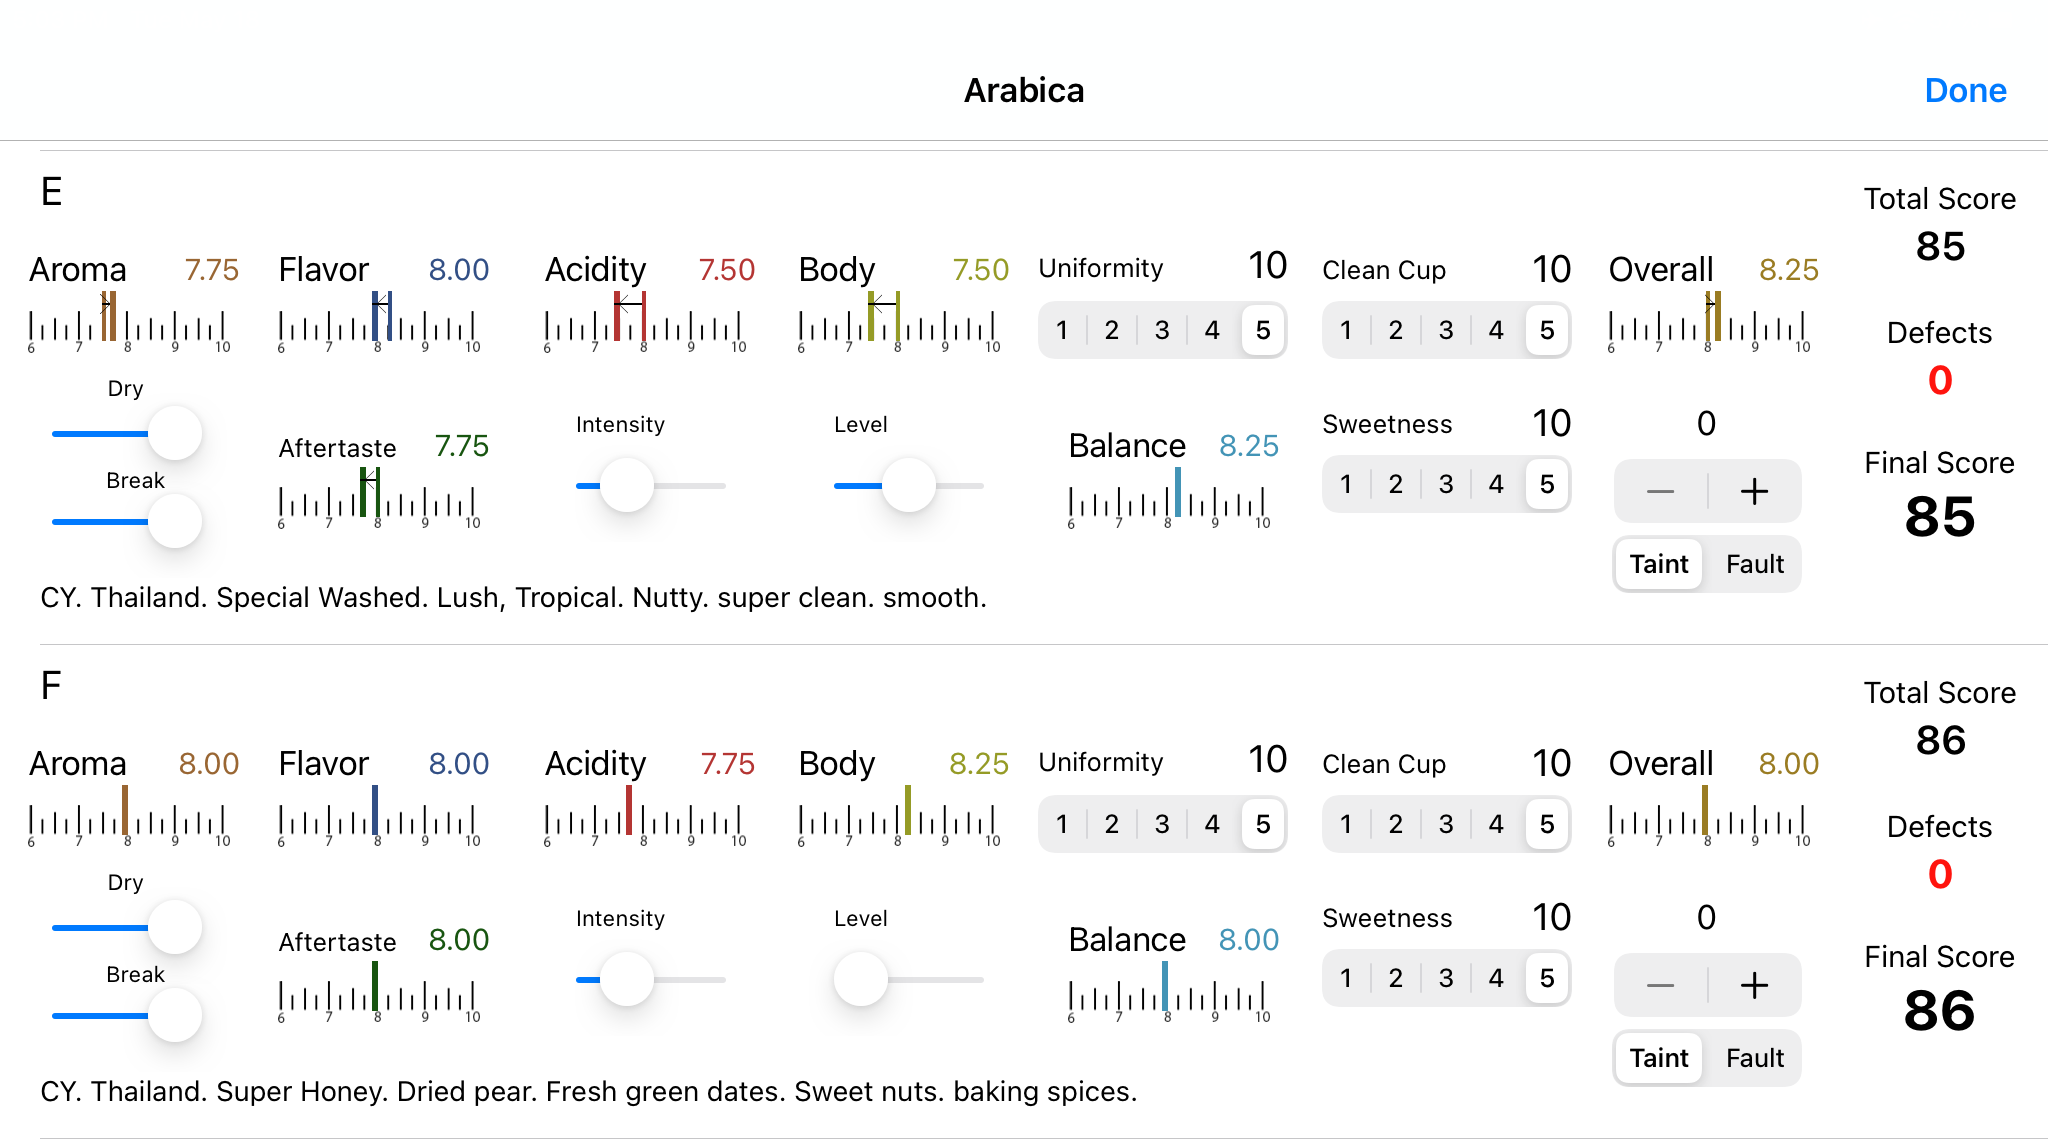
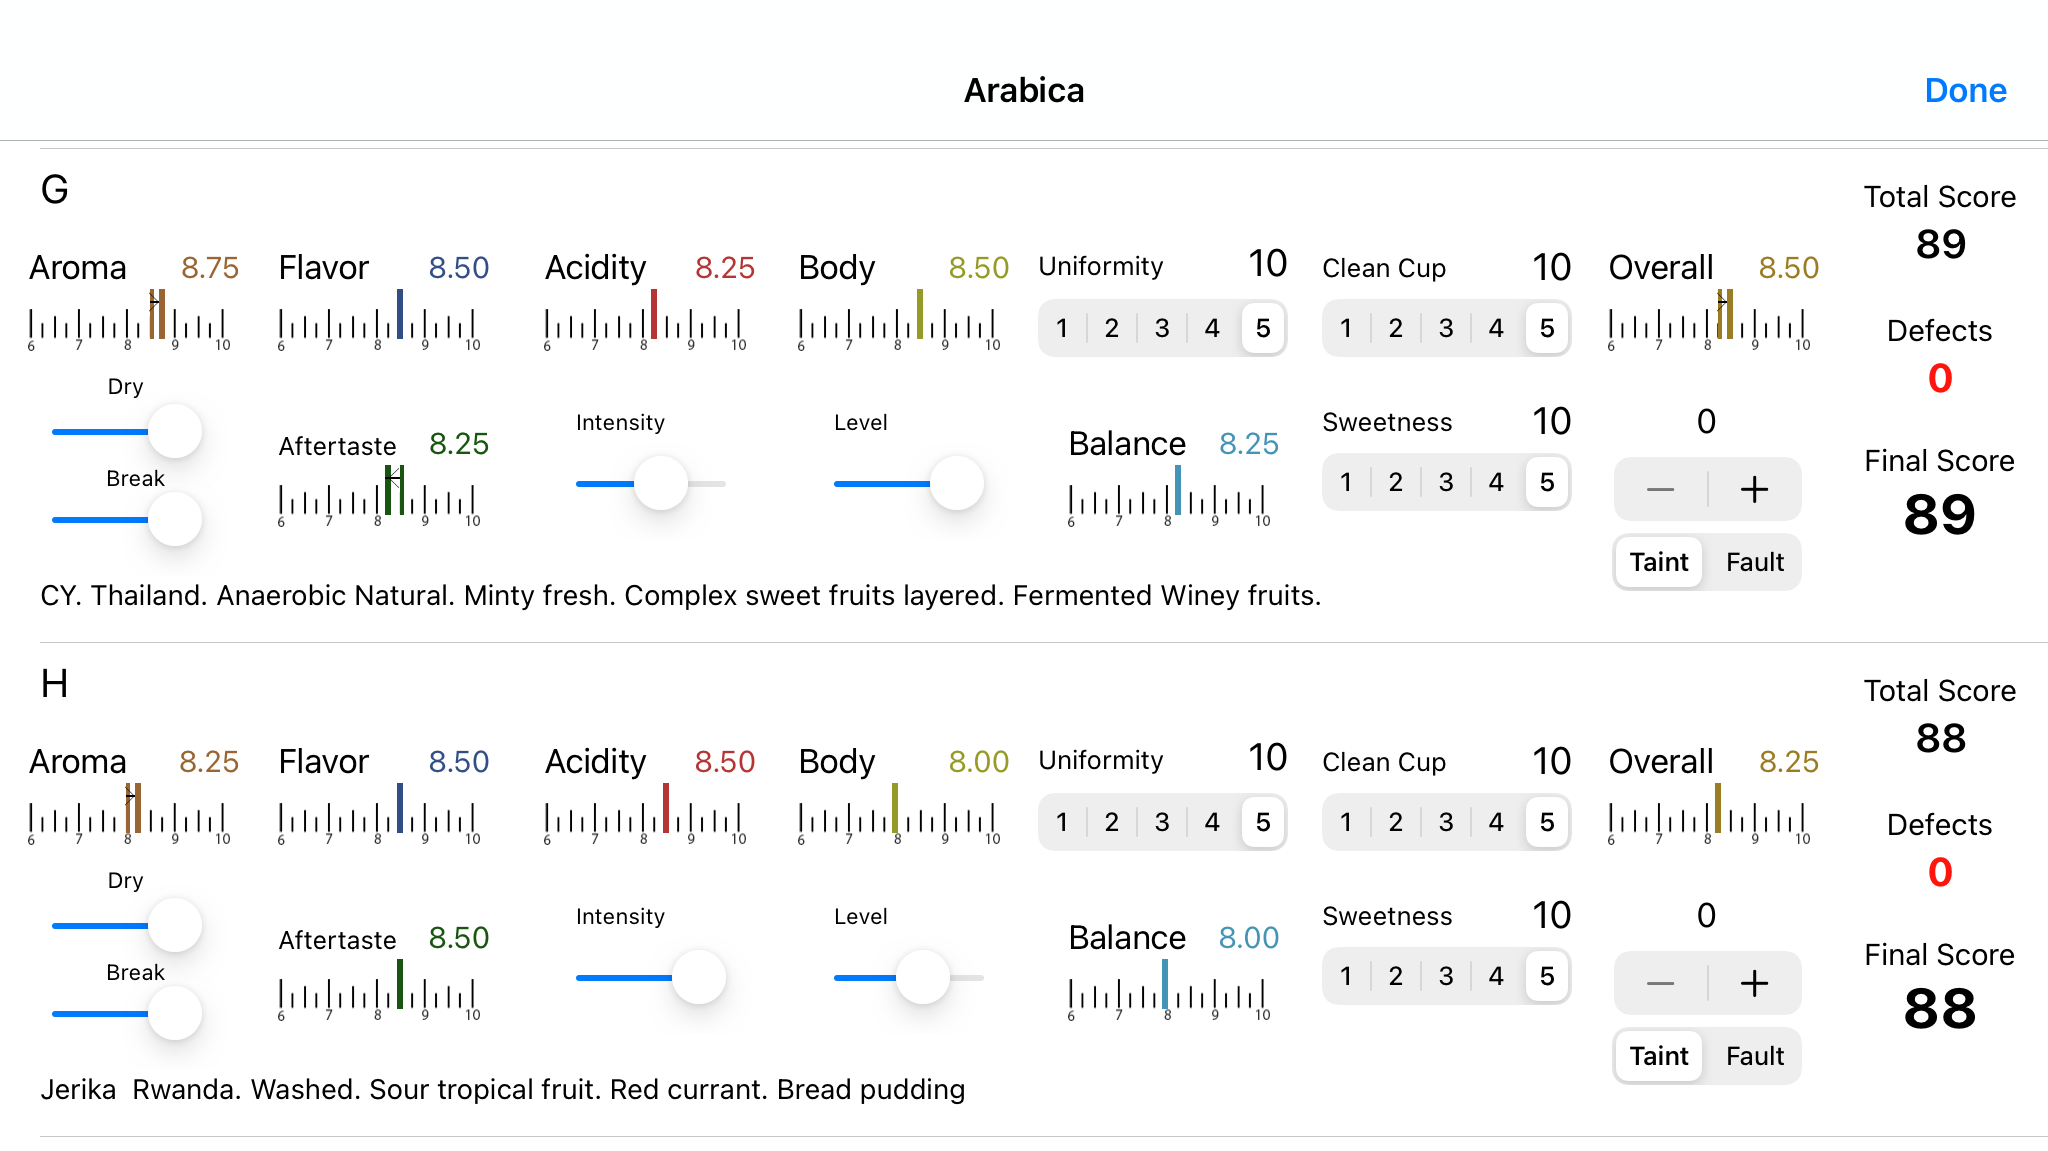
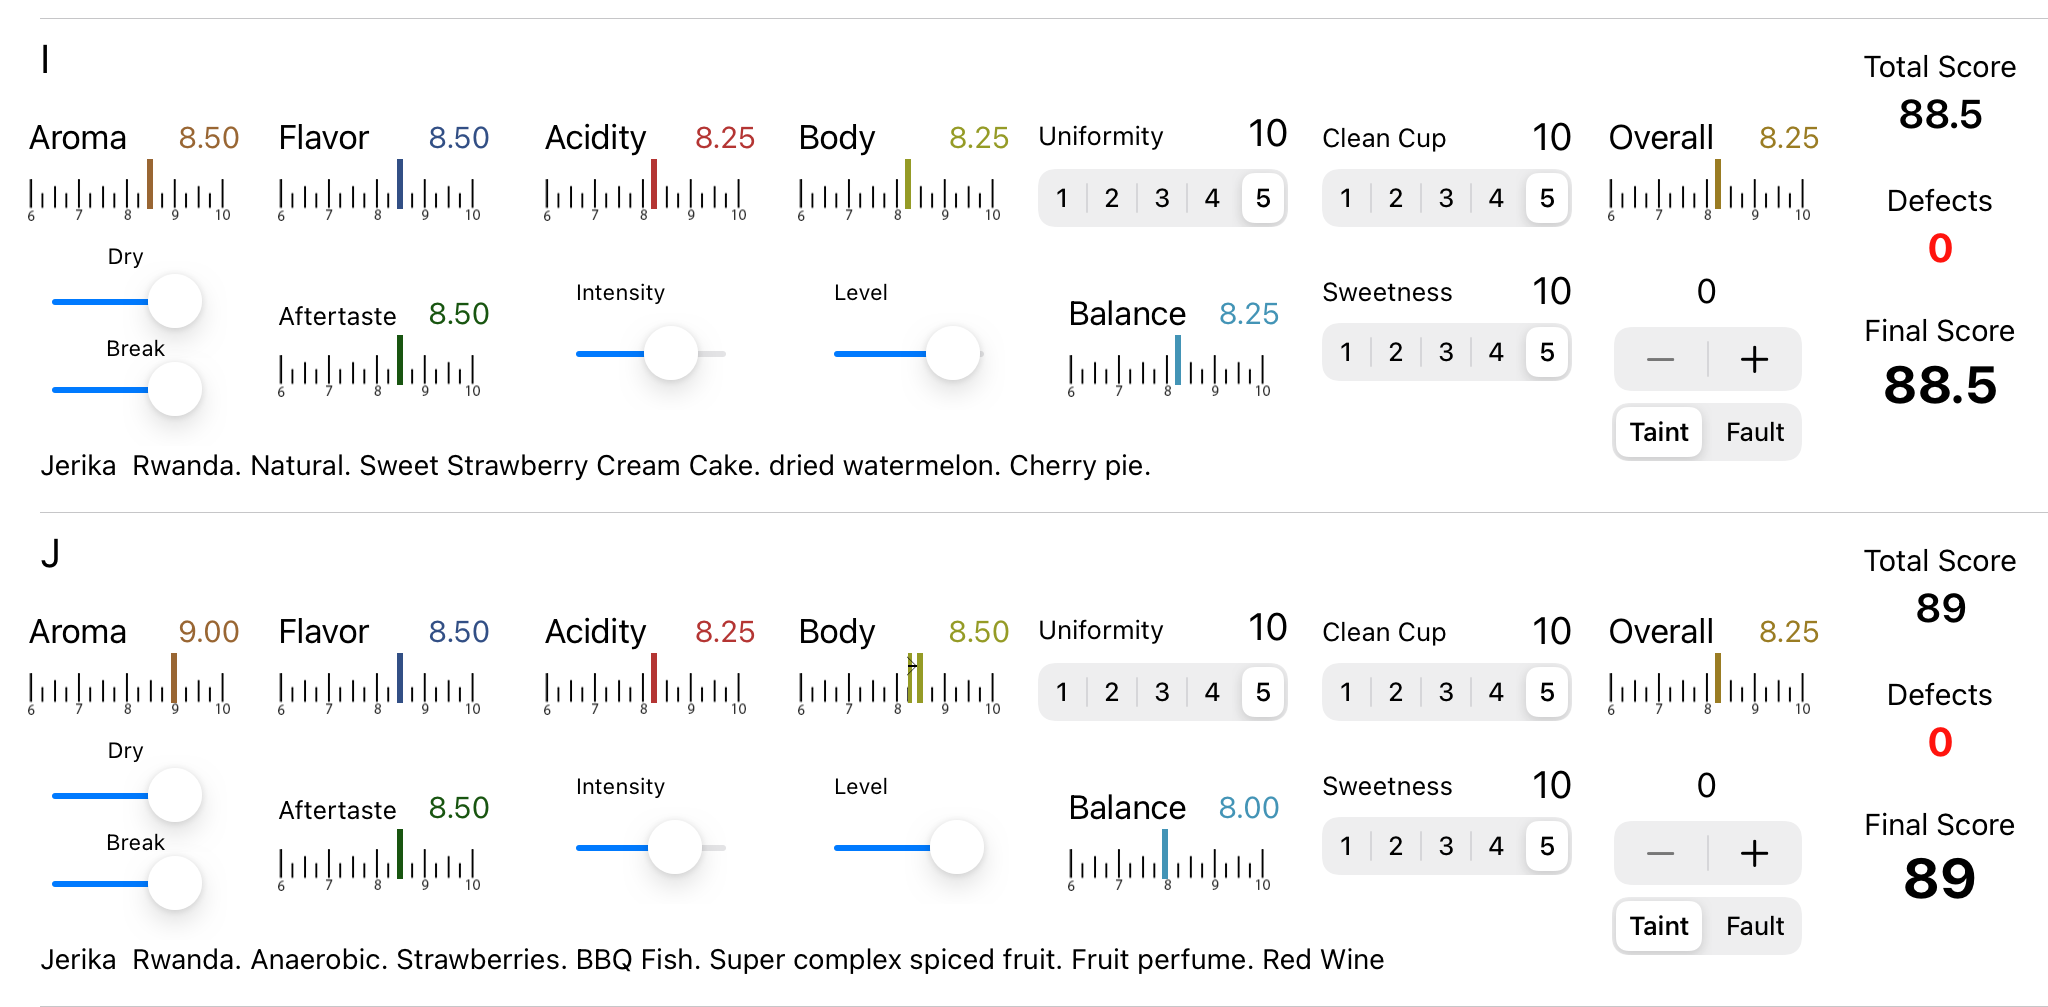
Coffee Community - Thailand Special Anaerobic Natural Process

A big shoutout to Tanasak and his team at CY Coffee for this most amazing coffees I have EVER had from Thailand!

Thank you!


Washed Coffee,
Special Washed,
Super Honey, and
Anaerobic Natural Processed!

If you’re ever in Bangkok, Thailand be sure to look up CY for a fantastic coffee experience. Located at: 12 Sukhumvit Soi 10, Bangkok. Thailand


Wow!

I offer a deeper look into each of these coffees, their measures, moistures, densities, roasts, ROESTs and cupping with QC feedback. More good stuff to come! CY Coffee from Thailand was one of three that were QC’d in tandem. Tune in to all 3 and see separate posts for specific photos and details in this blog.


Thanks for watching and growing with me!

IF THIS WAS A WORTHY READ, PLEASE CONSIDER SHARING AND LIKING.

THANK YOU!

ADAM


PART - 1


PART - 2


PART - 3

Welcome to the Community!

Join Email for Discounts: http://eepurl.com/cZU5R1

Enjoy the Playground!

Find SCA Training: www.howtocoffeepro.com.

END 😃

How to Properly Roast Dark Coffees - Not All Coffee Should be Dark

Not all coffee is created equal.

Only some coffee should be roasted dark.

Not all coffee should be roasted dark.

Hi, my name is Adam. After working with specialty coffee for over a decade, I must confess: I love properly dark roasted coffees. I do NOT love burnt coffees. I love richly caramelized dry distillation flavors.

As I write this article I am thoroughly enjoying a Kenyan Peaberry coffee from the Gura region of the Othaya Coffee Cooperative. It is rich, smooth and spicy with a bold body that warms me on this cool wet winter morning. The sweet toasted sugars remind me of the overly baked edges of a peach cobbler.

I am aware that many “specialty coffee professionals” would only roast this fine peaberry coffee medium-light. When I roast it lightly, I certainly can accentuate its bergamot Earl Grey floral qualities, with lime like acidity, but that is only one face of this multifaceted coffee. And honestly, when roasted light, this specific coffee is rather light and tea like. It is lacking in full luster.

If you are a coffee roaster, I want to help you properly explore the darker regions of your coffee roasting experiences. There is so much potential to unleash with omni-roast levels.

Here, in this article, let’s give permission to the specialty dark roasters within a framework of discovering those coffees that can stand the heat and those that cannot, so that we develop properly dark roasted coffees. If you are a coffee roaster, I want to help you properly explore the darker regions of your coffee roasting experiences. If you are a coffee fan, then perhaps we can help you to find a new and improved solution to enjoying dark coffees.

Caveat Emptor - Buyer Beware the Dark Roasted Realm.

  1. Beware large coffee companies owned by shareholders which purchase old, defective, low quality, insect damage ridden green coffee with the thought, “we will dark roast it and no one will know the difference!” This is easily spotted by the big brands who dominate the best places on grocery store aisles and charge lower prices than local artisan roasters who are privately owned. They boast of shelf life far beyond the standard 3-4 weeks recommended by all artisan professionals.

  2. Beware pre-ground dark roasted coffees as they will oxidize faster. Oxidation is natural to all coffees and all pre-ground coffee will oxidize faster than whole bean. Dark roasted coffee bean fibers have been even more deeply roasted and exposed, thus they are more fragile to oxidation. Oxidation causes flatness, bitterness and boring-ness : ) . In a word dark roasted coffee will go stale even sooner than light roasted coffees. So find it fresh from a local roaster.

  3. Beware local roasters who dark roast everything with the belief, “people like it dark so we will roast everything dark.” While there is a place to build your brand on “Dark” and “Bold” there is no place for dark roasting every coffee bean that rolls into your roastery. I will share a story now to enlighten the what and why behind dark roasting some coffees and not others.

Discovering Your Dark Roast Sweet Spot

A good friend of mine is a coffee importer. His name is Francis. He works directly with coffee cooperatives and communities in Kenya which have a direct positive impact for long-term business development. The motto of his company, Jamii Coffee, is, “If we can’t touch the farmer, we don’t touch the coffee.” I love it!

“In a word dark roasted coffee will go stale even sooner than light roasted coffees. So find it fresh from a local roaster.”


After Covid-19 hit the global coffee market worldwide, Francis (like all other green importers) was left with a dilemma. His stock of green coffee suddenly wasn’t selling, because roasters lost contracts, because local businesses and offices were forced to close. While large businesses, grocery stores and online retailers were able to continuing growing in sales, most of the local and private companies served by Jamii Coffee were forced to close temporarily or permanently.

Green coffee ages, albeit slowly. Under proper conditions, most green coffees have a stored shelf life of 18-24 months after harvest. Some high density, well cared for and properly processed coffees can be enjoyed well beyond 24 months. When we looked at the extra stock from 2018 and 2019 we were faced with a question - what to do with all of the warehoused coffee while the new 2020 crop is on a boat coming to the USA? I setup a highly controlled roasting experiment with 4 different coffees all roasted at 3 distinct levels to explore the inherent potential in the 2018 and 2019 coffees. Afterwards we analyzed them together and compared results.

The results from light to medium to dark roasting on 4 different Kenyan coffees was striking!

The 4 coffees used for this experiment were all wet processed Kenyan coffees grown at high elevations. Samples of 120g were pulled from each: Kenya Tamabaya AA (2018), Kenya Tambaya AB (2018), Kenya Gatugi AB (2019) and Kenya Gura PB (2019). AA is the largest bean size, AB is slightly smaller, while PB stands for peaberry, the smallest screen size.

All 12 coffee samples were roasted on my ROEST S100 professional sample roaster using a strict environmental roasting program, which means that they underwent the same process of heat application, air flow, etc. The Nordic roasting profile was used due to its strong application of heat for efficient transfer into the high elevation, dense Kenyan coffee. Upon first crack I took manual control to ensure each coffee could ease through first crack (light) or just past (medium) or mid-way to second crack (dark). Let’s break down each coffees ROEST experience when put to the test of heat and dark roasting.

ROCC Roasting on ROEST Professional Sample Roaster

First, Kenya Tambaya AA

I suspected, and soon confirmed, that the Tambaya AA would roast the fastest. AA beans are large and beautiful when roasted. Due to the extra surface area, the bean can absorb more of the hot roasting air as it blows through the roasting chamber. This coffee raced easily towards first crack and did not display the classic “crash” that a smaller bean or fresh harvest AA might. As a result, I softened the heat to complete the light, medium and dark roasts accordingly. Afterwards, of all 4 coffee origins, this coffee showed the greatest weight loss as well due to the ease of roasting and heat absorption.

Second, Kenya Tambaya AB

The Tambaya AB was harvested from the same region, at the same time, processed in the same manner as the AA - yet my experience roasting it was entirely different. It resisted the heat more and took longer to reach first crack. At first crack it did attempt to crash, though not dramatically. Riding the roast through light, medium and dark stages, in the end it showed less mass was lost than its larger AA brother.

Third, Kenya Gatugi AB

The Gatugi AB roasted very similar to the Tambaya AB. Although, being a year fresher it showed a bit more desire to crash at first crack. Not much, but there was some additional energy observed in the ROEST drum. In the end, final drop temperatures and roast weights were very akin to the Tambaya AB.

Finally, Kenya Gura PB

Roasting the Gura Peaberry went as expected. The small, round shaped, beans eluded the heat application and took longer to reach first crack than her predecessors. At first crack this coffee attempted a strong nose dive. That’s why I took manual control to amplify air and heat giving an extra boost into first crack. Once the environment stabilized I eased heat application for a nice finish in light, medium and dark as planned. The final drop temperatures and end roast mass were all slightly lower than the Gatugi AB.

In Conclusion - Cupping Results

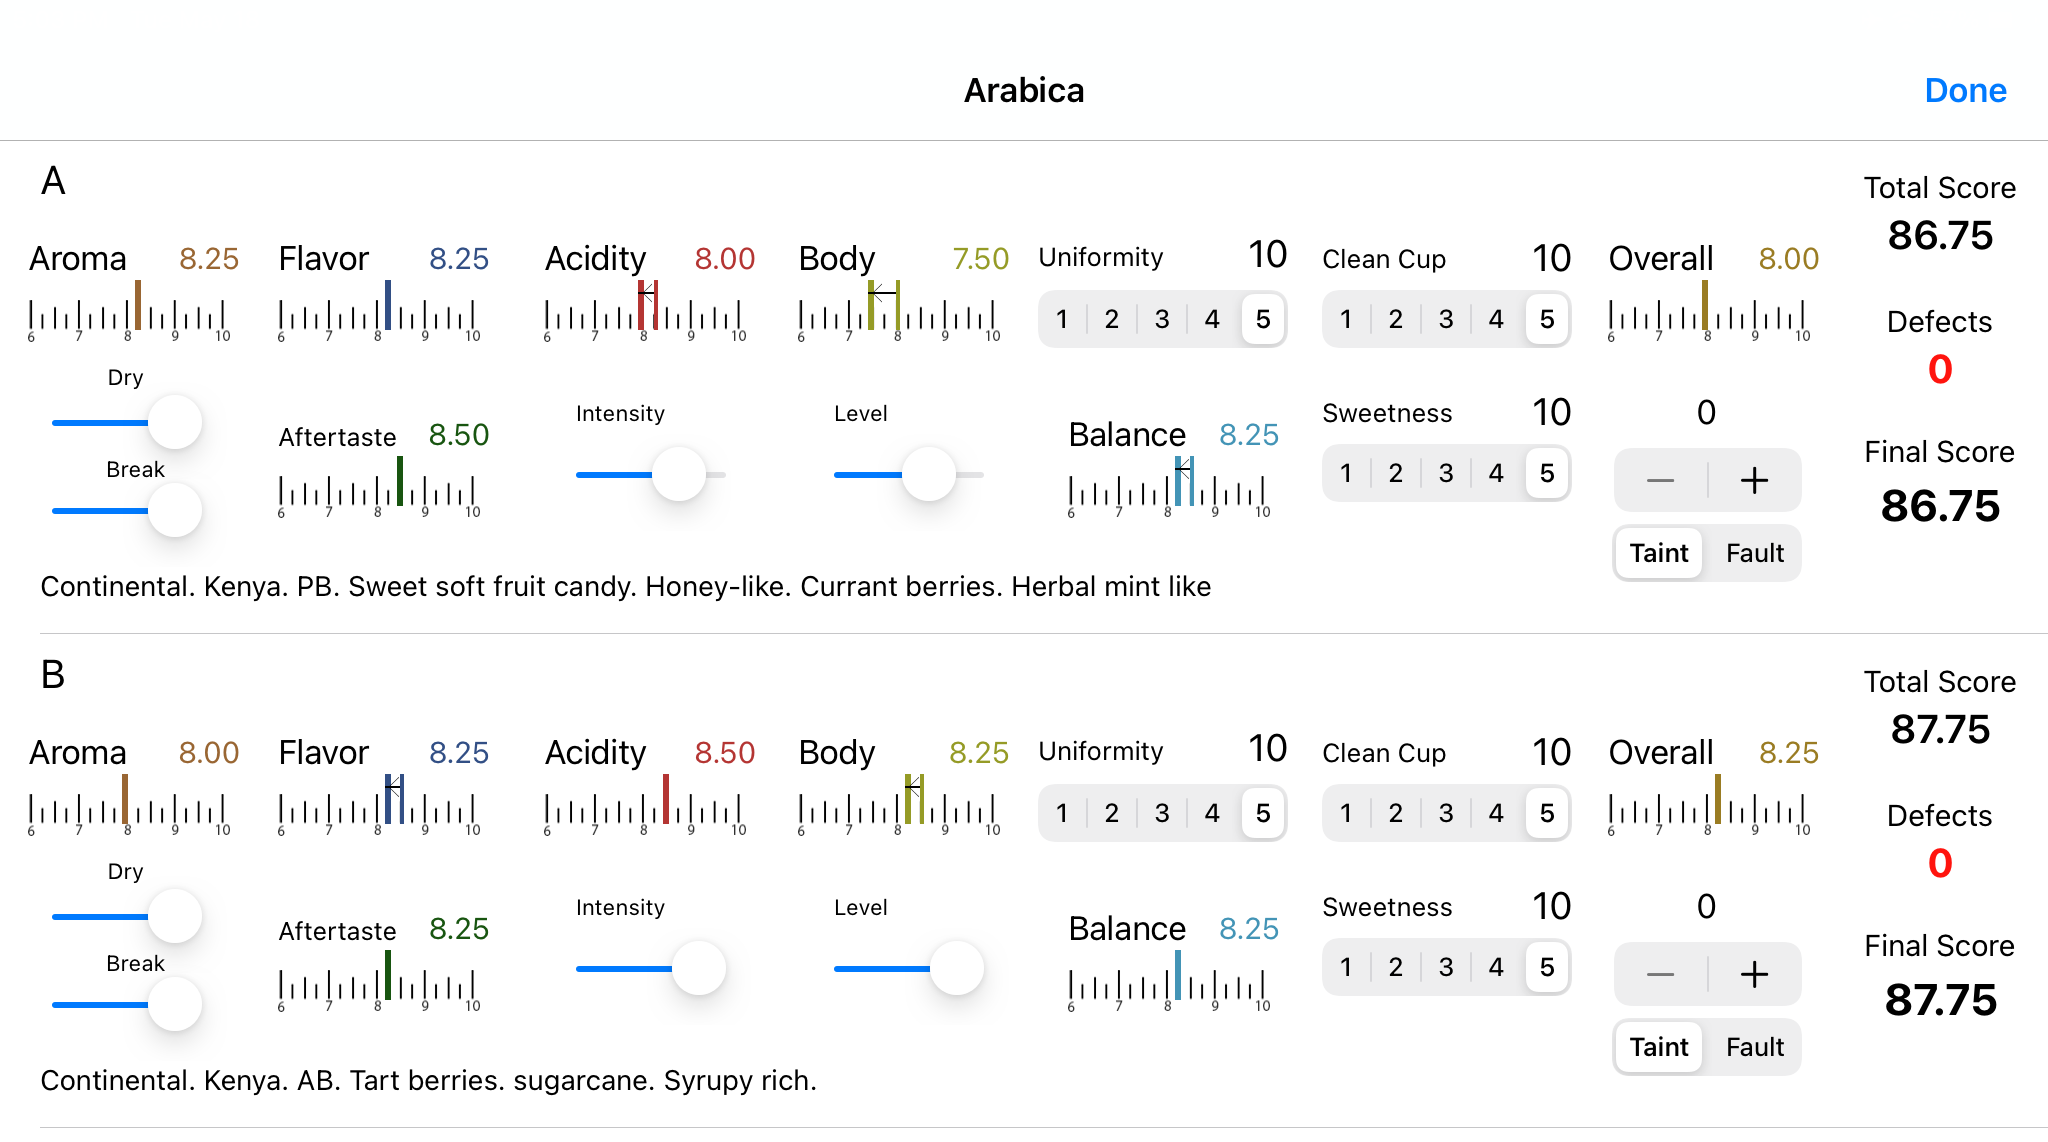
24 hours, after completing this roast experiment, Francis and I moved to the cupping table to explore what each coffee could tell us about it’s present potential. Remember that the Tambaya coffees were first evaluated early 2019 while the Gatugi and Gura were evaluated early 2020. Much has changed inside the living green coffee bean in this time.

The Tambaya AA shined as a dark roast above the light and medium. They were ok, but rather muted in tone, sweetness and acidity. However the dark coffee had a syruppy body with carmelized sugars and lingering sweet spice. I would not roast this coffee light or medium. It must be dark, until it is finished.

The Tambaya AB stood as a direct opposite. The dark roast was lackluster, while the light and medium roast had beautiful stone fruits, rich body, smoothness, balance, sweetness all in high harmony. I would not roast this coffee dark. It must be light or medium for it to shine (my personal favorite was medium).

The Gatugi AB was divided. Light roasted there was a floral sweet acidity and cleanness. And then, we had to jump to dark -where it was thick and rich and bold like toffee. The medium was … eh… boring in the middle. Why settle for middle when you can enjoy the extremes of both light and dark!?!

The Gura PB was best at medium and dark. The medium that sweet, smooth, mixed berry quality while the dark roast was no only beautiful to look at but also was rich and spicy like a fine dark chocolate. It just wasn’t enjoyable as a light roast. Light roasted, it was tea like. This peaberry coffee likes to go darker!


If you would like to learn more

Check out Jamii Coffee and Crowd Farm Africa to learn more: https://www.jamiicoffee.com/

IF THIS WAS A WORTHY READ,
PLEASE CONSIDER SHARING AND LIKING.

THANK YOU
ADAM

How to Safely Turn off a Coffee Roaster? Temperature and Time.

Coffee roasters should be concerned about when and at what temperature they turn off their coffee roasters.

It’s good to understand why we should wait?

And then we can understand when to turn off our coffee roaster?

WHY? When a coffee roaster is roasting coffee the heat applied raises the beans to 200°-210°-220°-230°C. That’s 400°-420°-440°-460°F! That’s really hot. If you immediately turn off a coffee roaster when the drum is SO HOT the force of gravity alone will pull the round drum to slowly become oblong. And we all know that an oblong (non-circle) does not roll very easily or evenly.

Used Coffee Roaster Diedrich IR-12

The metal drum inside your roaster is round - it should be nearly perfectly round. Let’s not discuss the possibility of a perfectly round circle, which many dispute can ever exist.

For a circle to be perfect, we would need to measure an infinite number of points around the circle's circumference to know for sure. (link Carnegie Mellon University & College of Science)


For more great content

If this was a worthy read, please consider sharing and liking.

Thank You! ~ Adam